Last weekend I installed these MR-CDK-TP03 Megan Racing - Street Series Coilovers. After shopping around I found them for $845 with free shipping at Vexmotrosports.com. Part number matches the ones from megan's site and ebay but no picture. They came quickly in one heavy box that needs a signature. My car is a 2006 with front strut bar and rear sway.
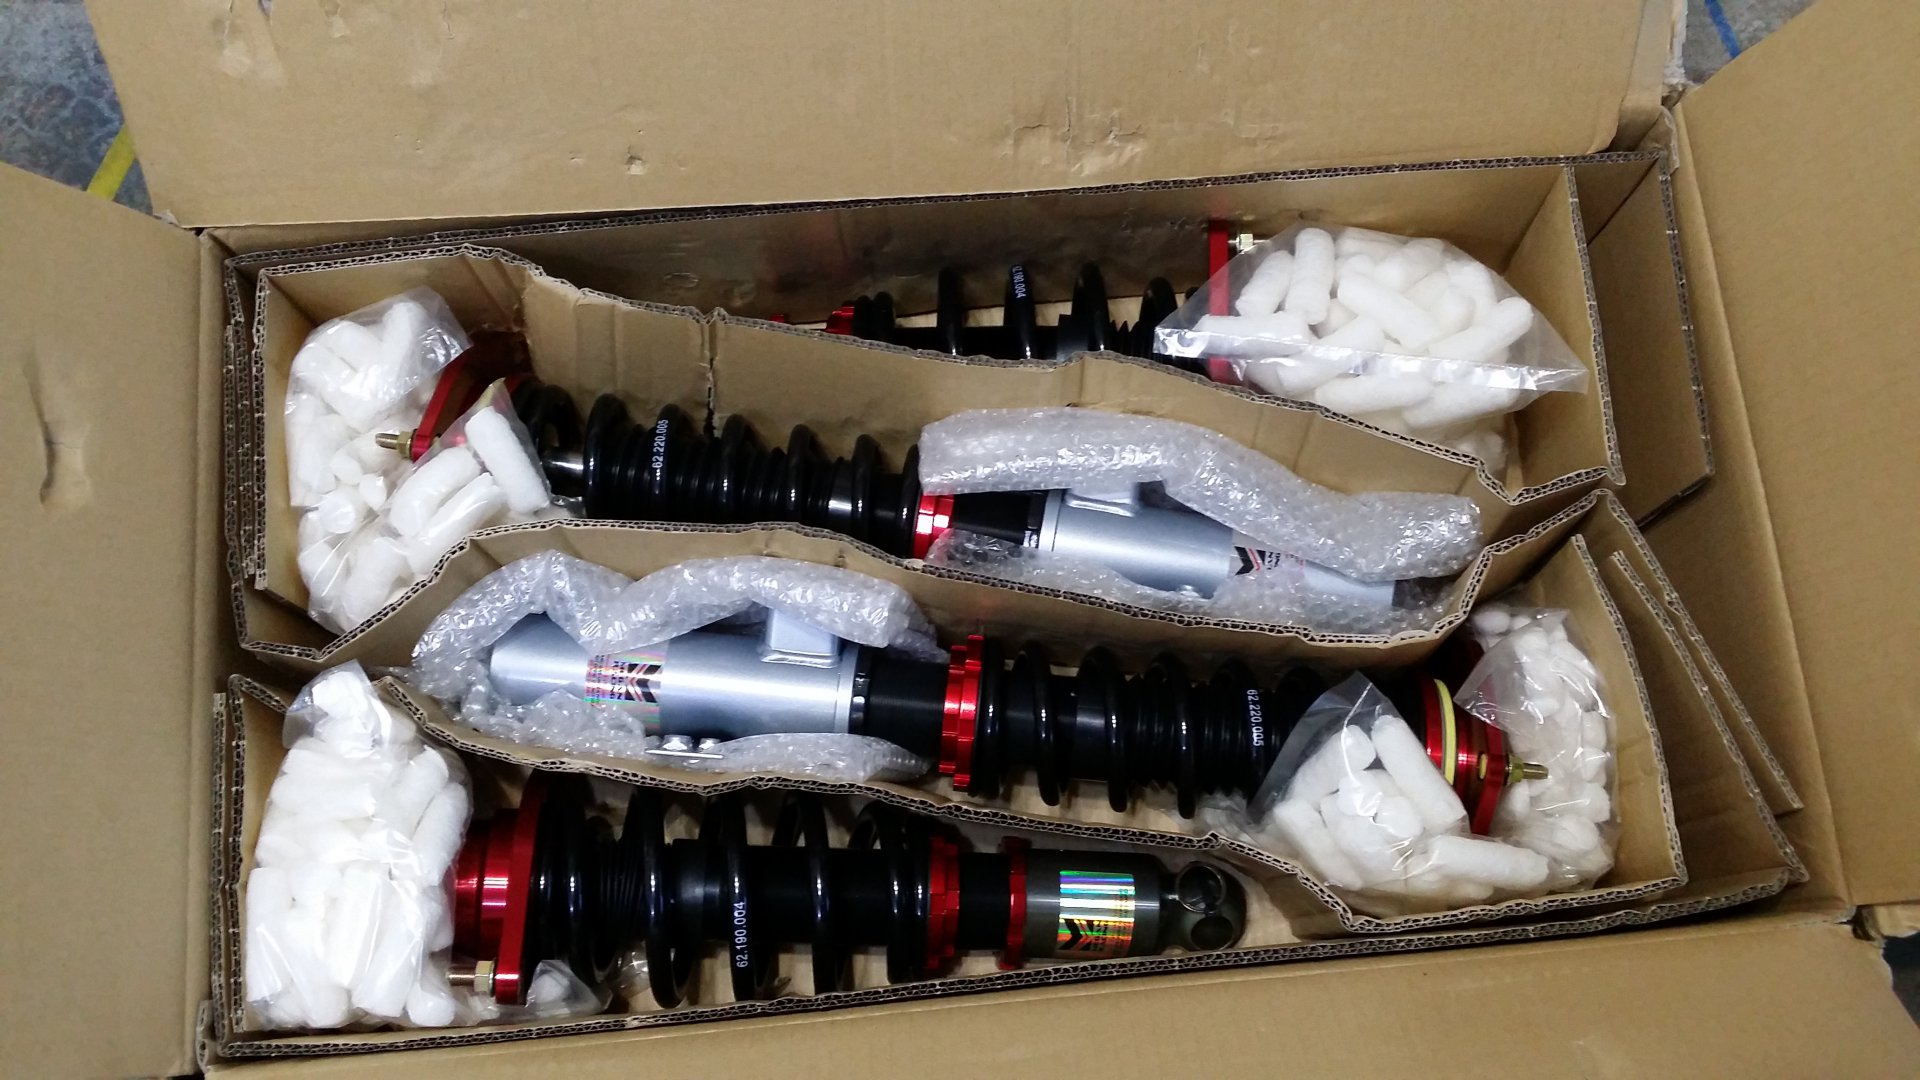
There are tons of DIY on how to replace shocks and struts. This is a bit easier since we don't have to mess with springs. In short remove all the proper bolts, take the old strut /shock assembly out then slide the new ones in. The following is a collection of install pics and notes because I couldn't find any and hope this helps someone.
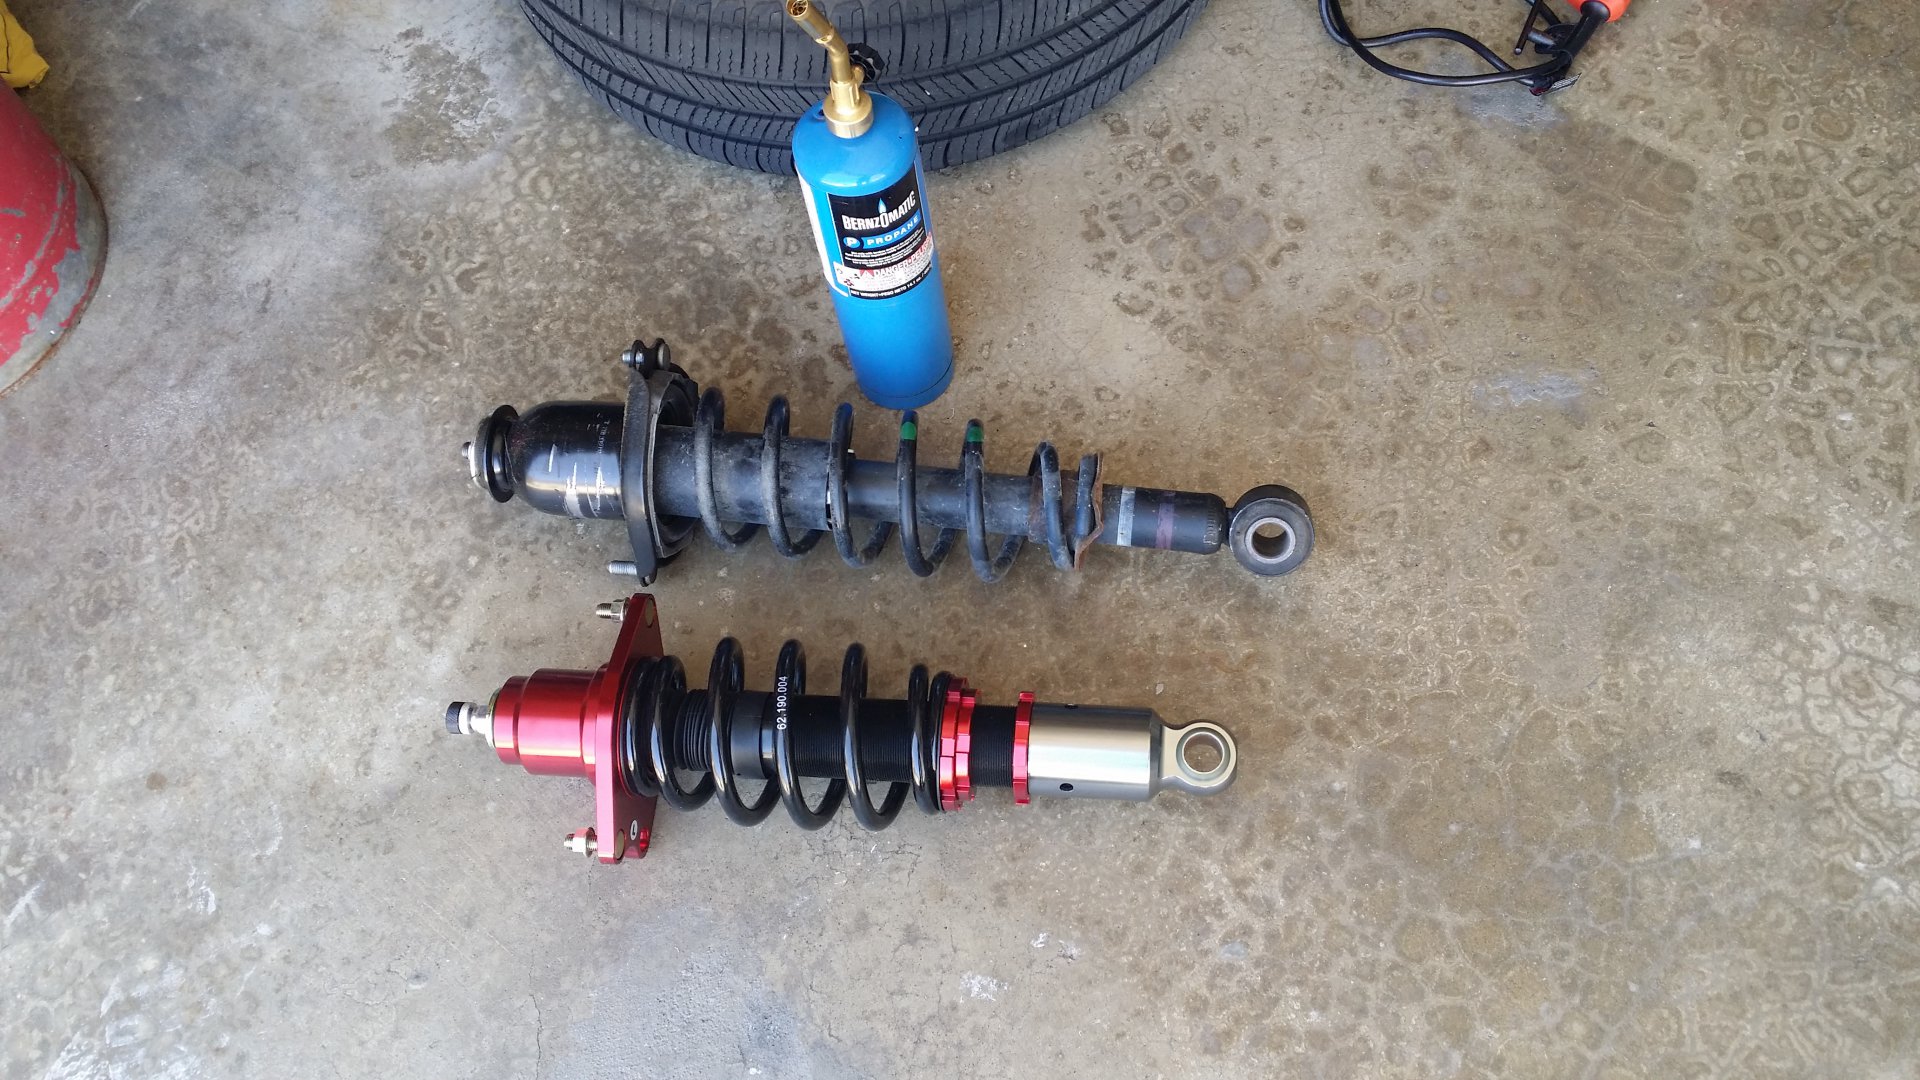
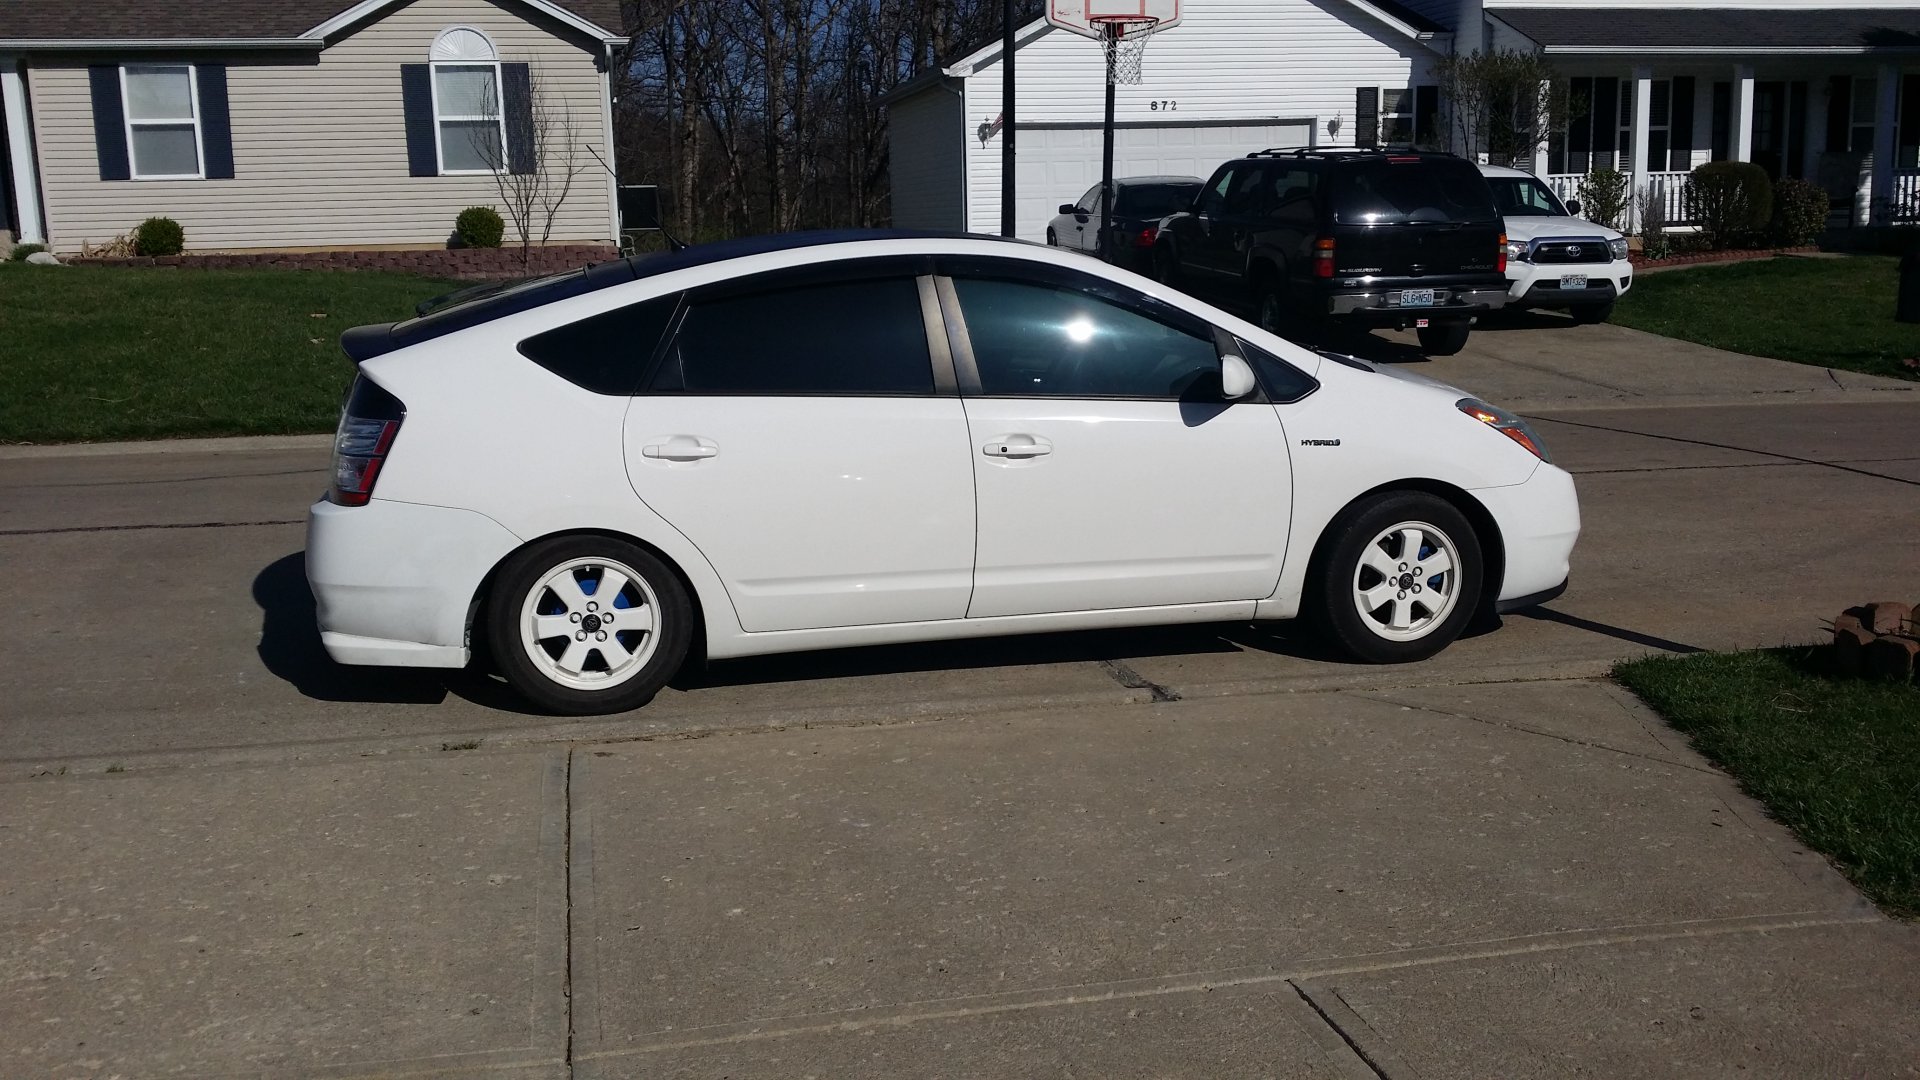
Old rear vs new rear. I didn't touch the height on the rear,it came low like this. Guessing like an 2 inch drop.
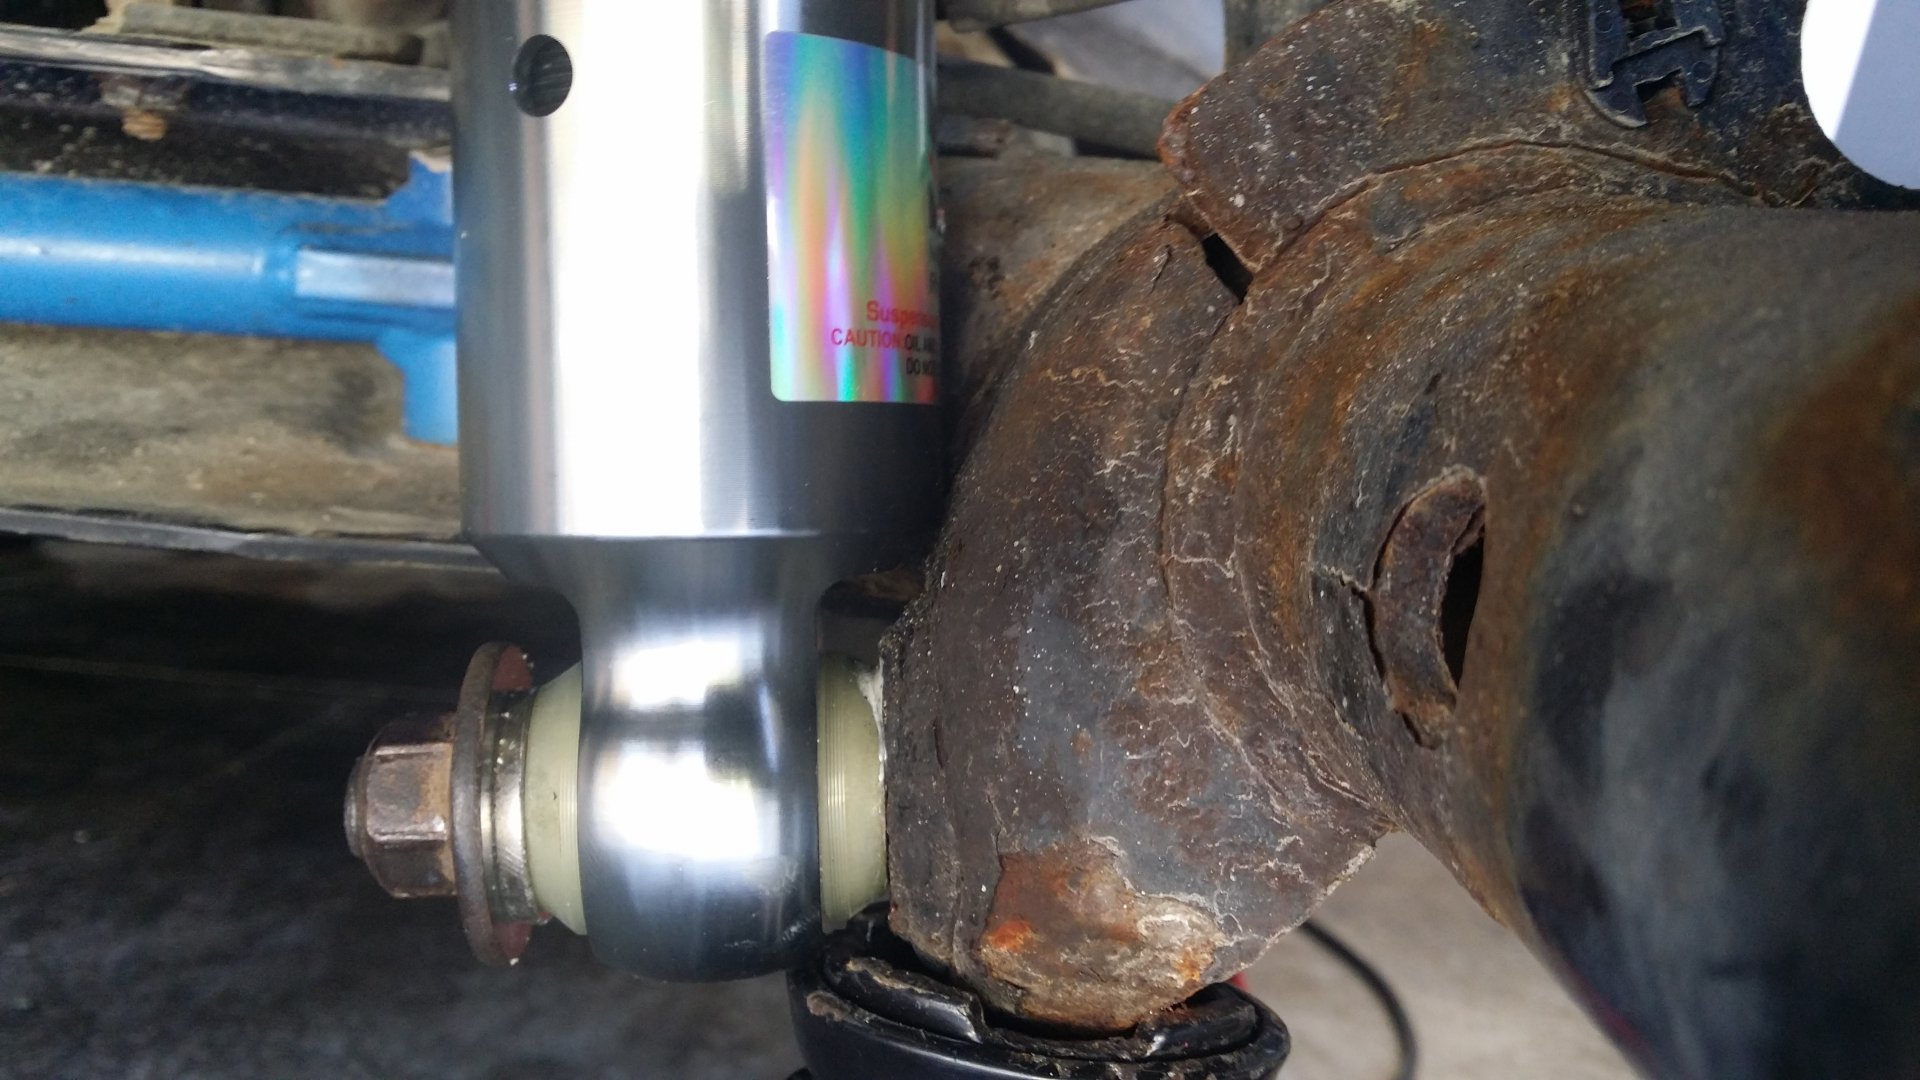
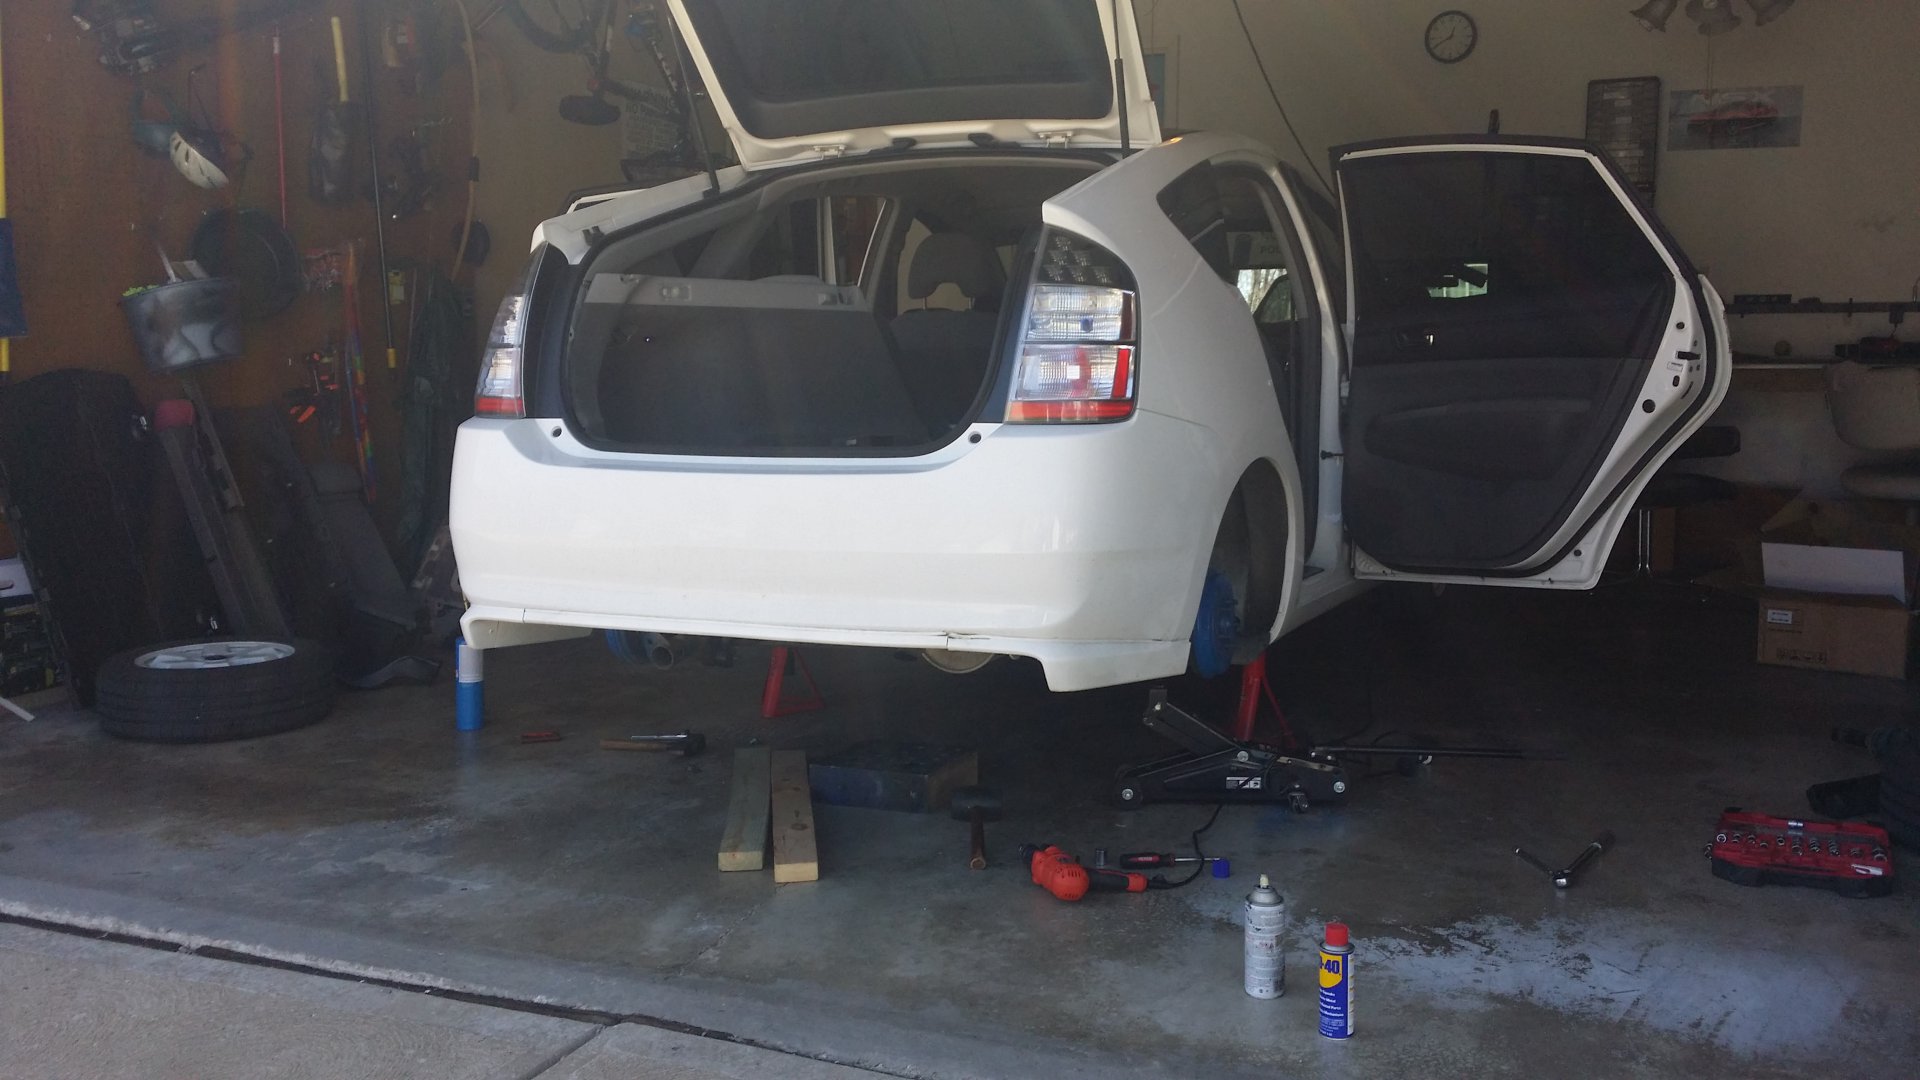
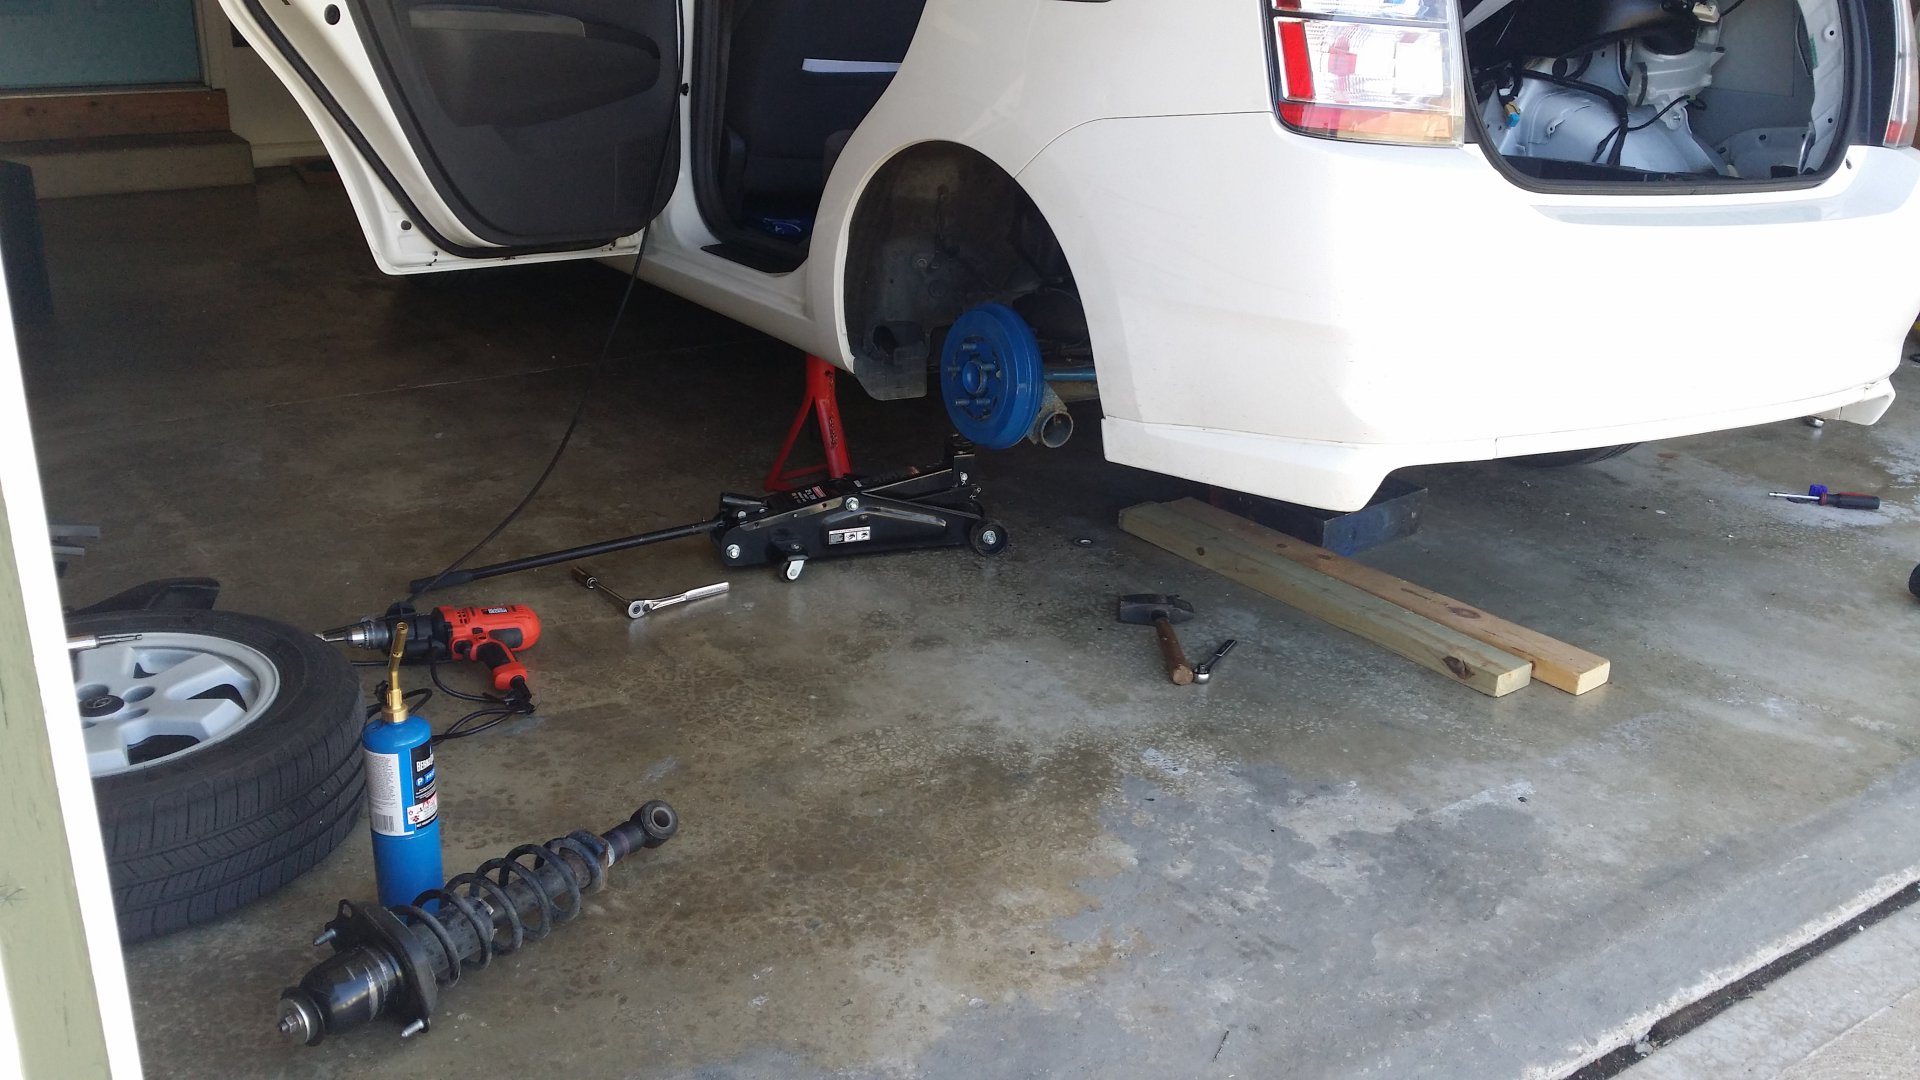
On the rears it came with an washer so I took out the factory washer. Wasn't sure where the new one goes at first. This picture is WRONG, the washer should go on the inside or else the bottom cylinder part hits. The washer goes on the inside then and bolt on the outside. I used PB blaster to help loosen bolts and a propane touch. Trunk and rear seats need to be removed to get to two top bolts.
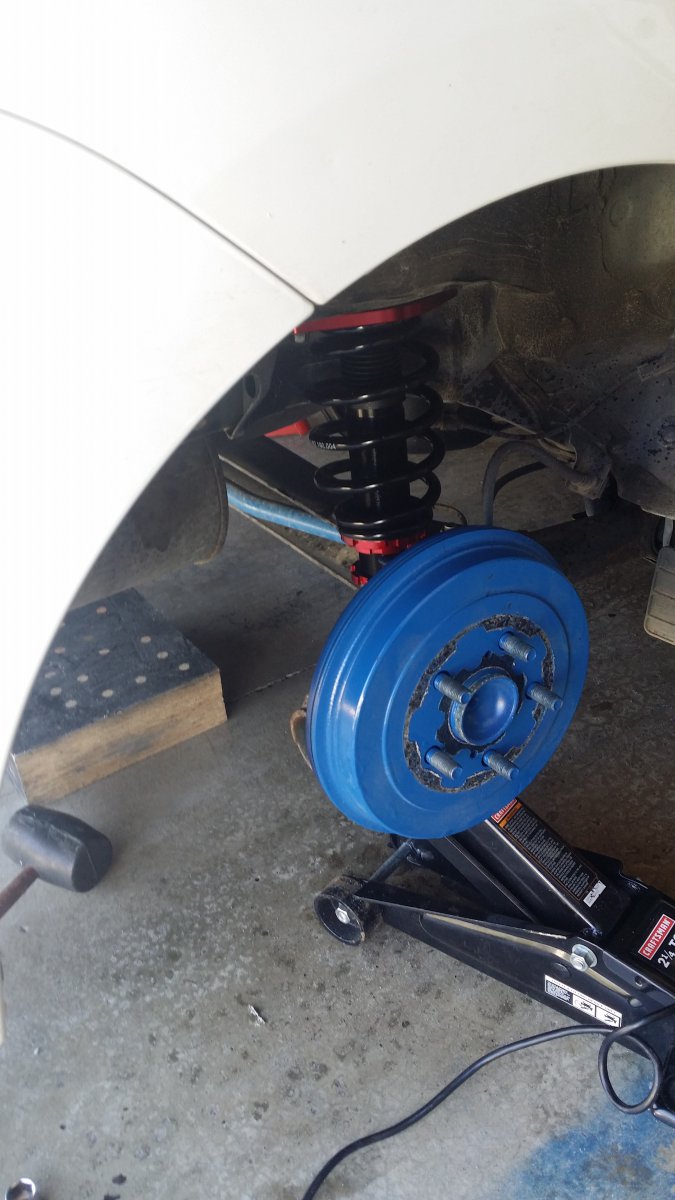
Installed right rear. Should be labeled right side. If you get mixed up match up all the mounts on the old one vs the new one.
[MEDIA=youtube]GwcBZXY3tHM[/MEDIA]
[MEDIA=youtube]_9vfpfxX4rw[/MEDIA]
Old one pulled out.
Rear lowered only
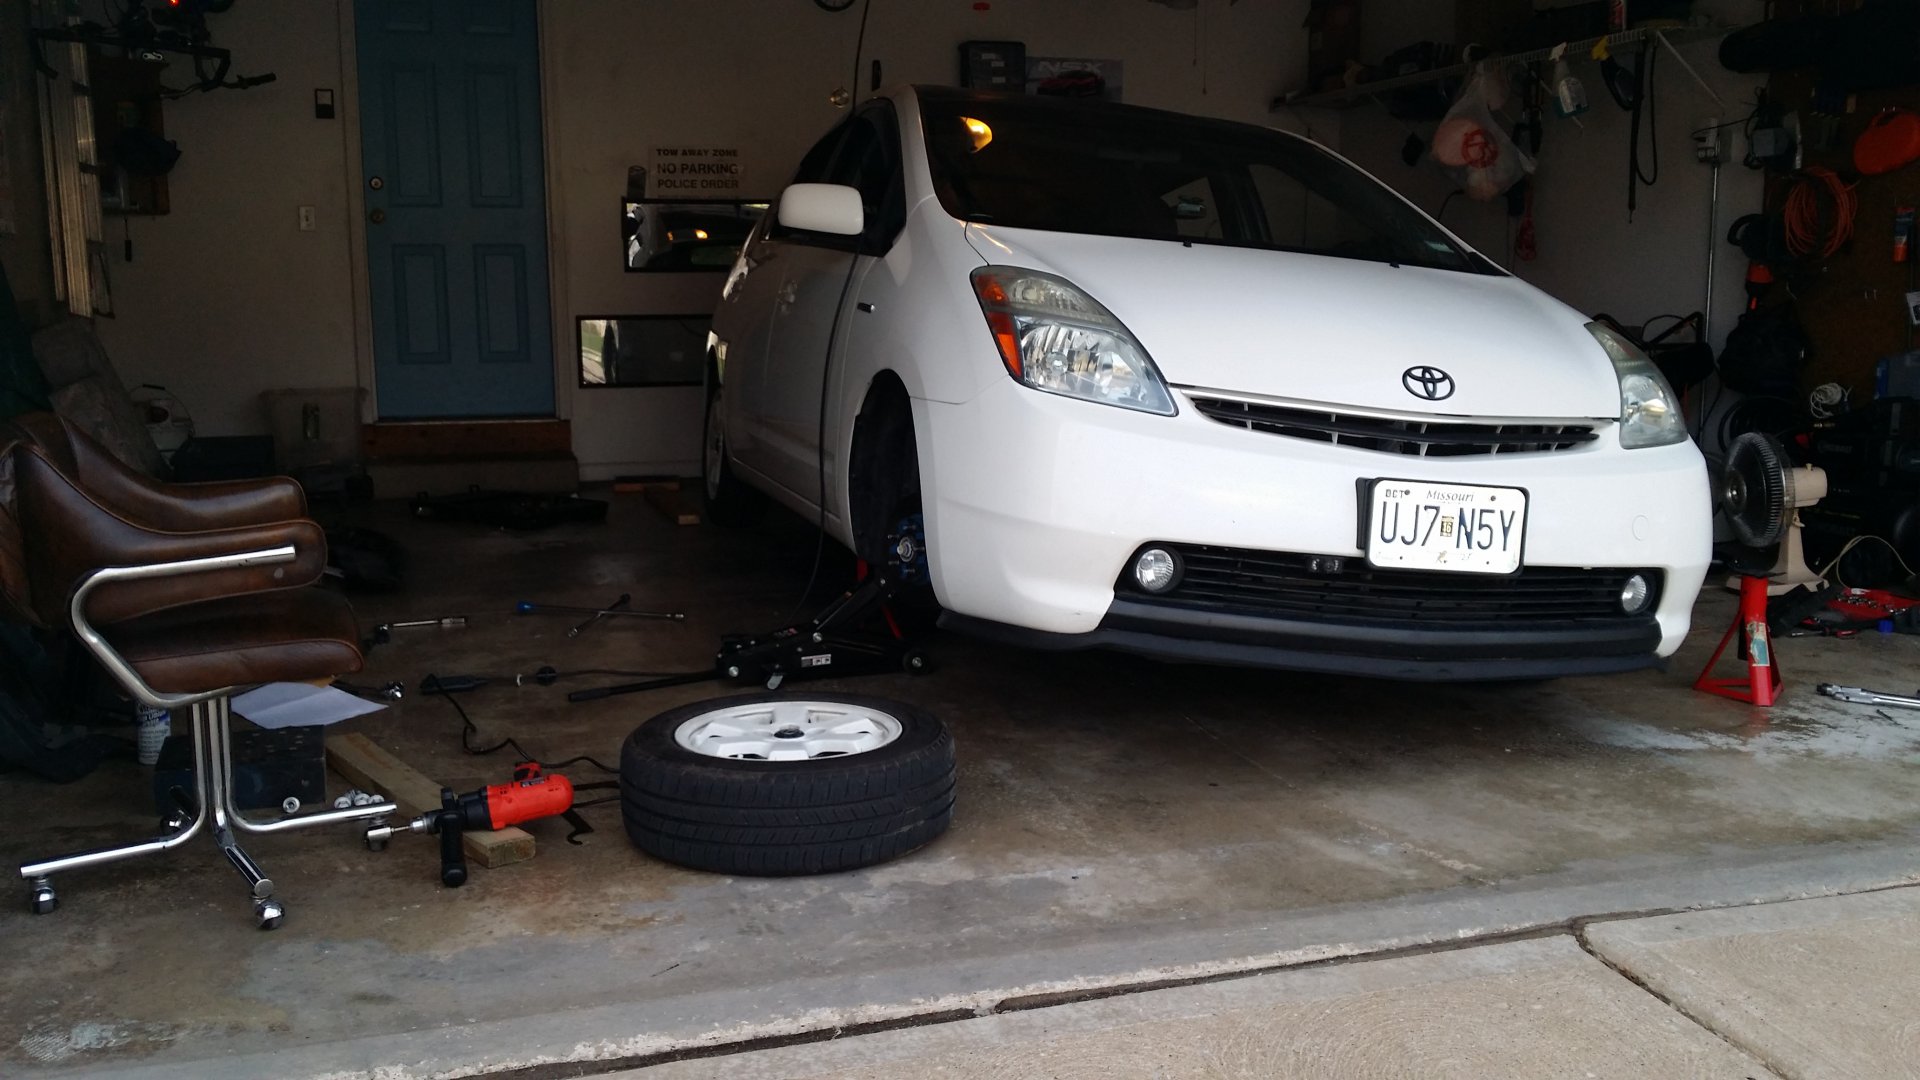
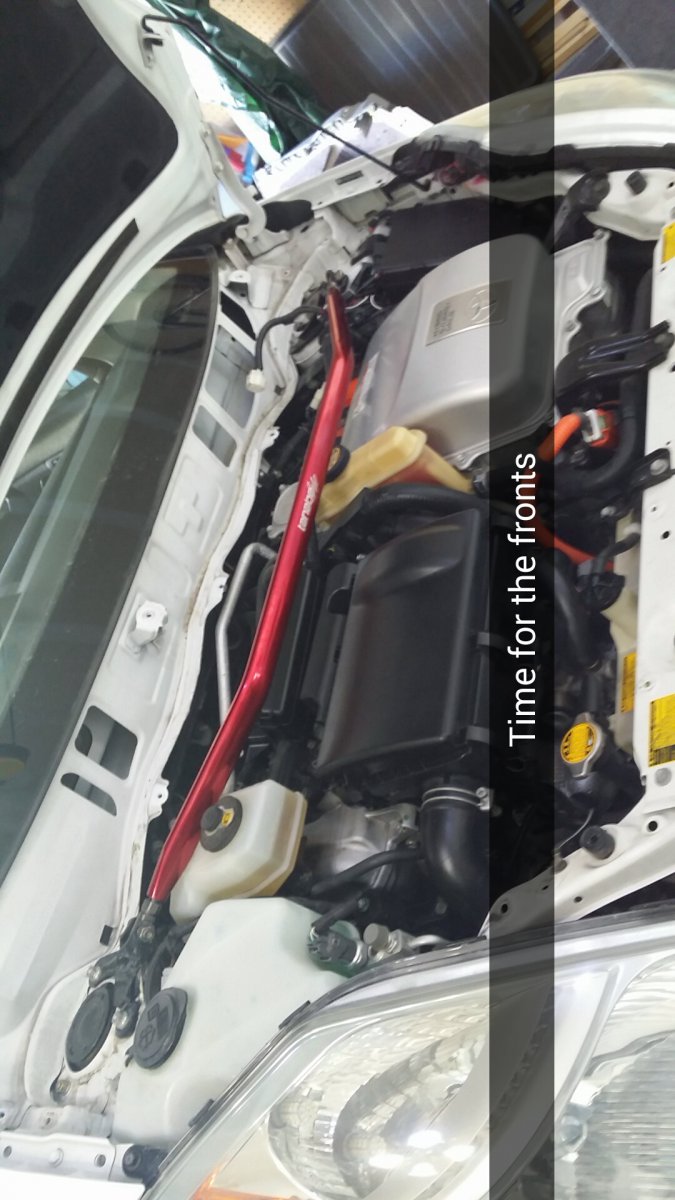
Time for Fronts
You have to remove the wiper assembly to get to the top bolts.
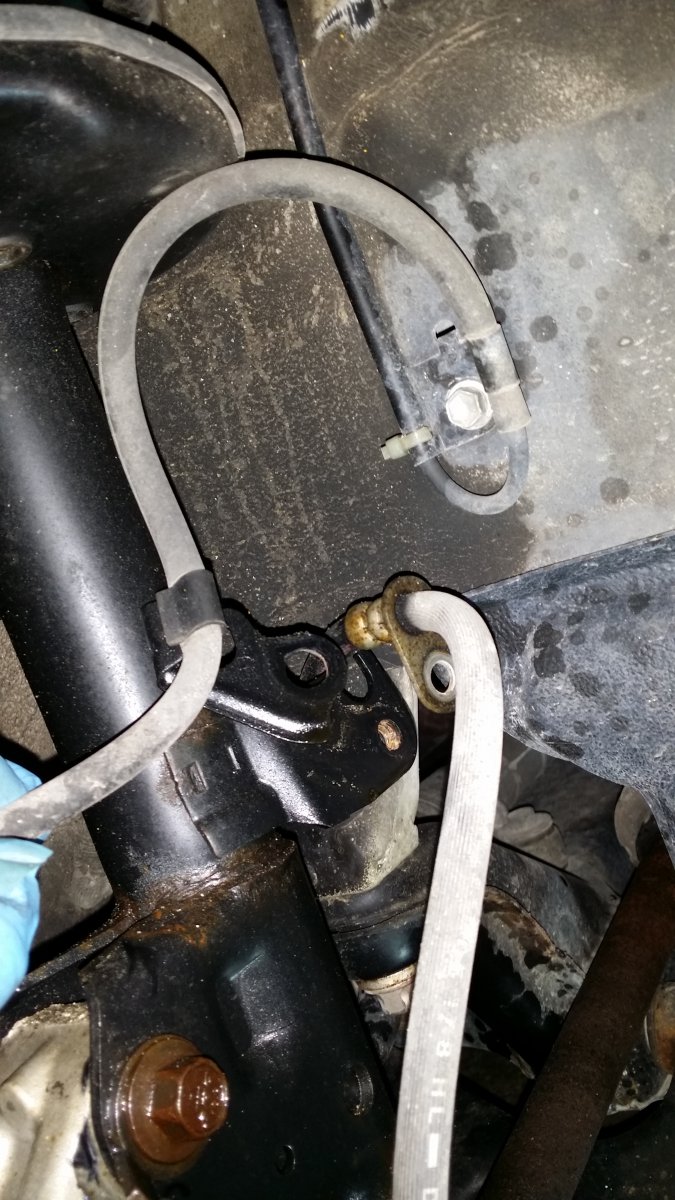
Don't forget to remove the brake cables.
Just to compare old vs new.
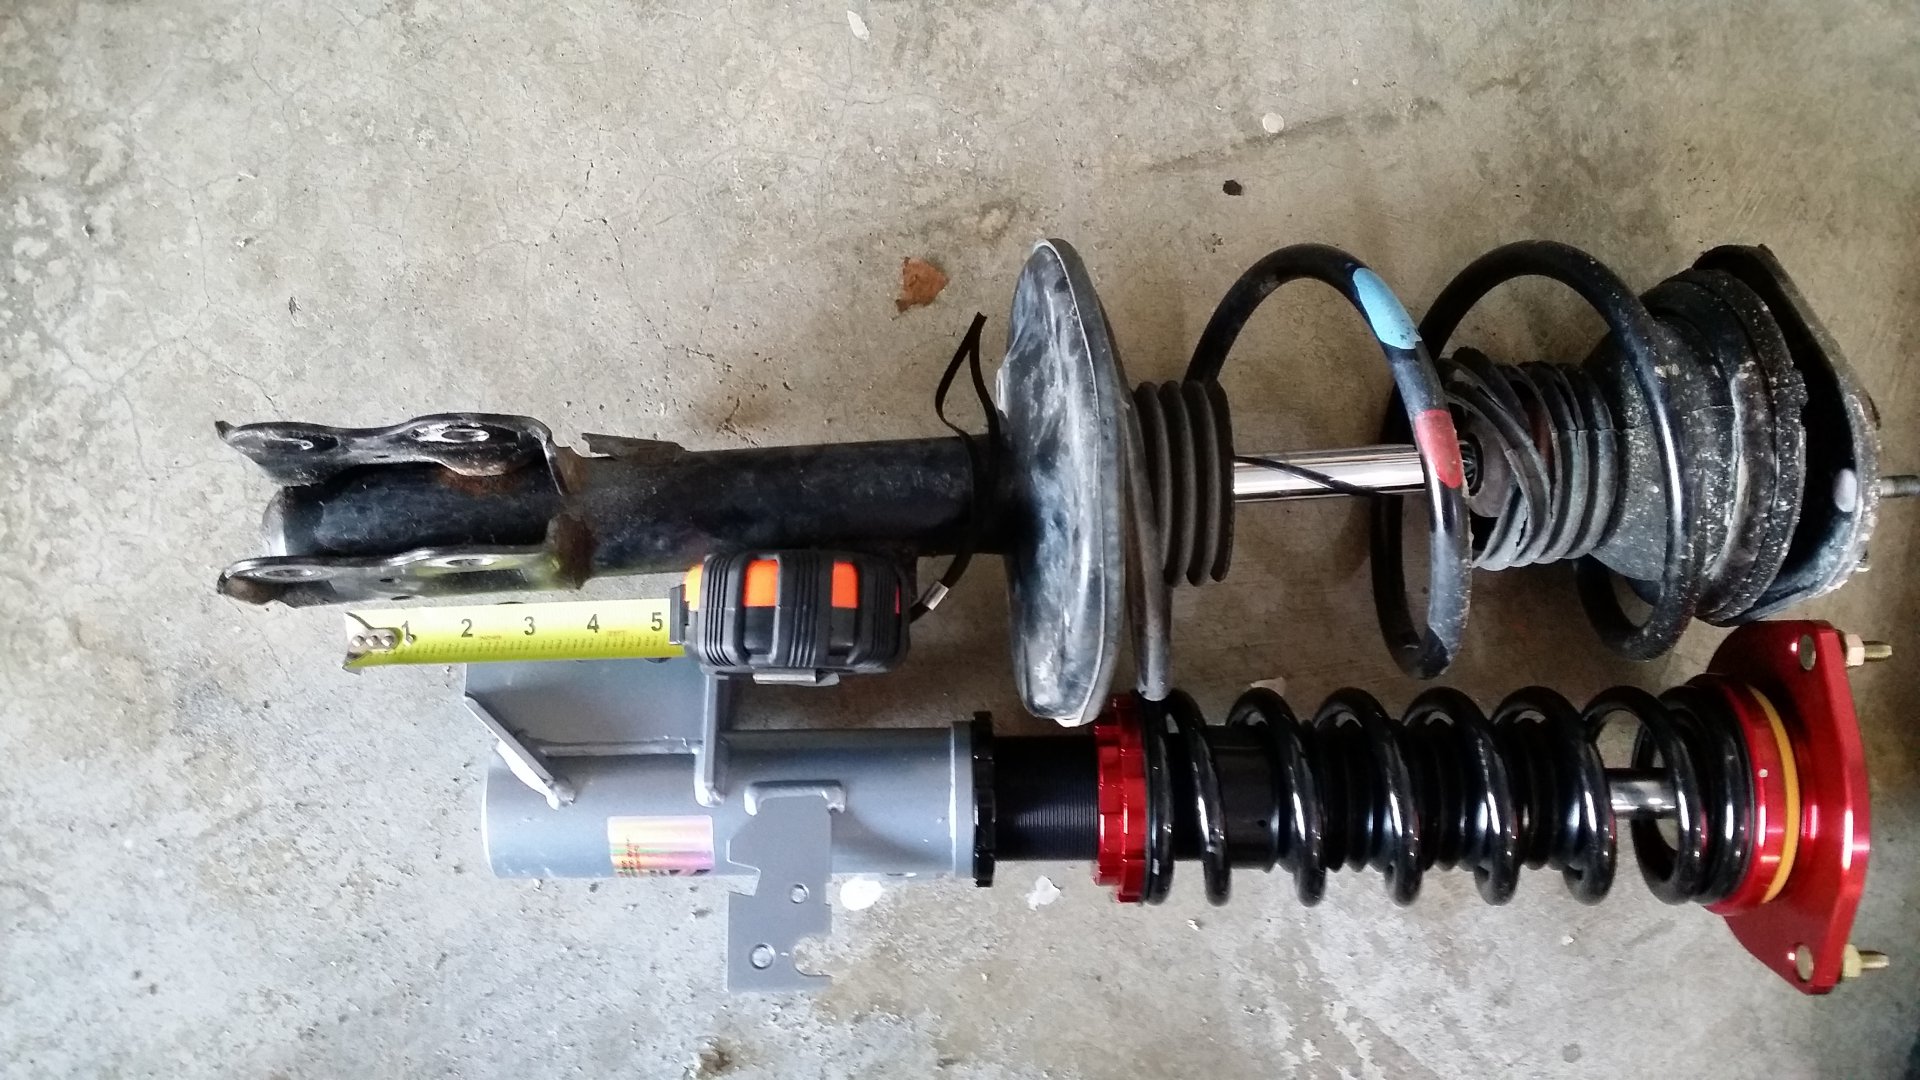
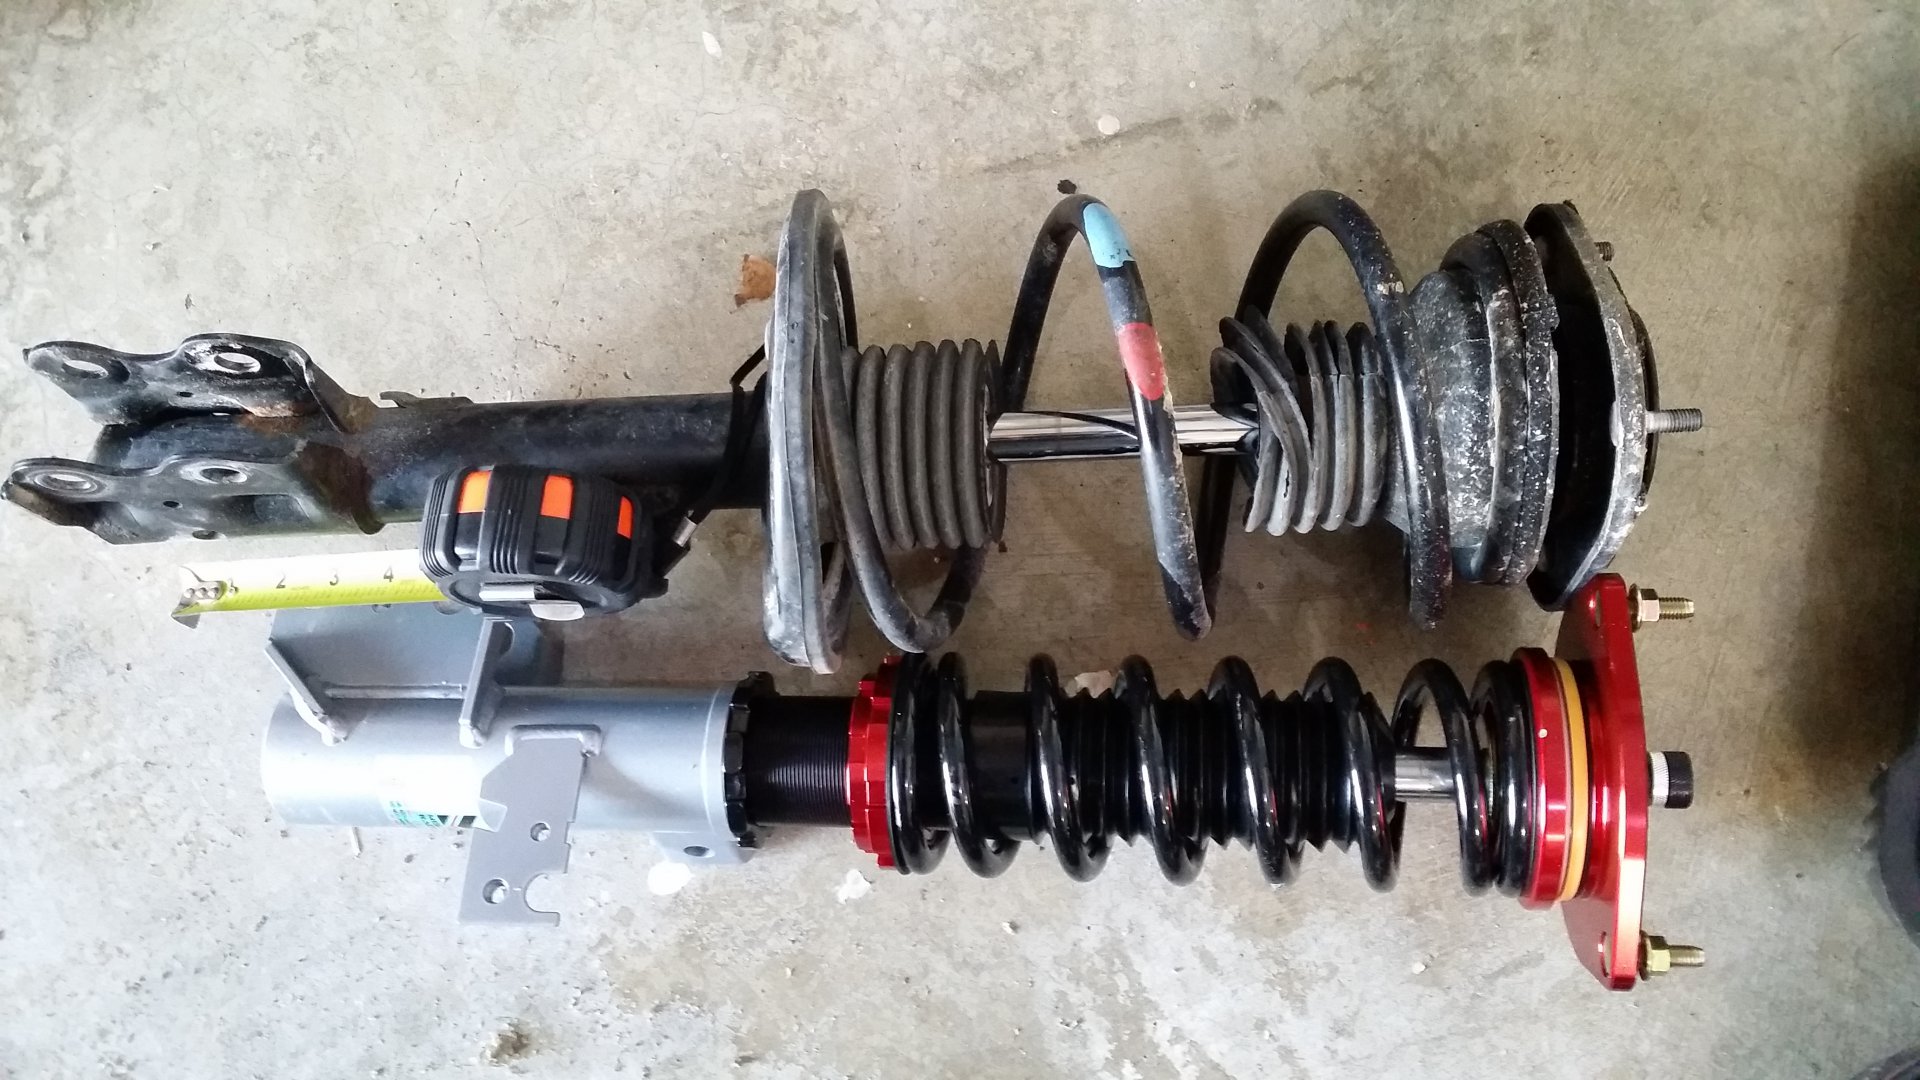
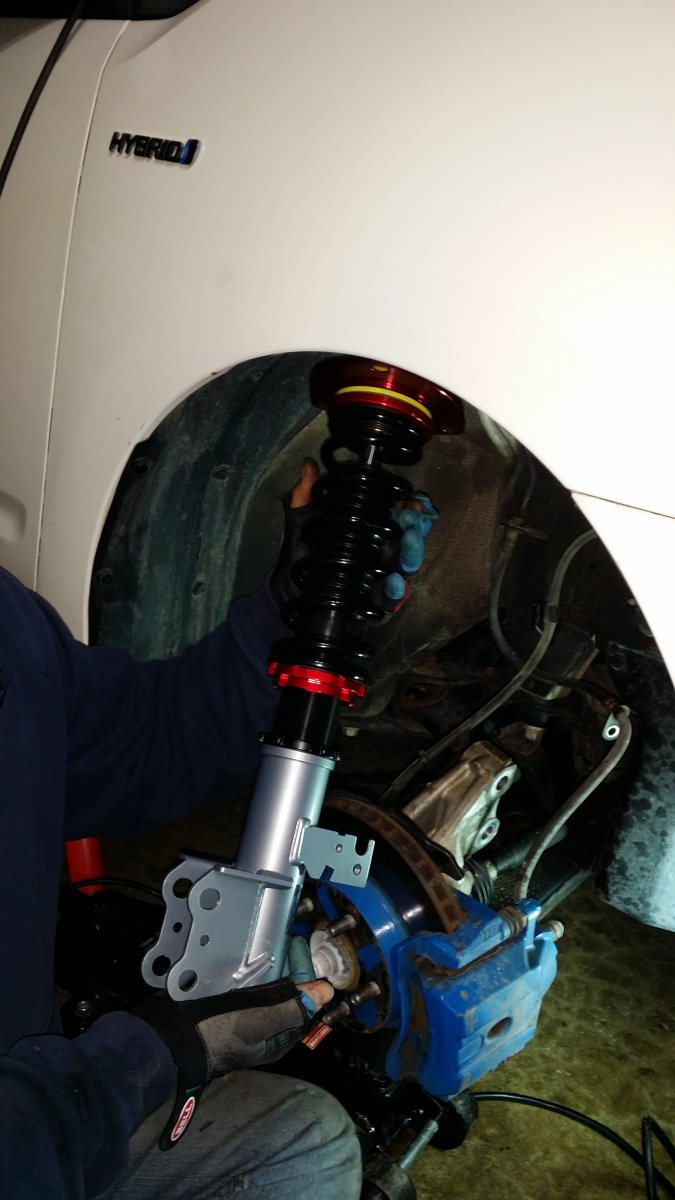
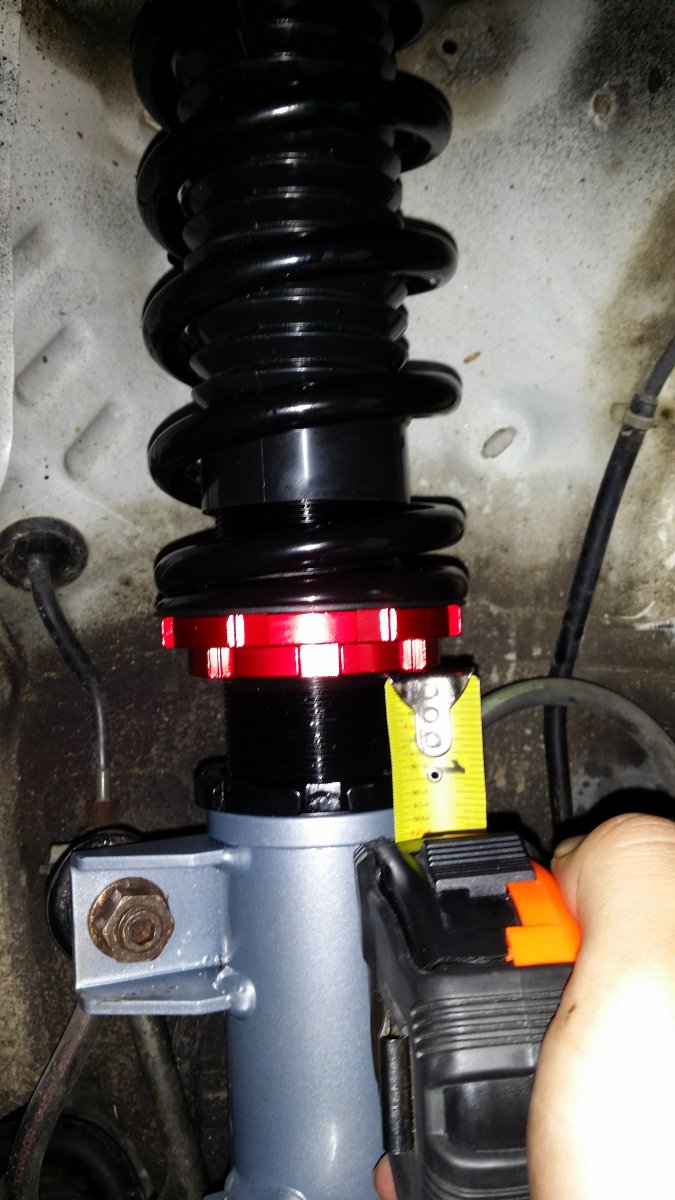
Fronts were still high so had to adjust per the included instructions. In short loosen the bottom black locking nut, move up to go lower then turn the top red locking nut the opposite direction. After a few turns I just started moving the whole things by hand until the bottom black lock nut hits the silver lower part. Measure the gap and make the gap on the other side the same.
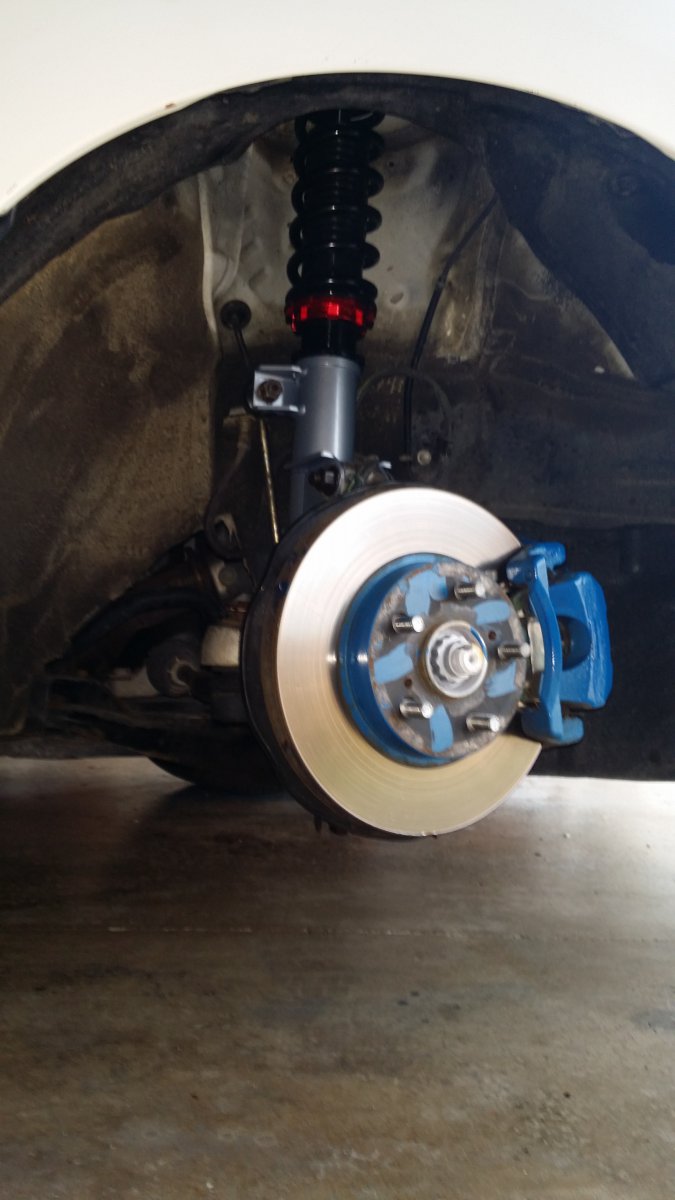
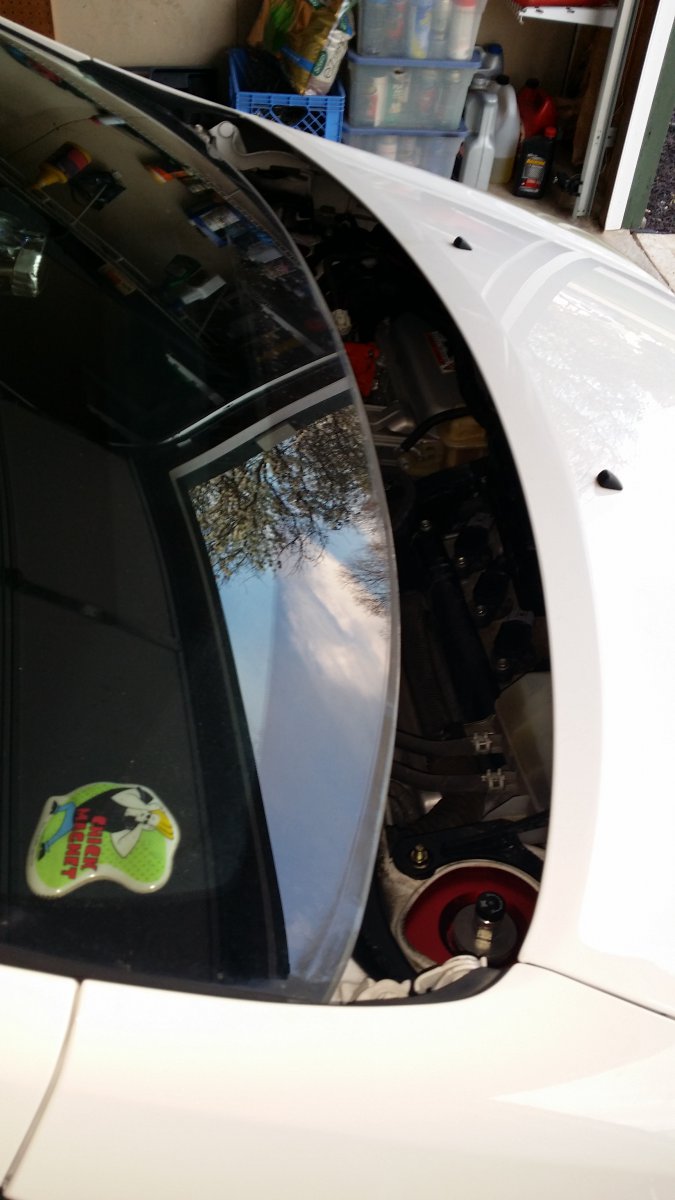
Left the wipers off so I could double check nuts and adjust damper. There are instructions on damper too. In short loose the top bolt then turn all the way right then go way left. Start adjusting from there. Mine are currently in the center. Then readjust after that to your preference.
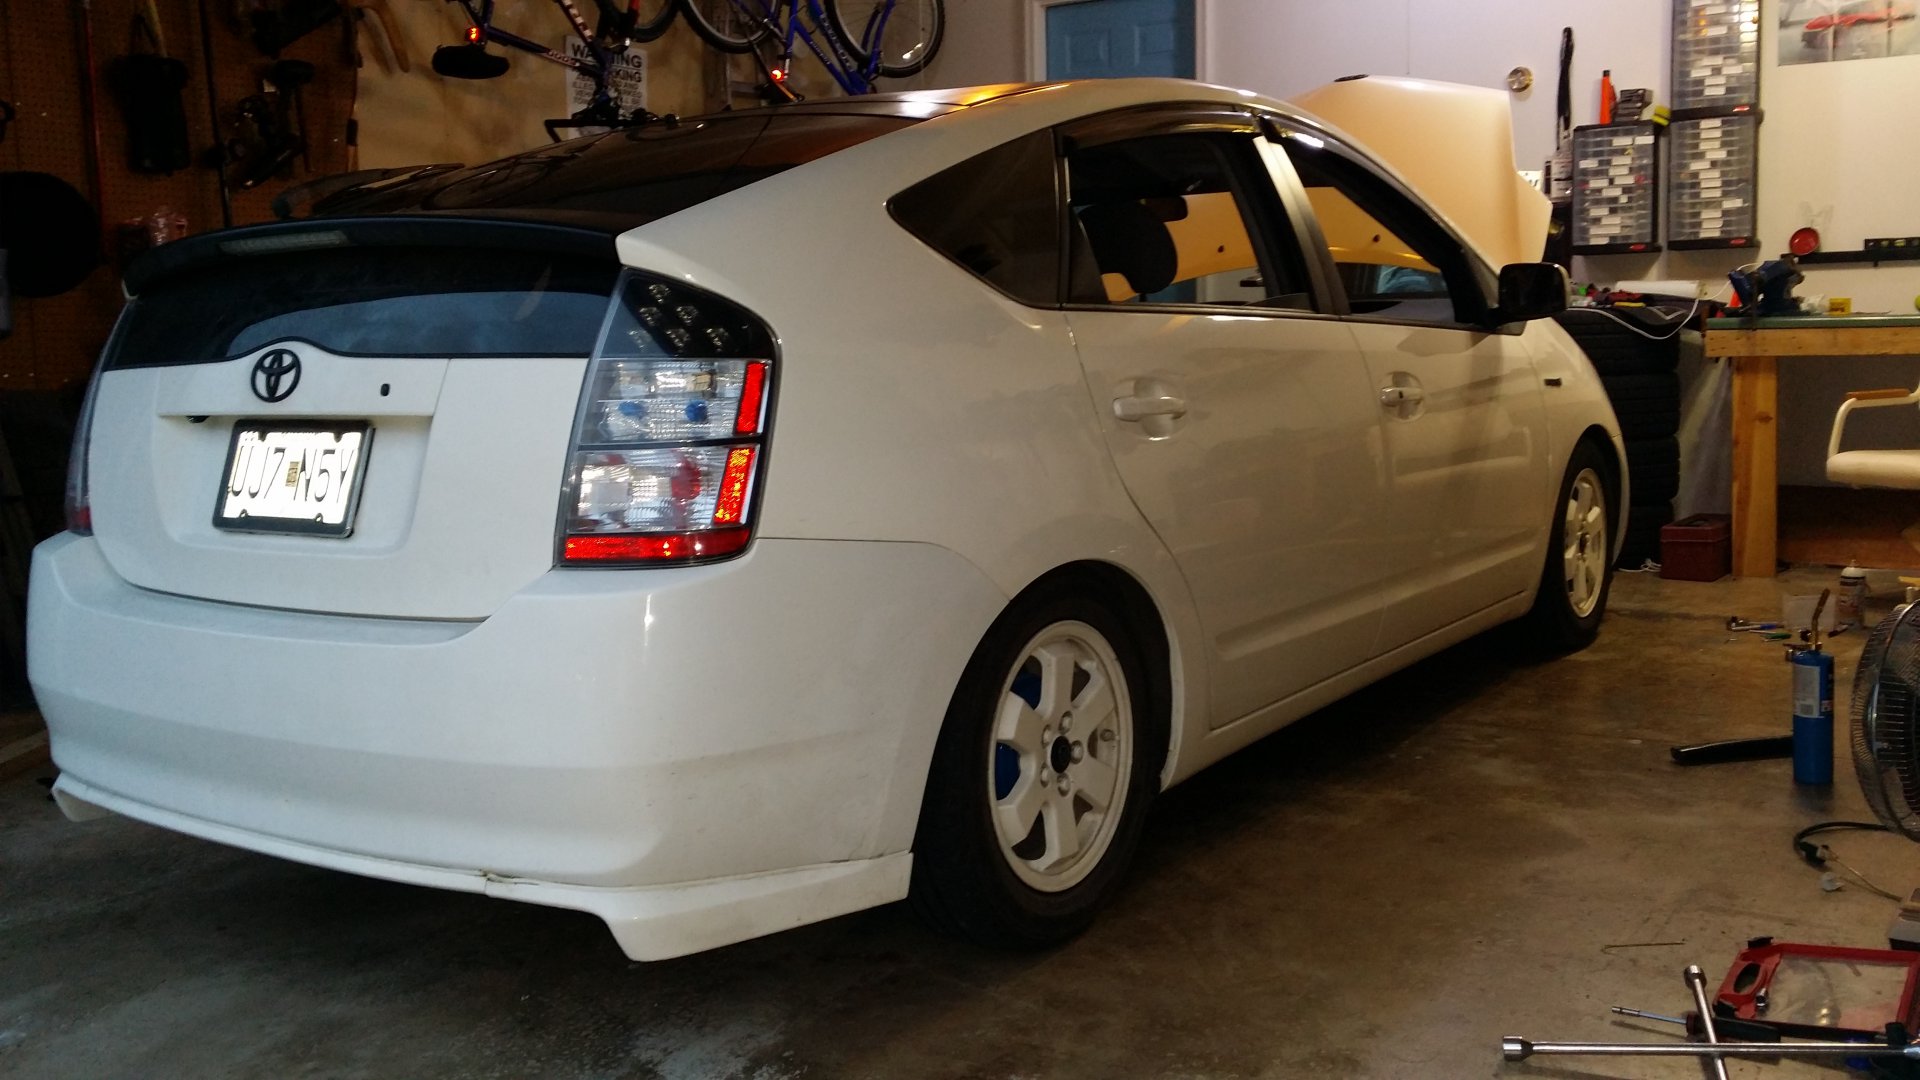
Rears gap.
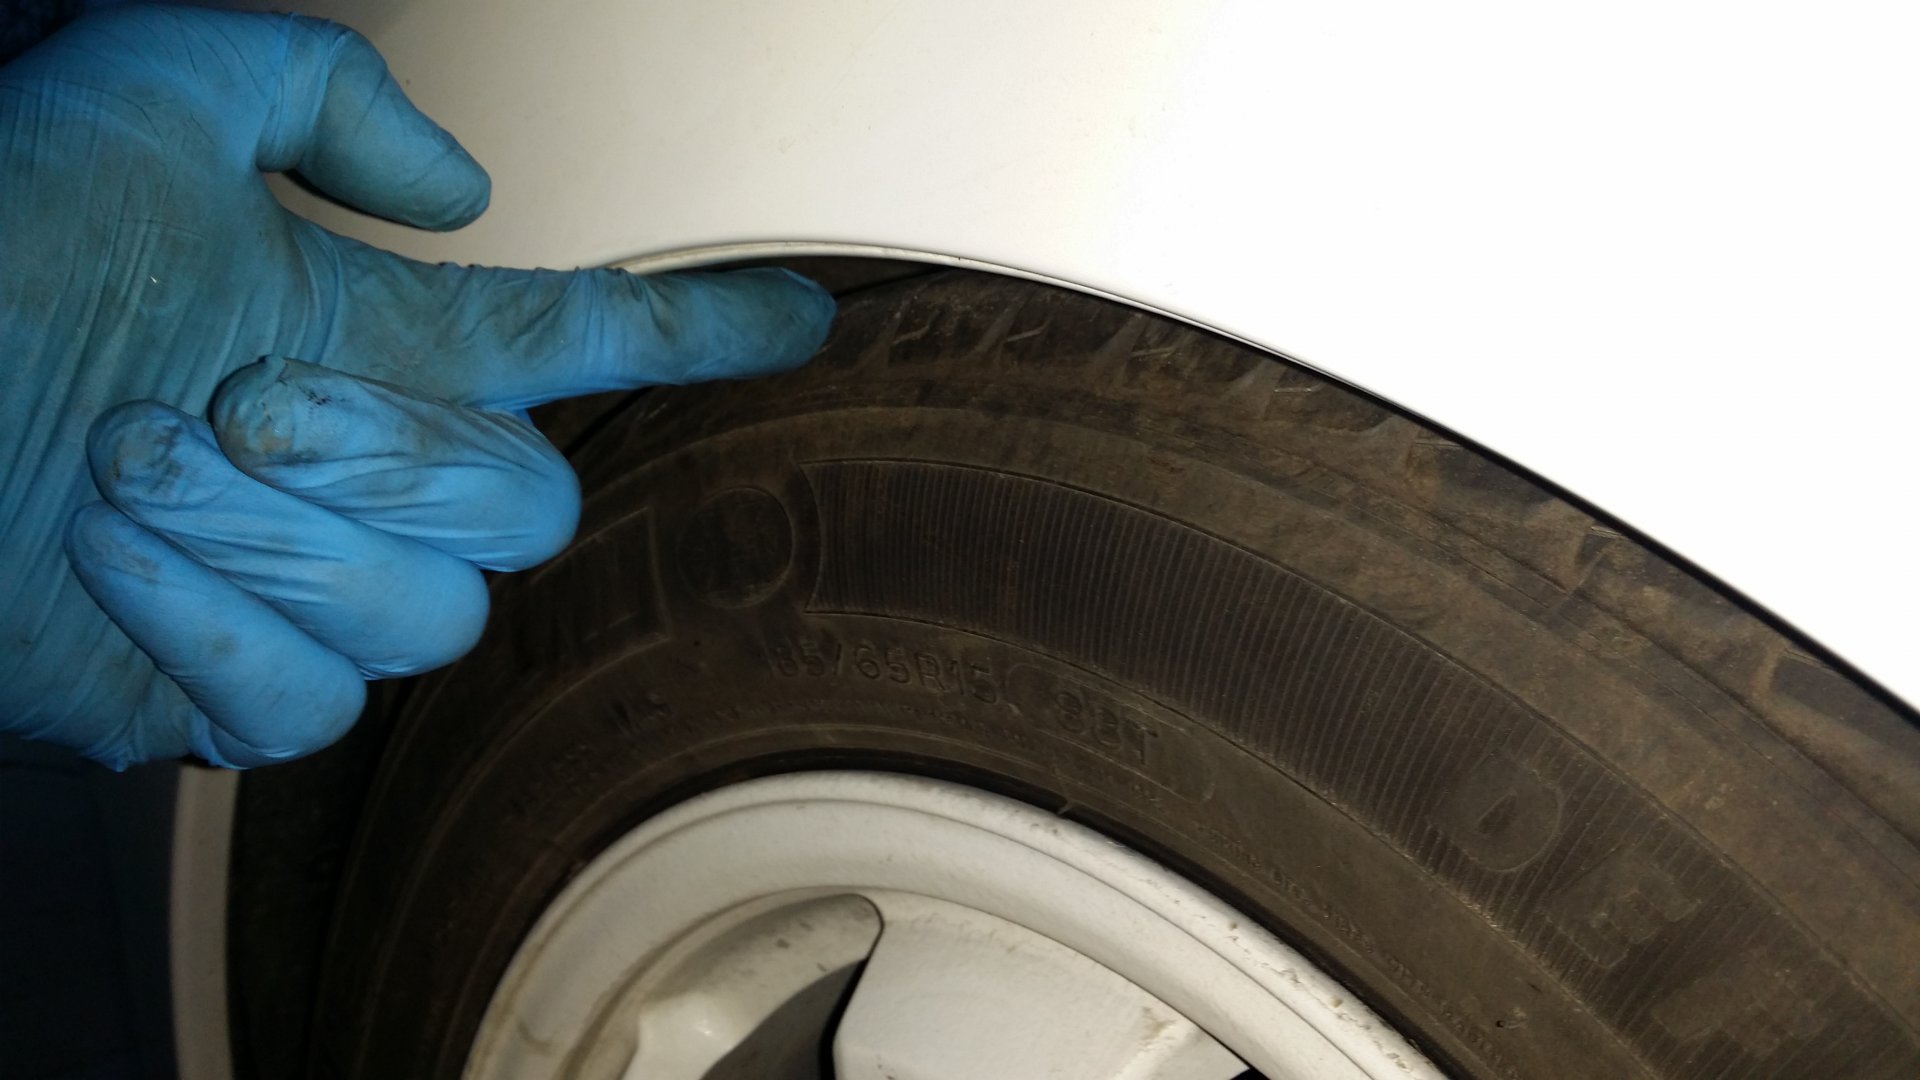
Fronts... Thinking of going lower.
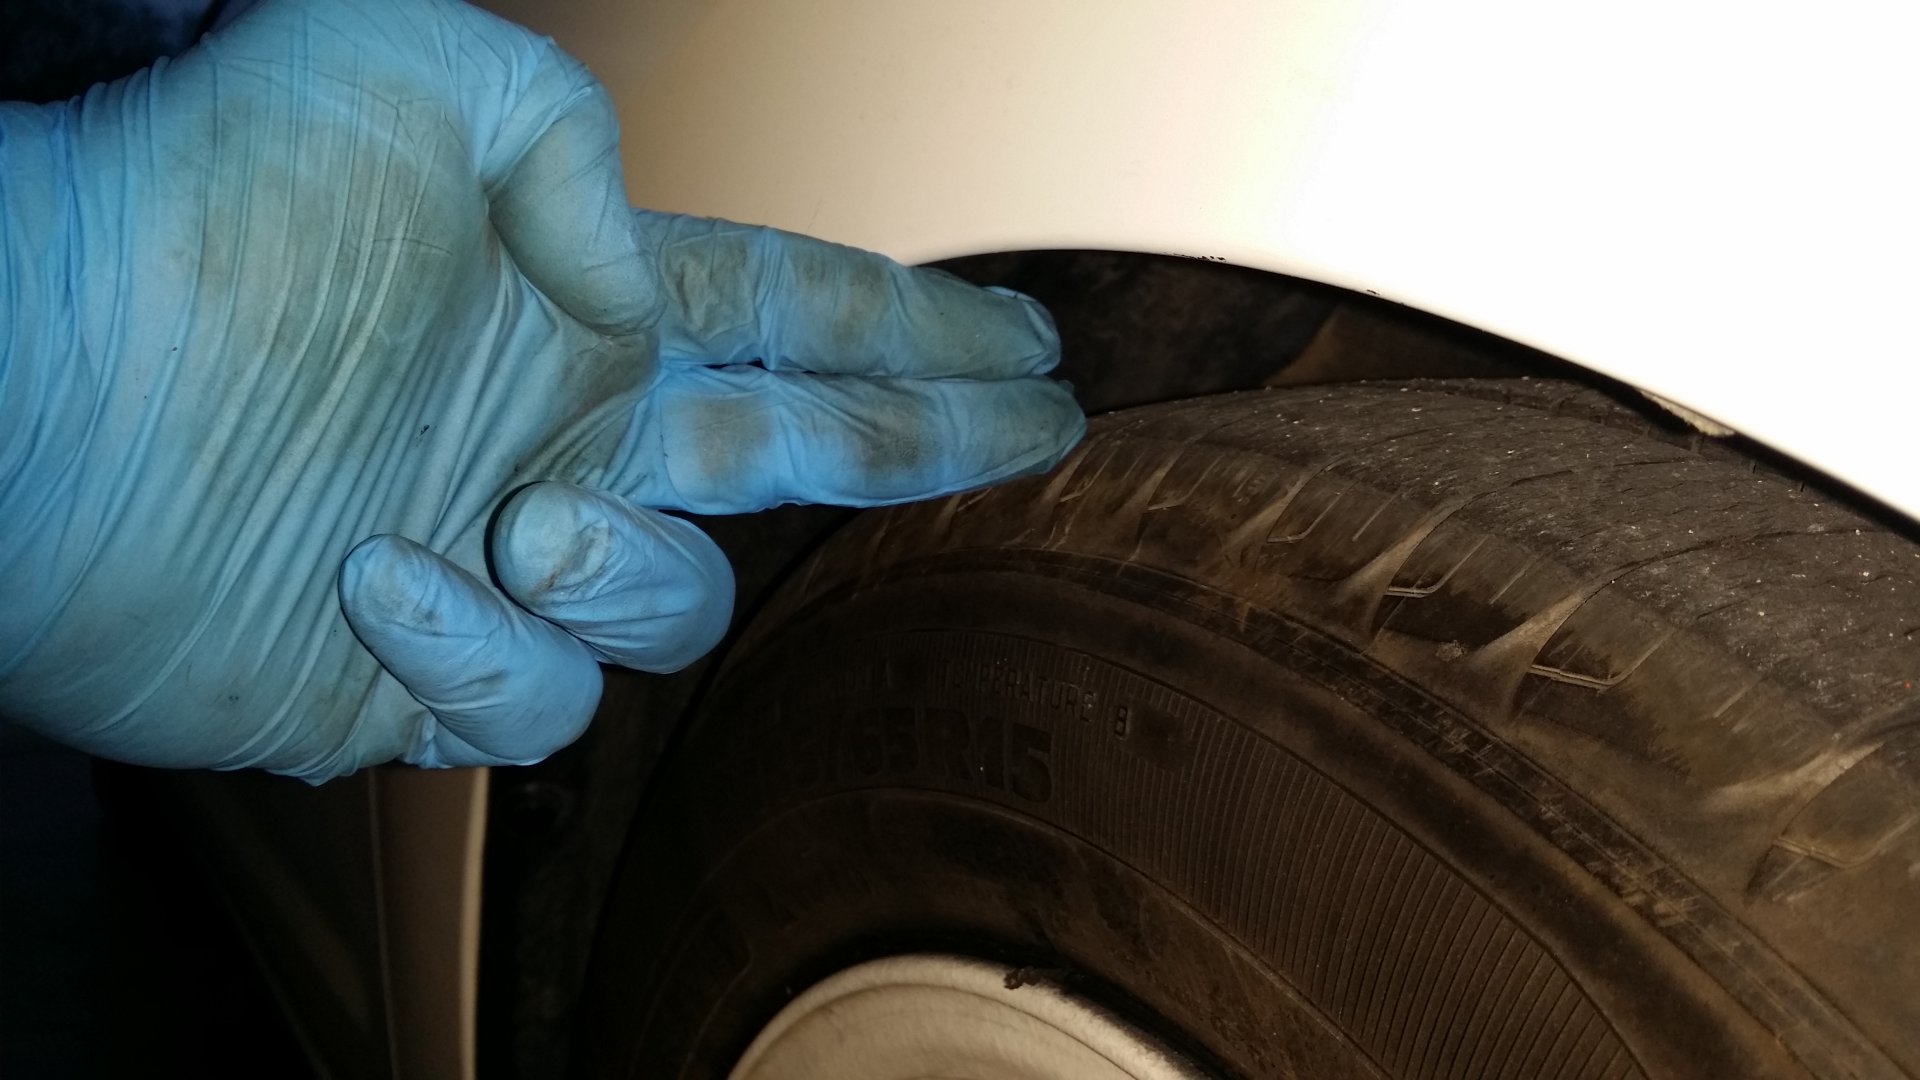
After this my alignment was way off. Needed an camber bolt and rear shim to adjust at the thrid place I took it. First two didn't want to work on a lowered car. One claimed it's because the height won't show right on their machine. No issues scraping getting on the rack. I did not need to roll the fenders with stock tires but may soon just to prep for future projects.
No comments:
Post a Comment