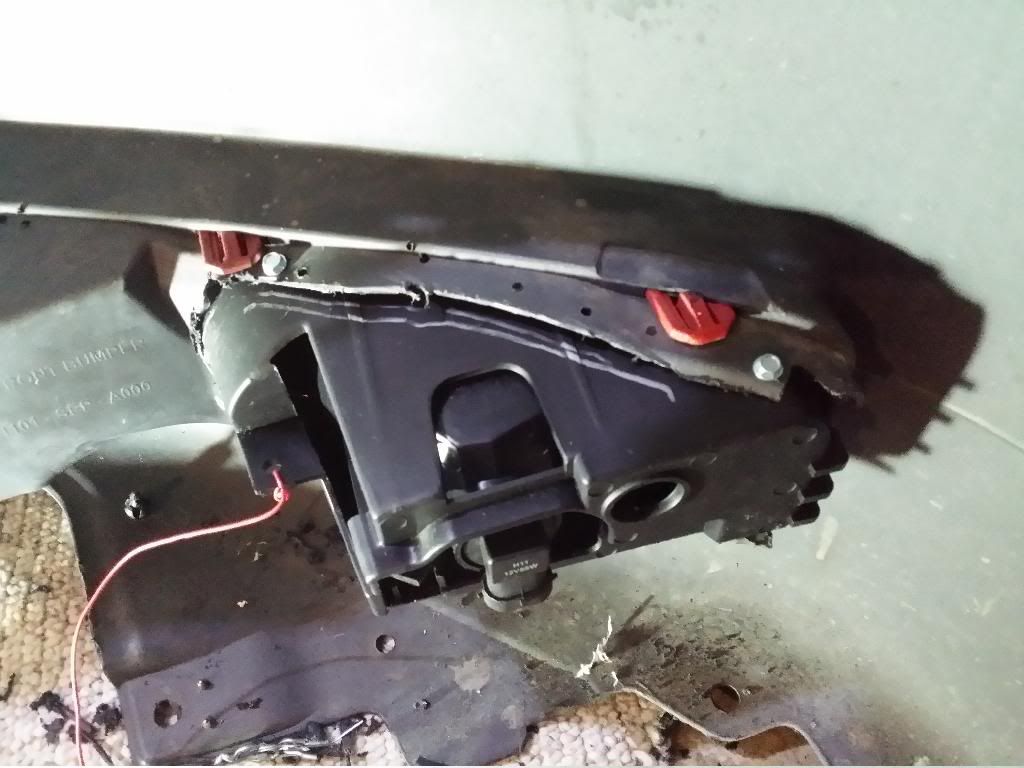
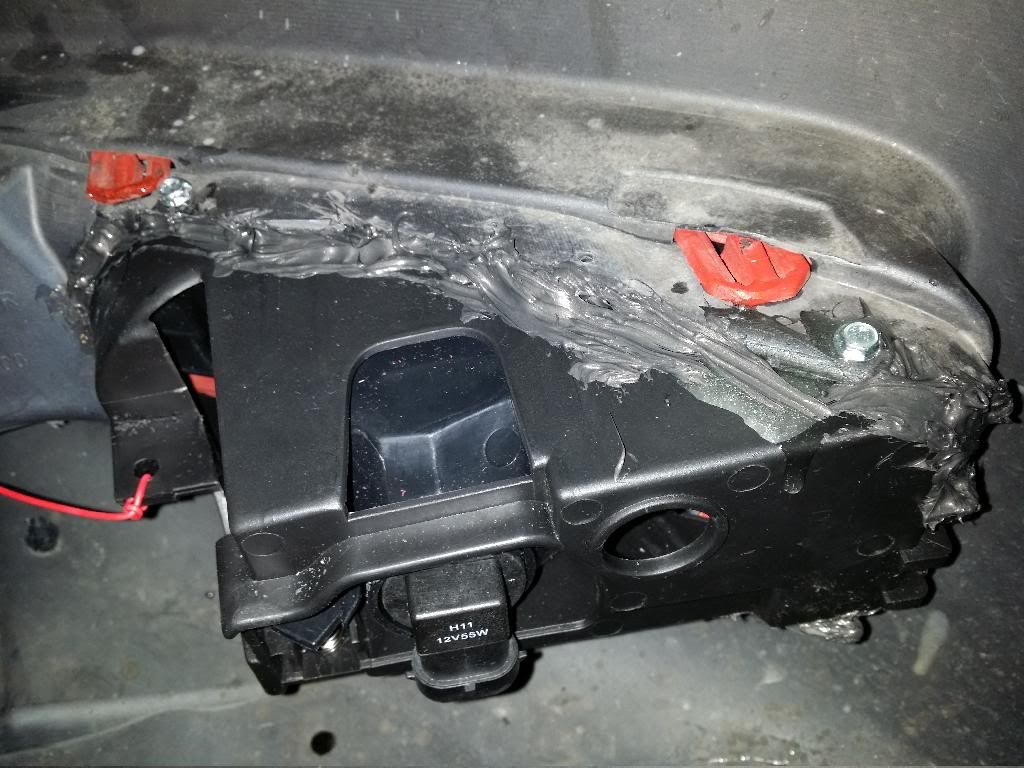
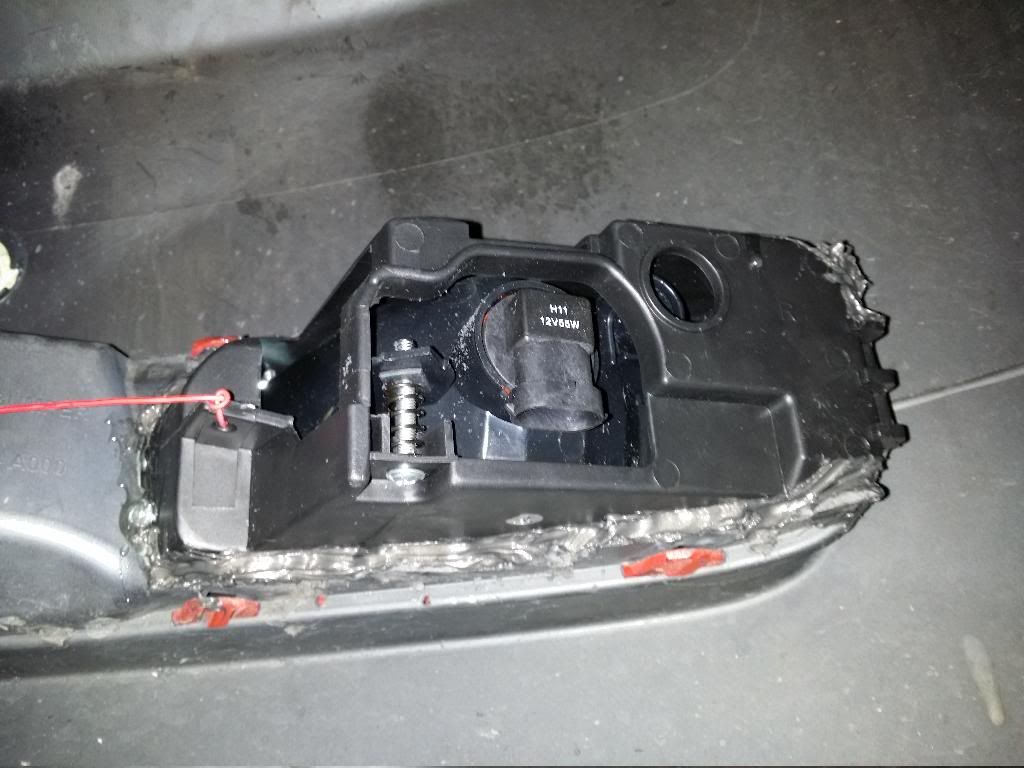
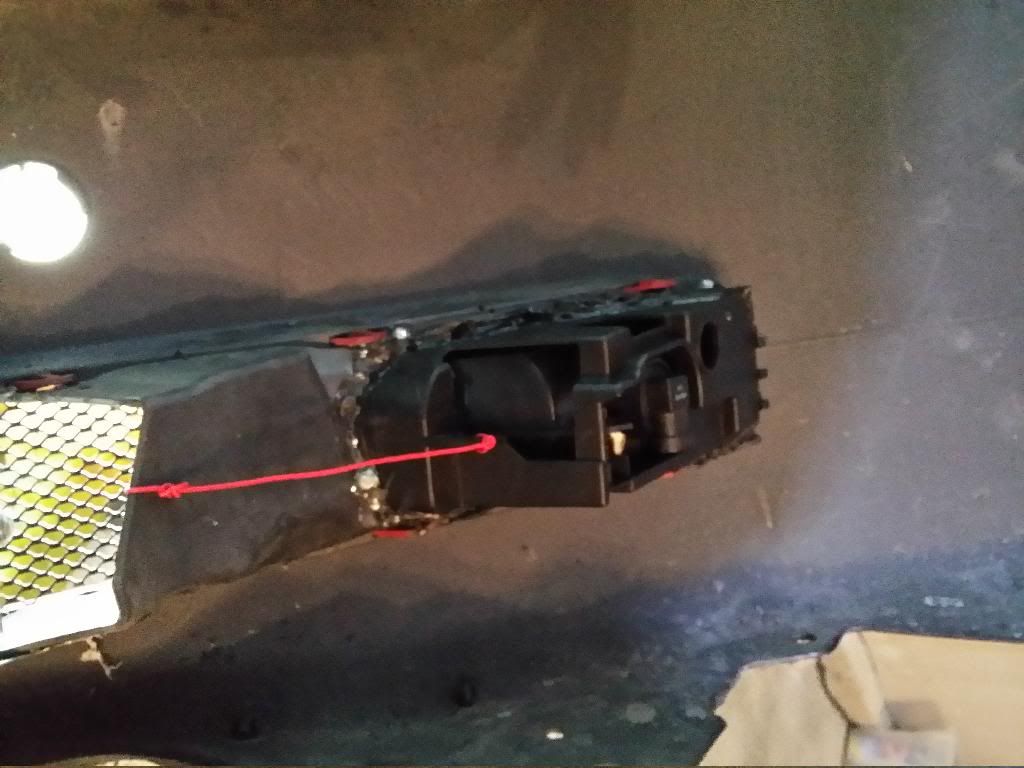
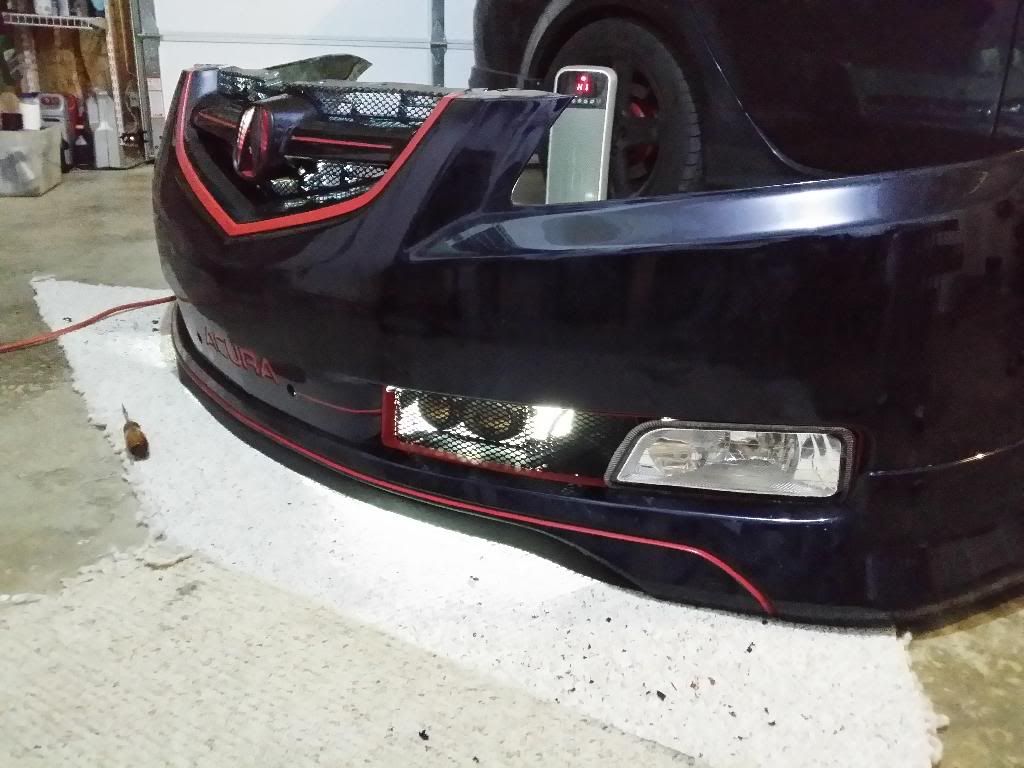
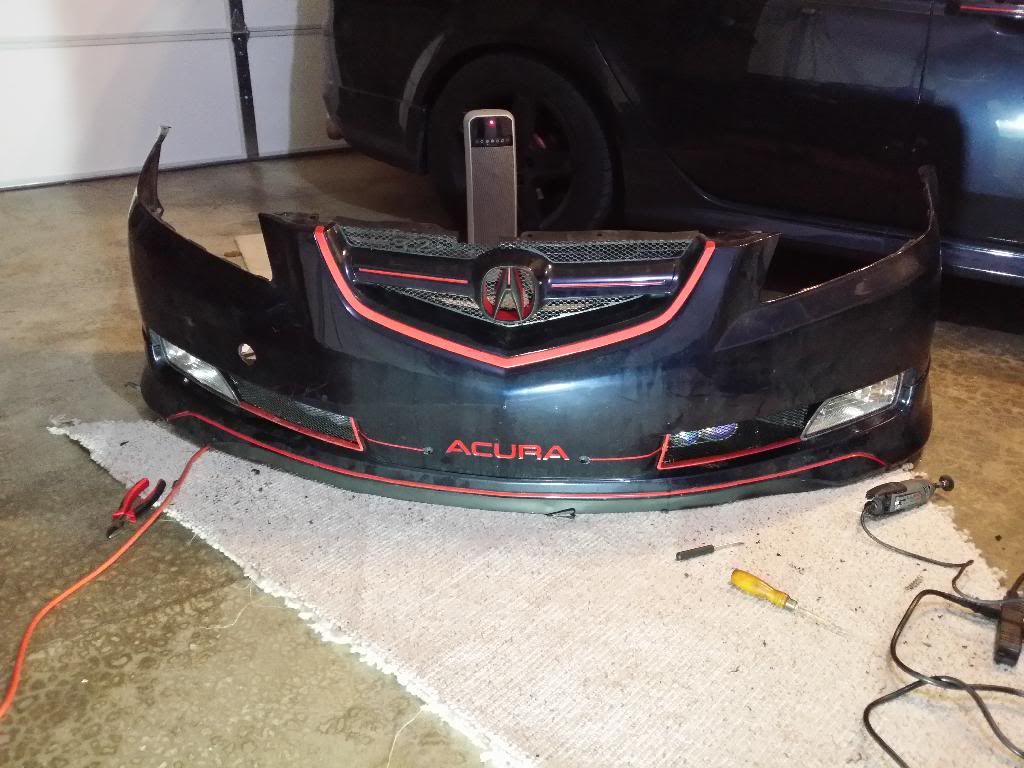
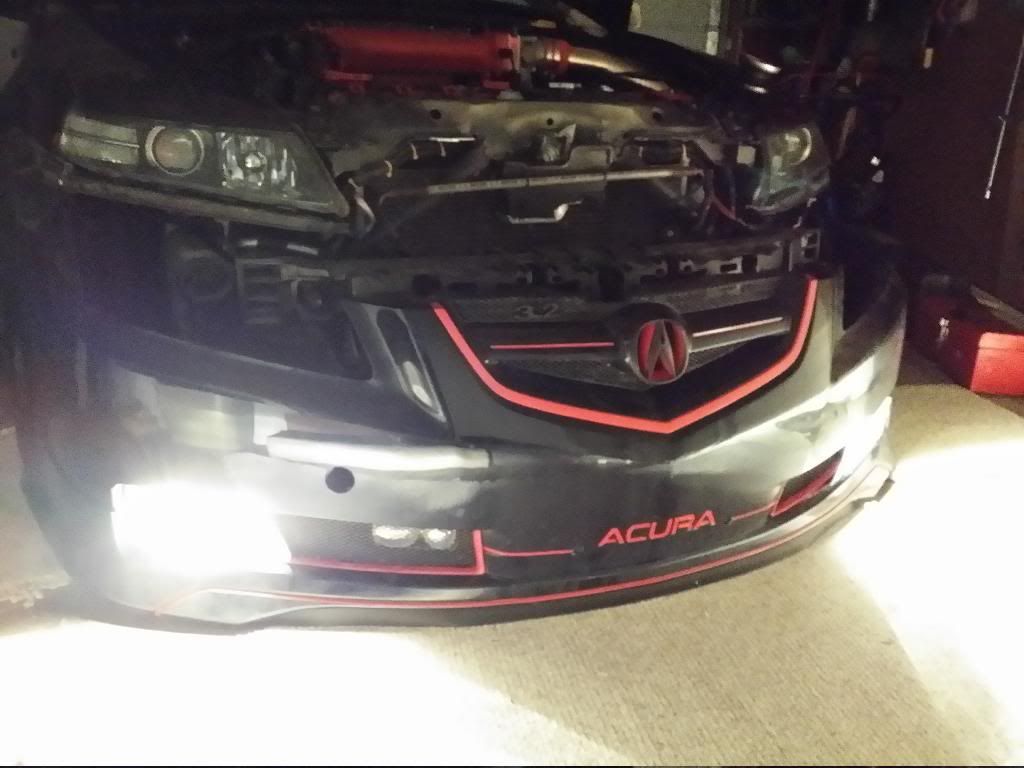
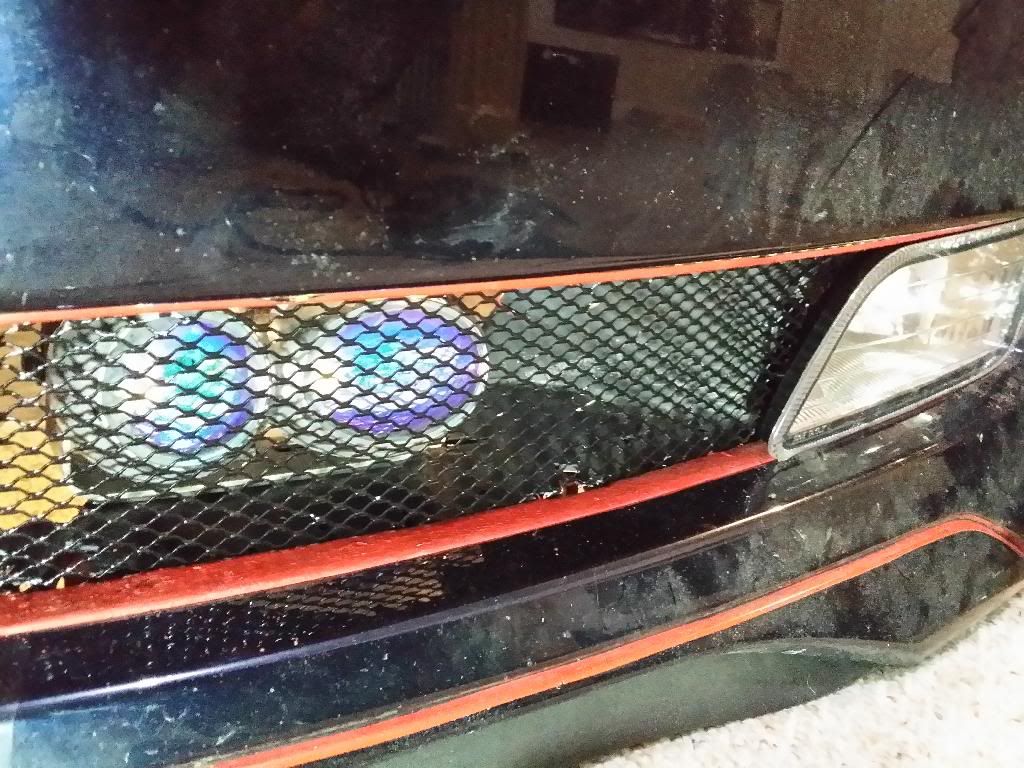
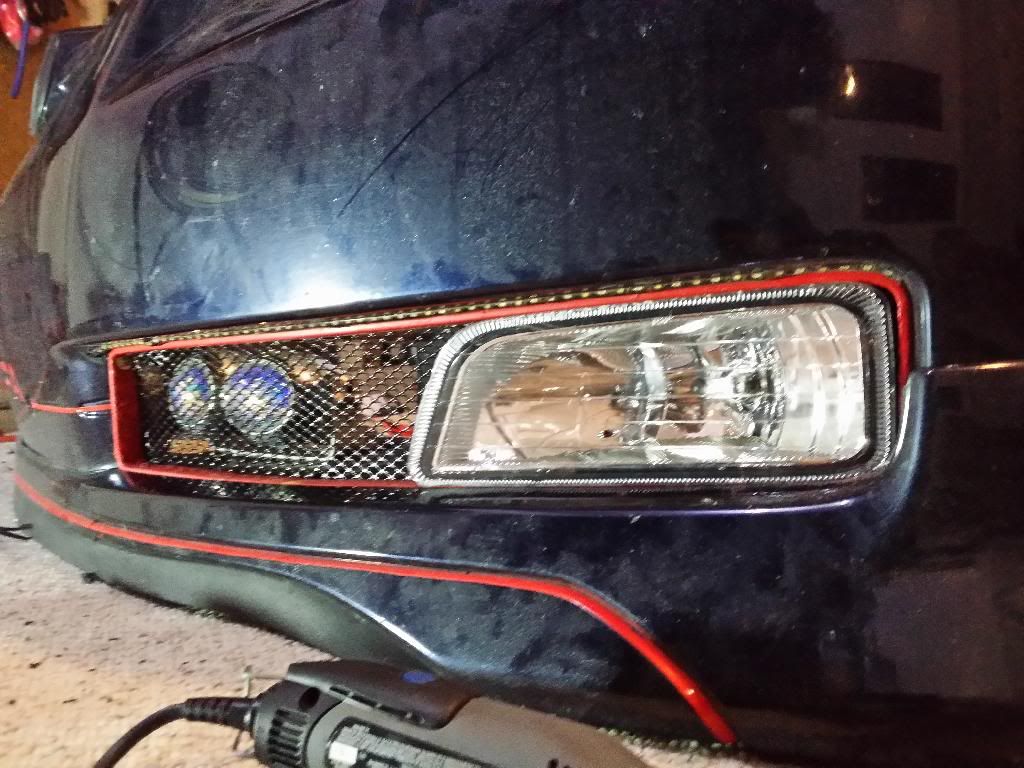
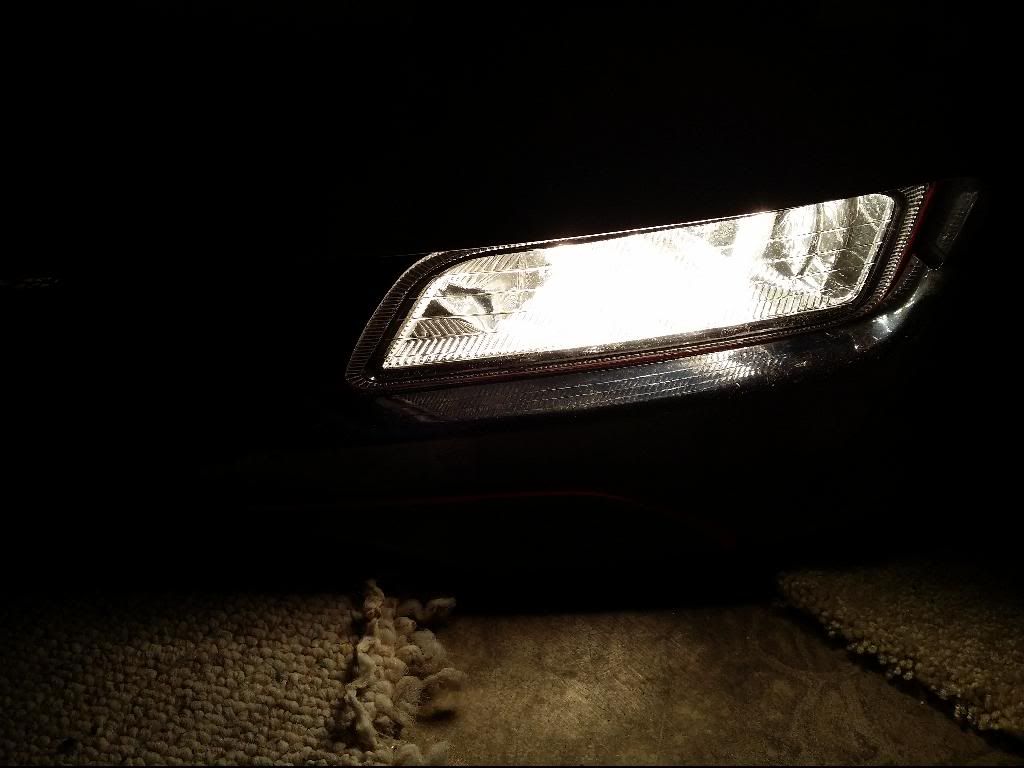
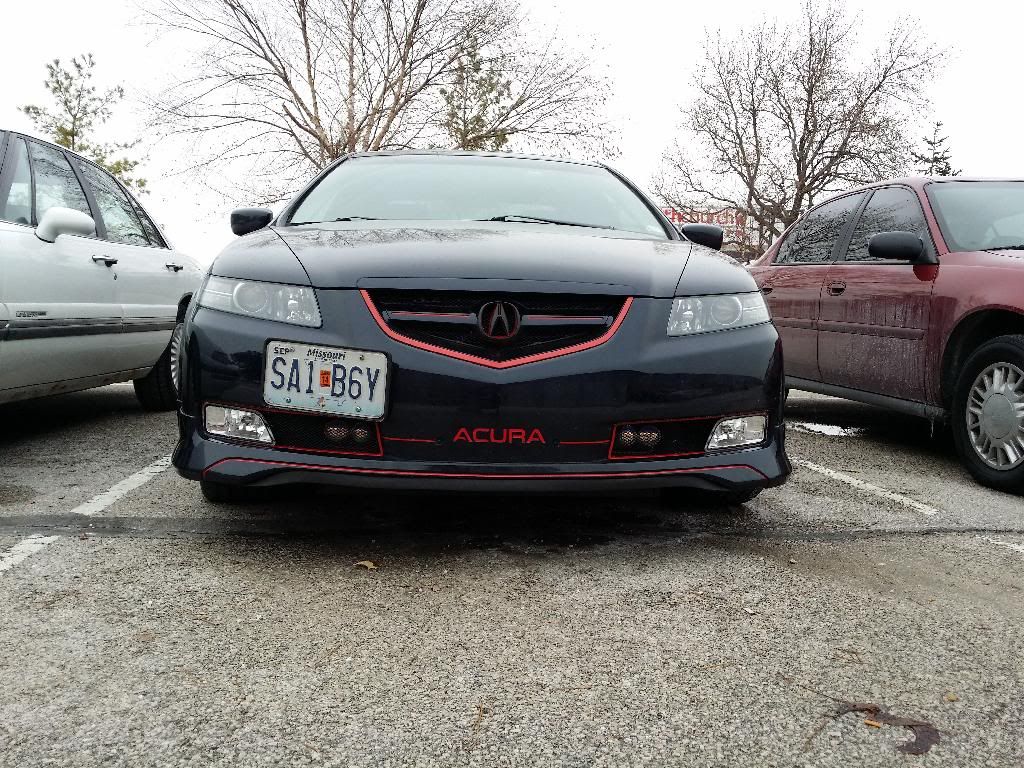
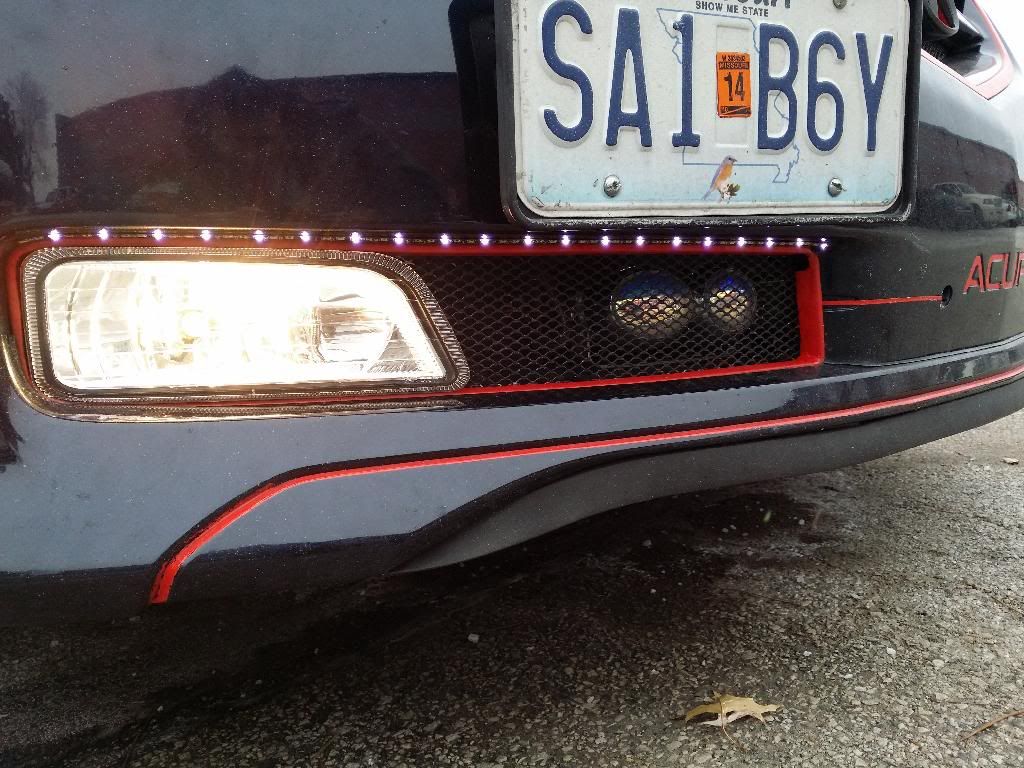
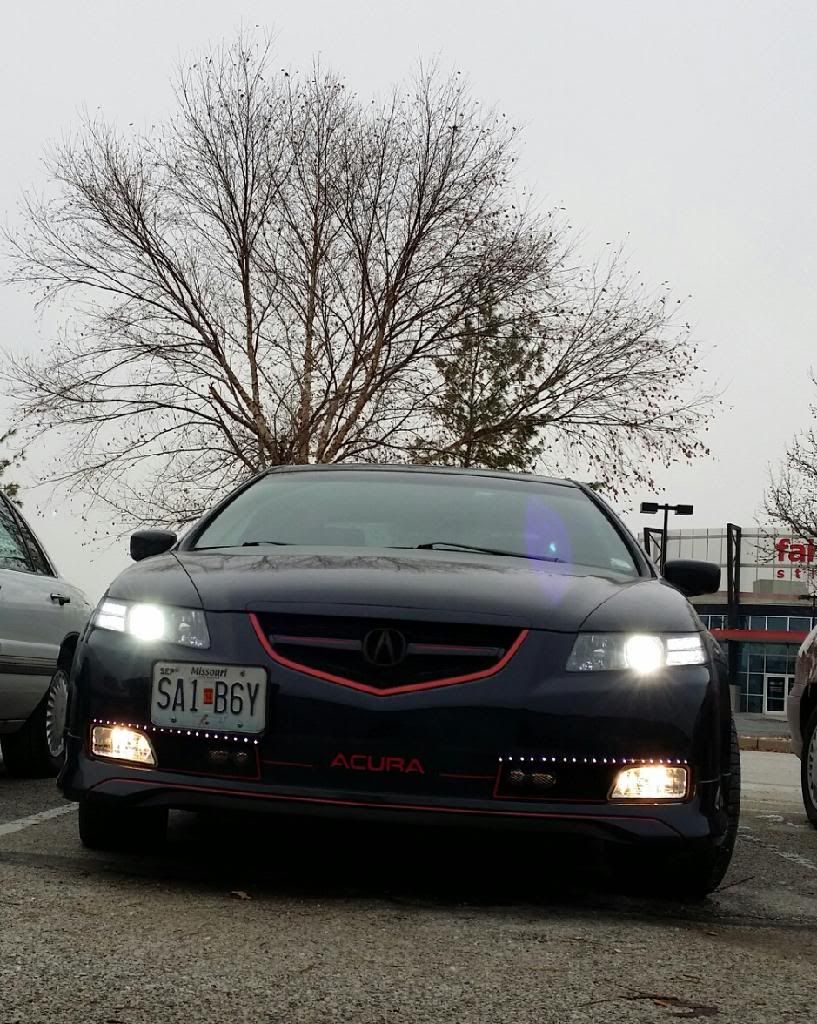
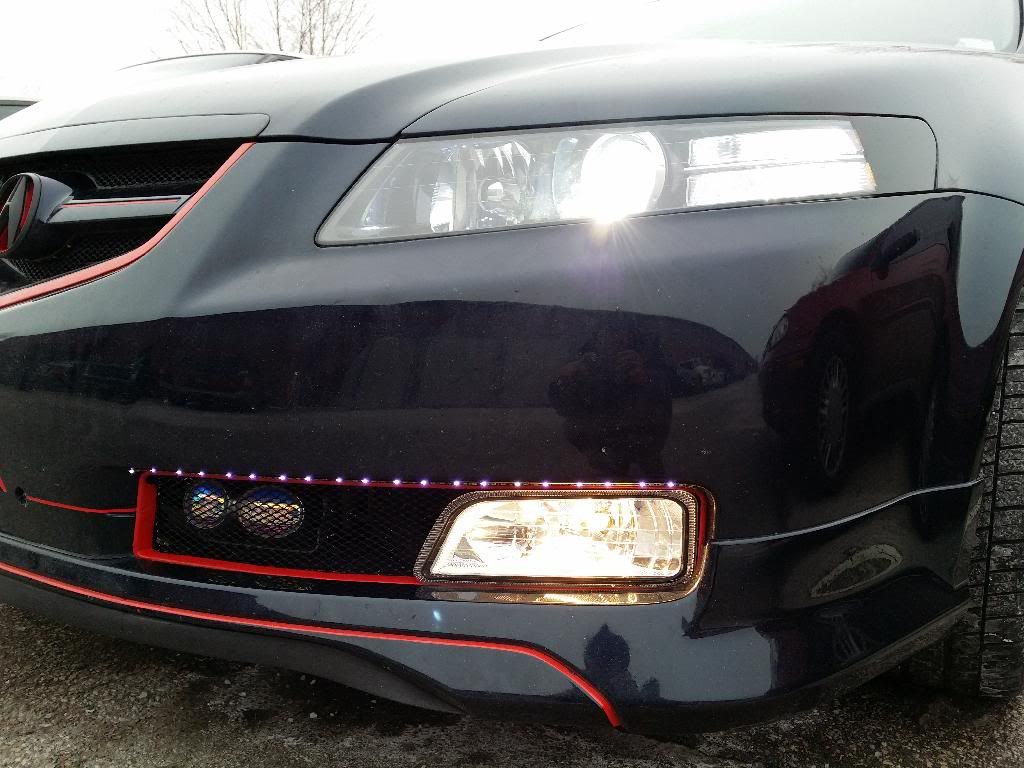
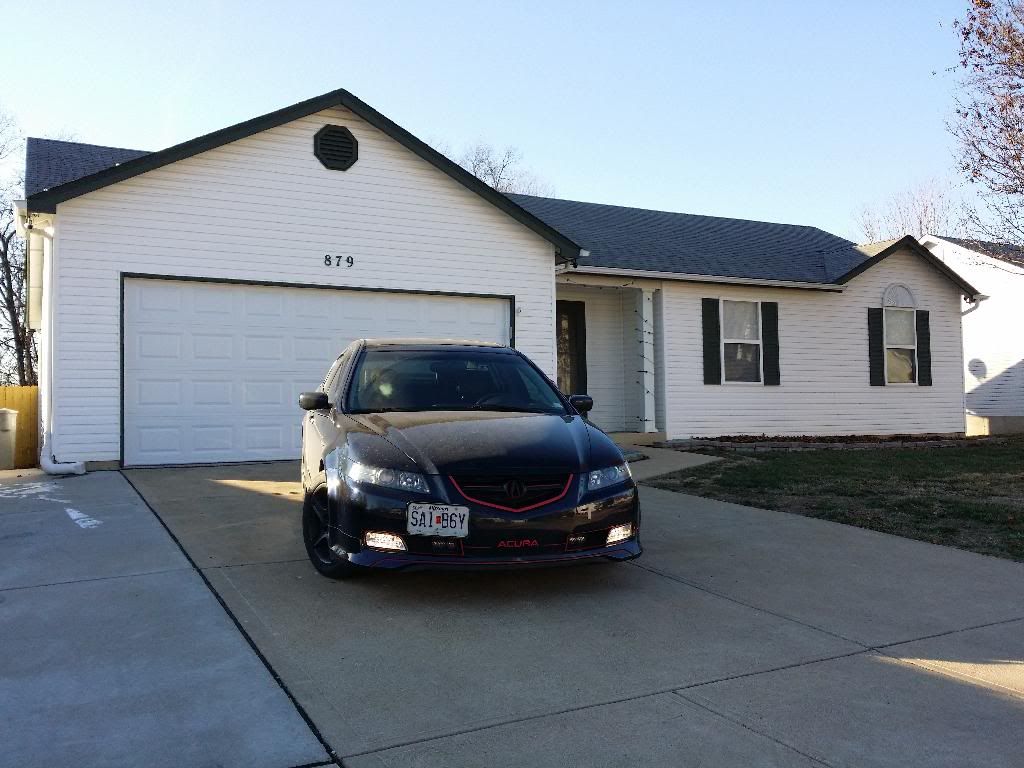
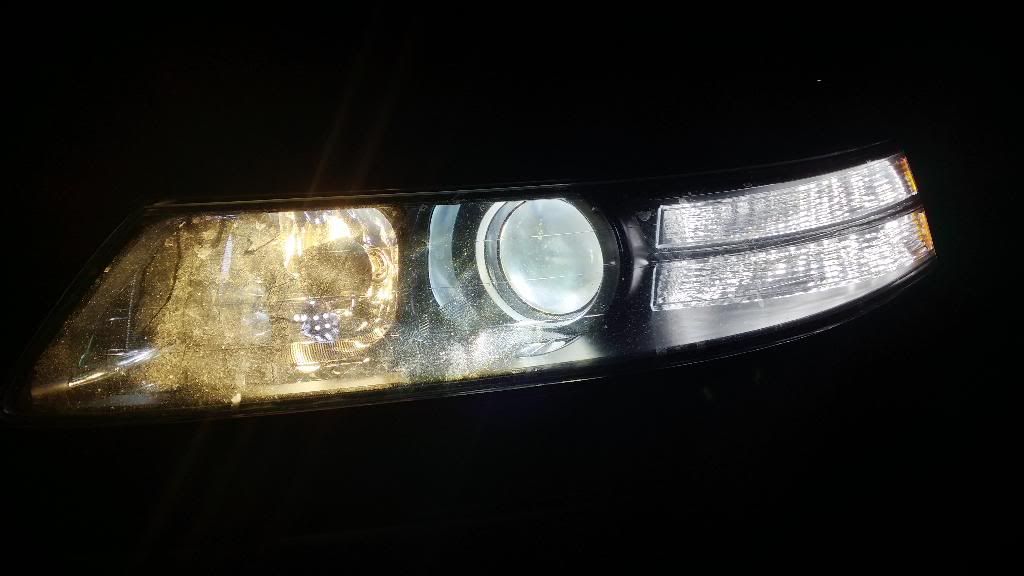
Picture time line of the install starting with testing the bulbs. I included extra pics of them mounted from behind the bumper because I referenced pics from this thread during the install.


INSTALL TIME.
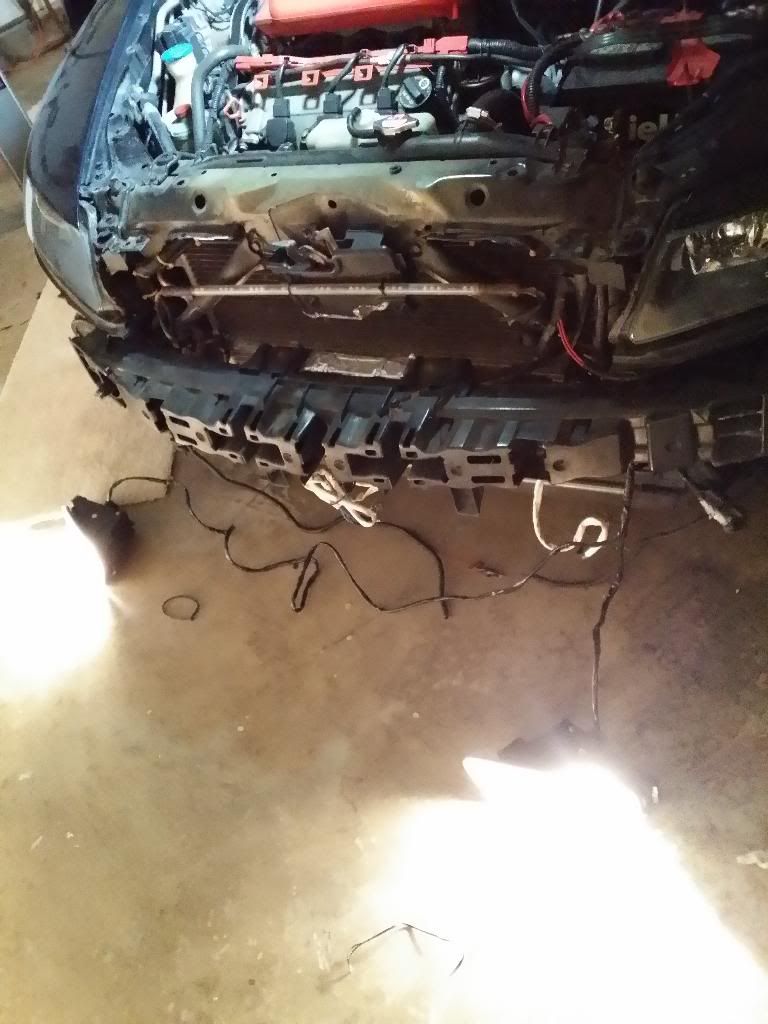
STEP 1.- Take the bumper off

Wanted to make sure they still light up

STEP 2. - Test fitment

STEP 3. Cutting- cut less than you think you need to go back over the area if they still don't fit. I cut too much of my grill so it had a gap and had to remake my grill and cut properly,could have been avoided if it cut less first. Remember to cut a slit for air intake flow on the driver side.

On the right side I had to cut some of the grill trim to get the little vent parts to fit on the left of the fog.
STEP 4. Secure them- We used short self tapping screws making sure they didn't puncture the headlight,just the mounting. They were pretty secure with just that but decided to epoxy them in and let it sit over night. After that I went over them with black silicone. Used silver sharpie to mark the position where it looked best and flush in the bumper so we can hold in place while securing.
SCREWS
EPOXY & SILICONE
Top and bottom making sure there were no gaps
WIRE TIE- incase all else fails the fog is still tied to the bumper and won't fall out. also helps keep in place while epoxy sets.
STEP 5 -MOUNTING -
Yes I do have my CATZ fog lights still and think I may keep them.
You need to relocate one of the horns or else the fog light case hits them and bumper can't fit on the passenger side. I unscrewed one and then zip tied it near the horn I left screwed in so it can clear it.
Make sure they light up before putting your bumper back on.
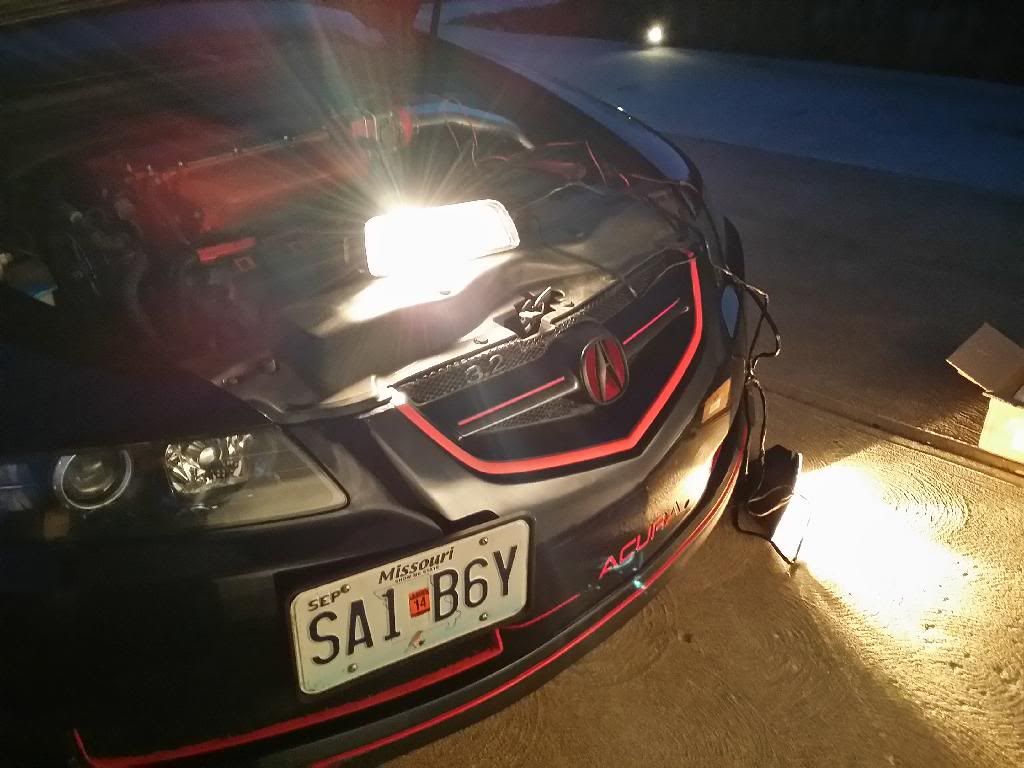
While I had the bumper off I put in 5K hid for my low beam and redid my LED switchback strip.
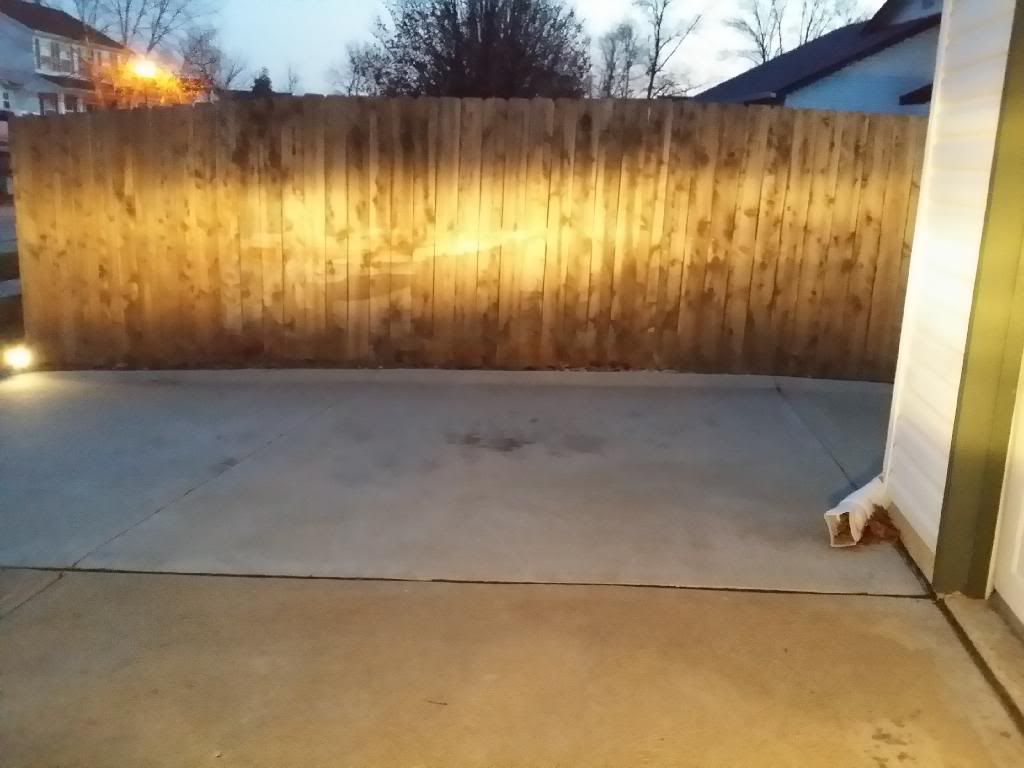
DAY 1 in daylight
DAY 2 daytime
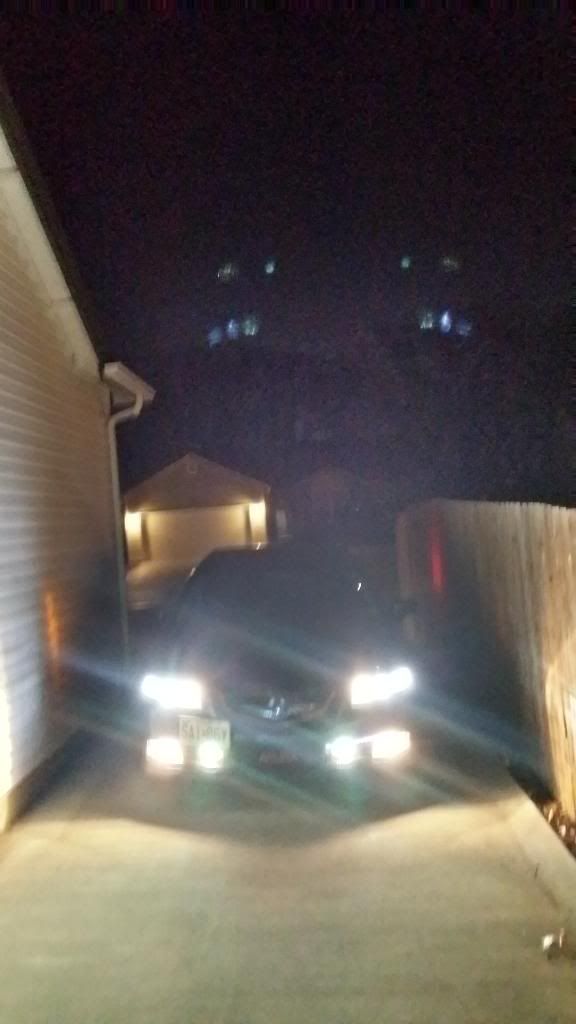
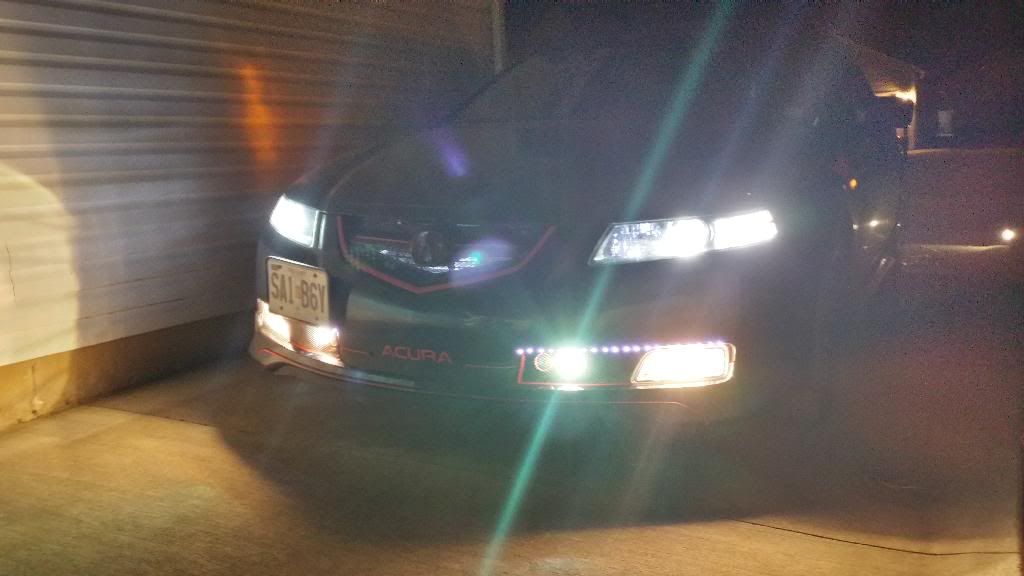
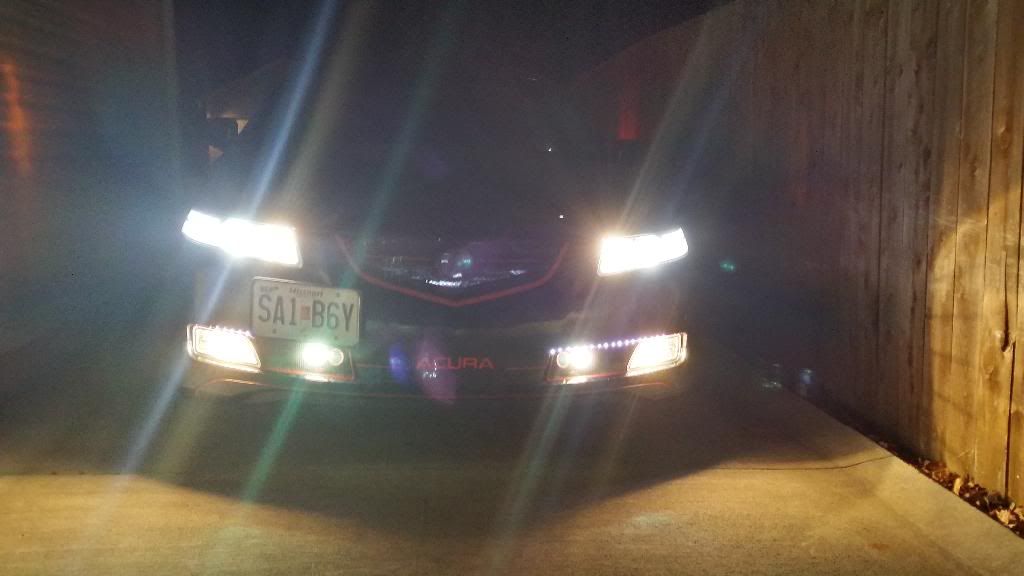
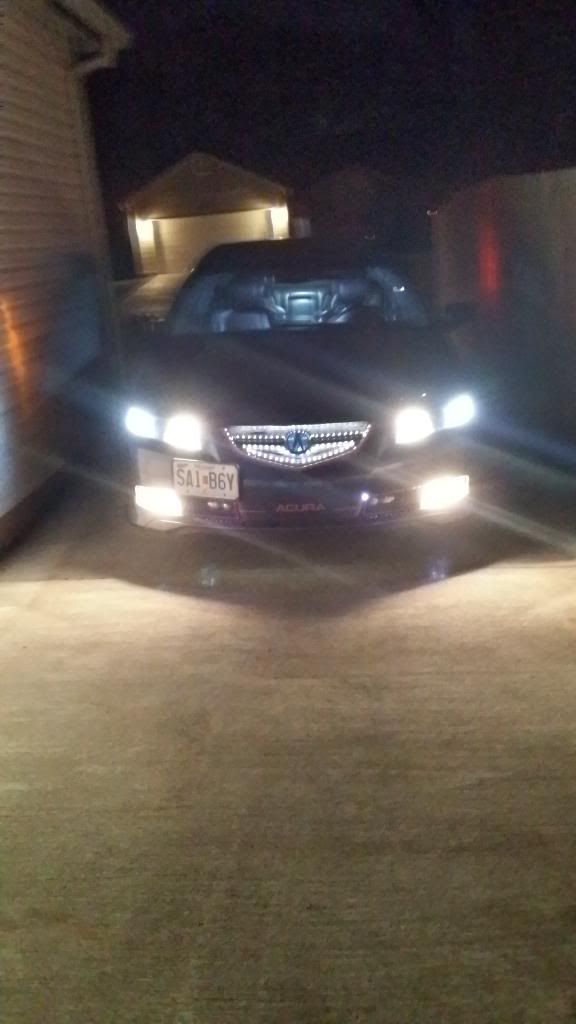
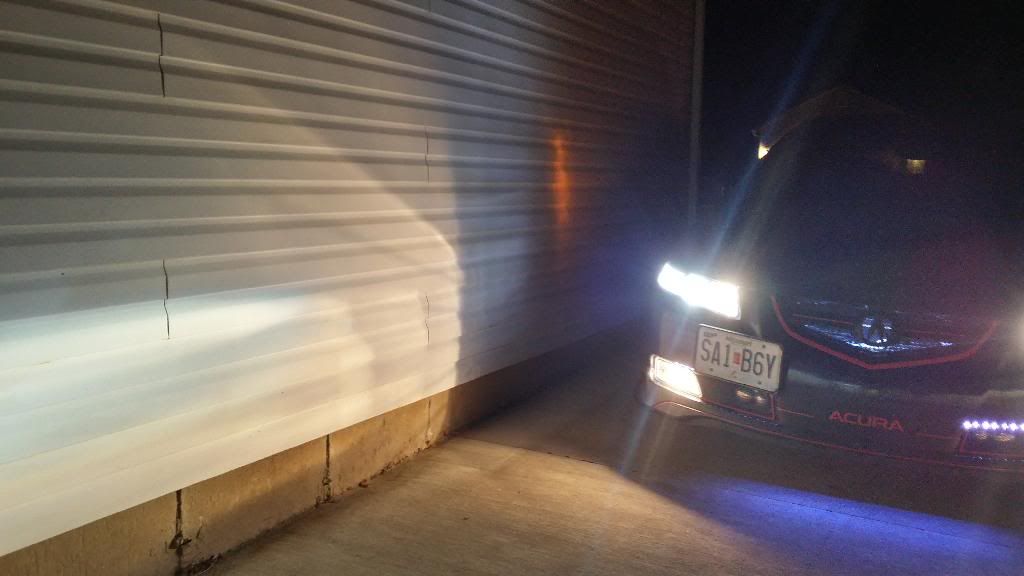
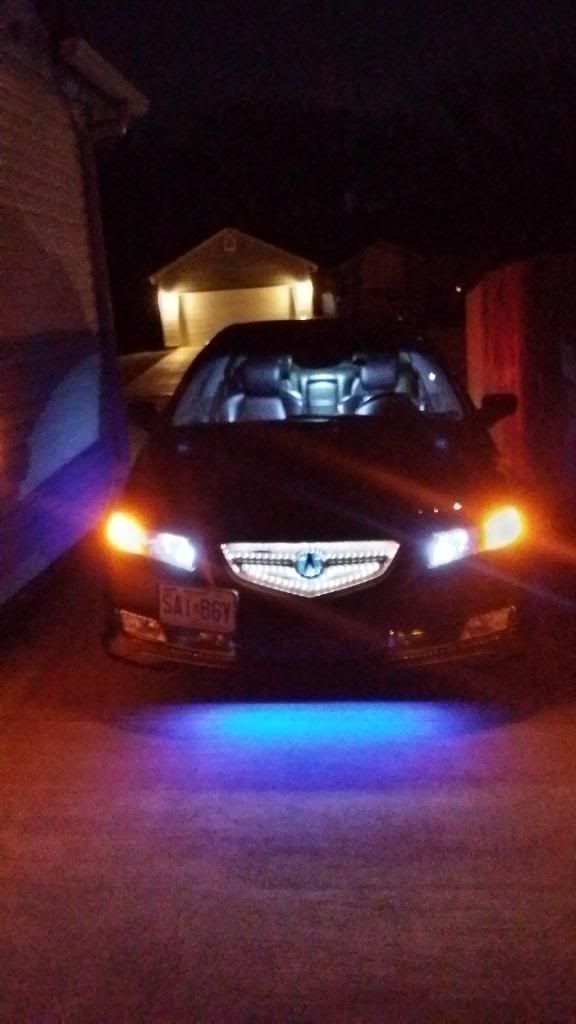
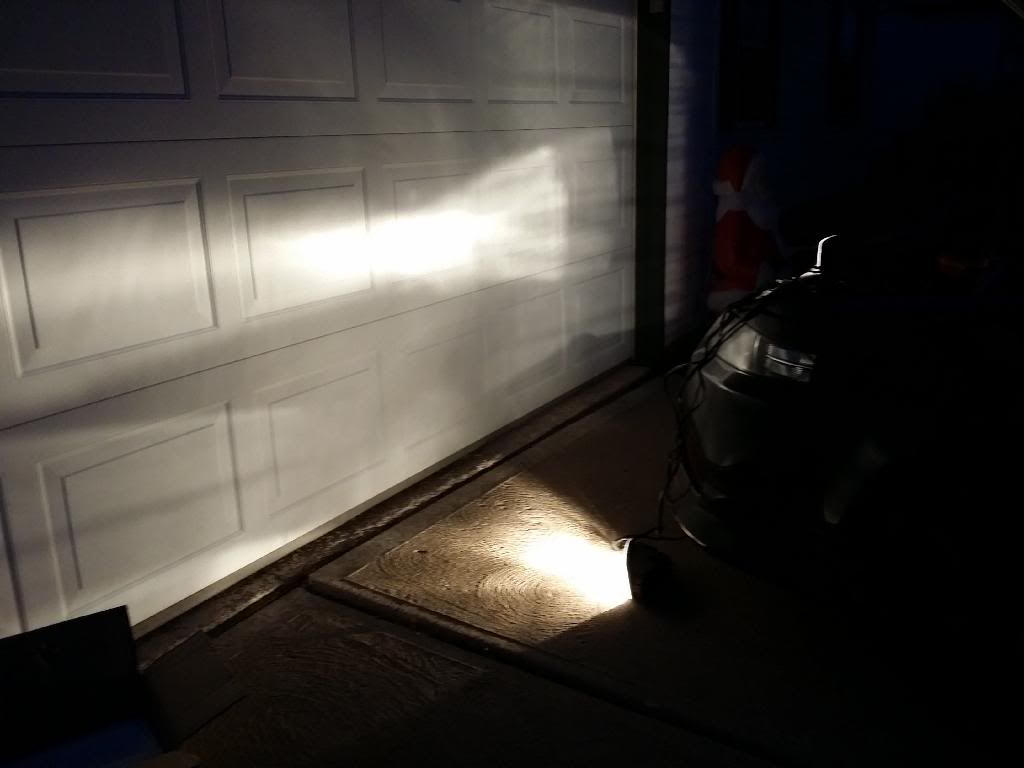
NIGHT TIME - lots of lights
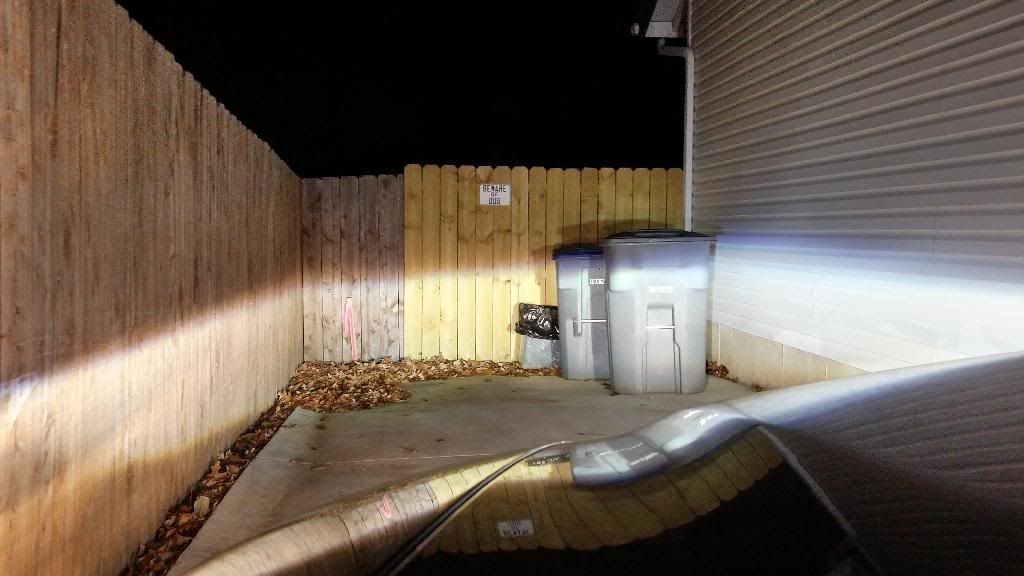
Independent Fogs, 5K bulbs, and DRL led bulb
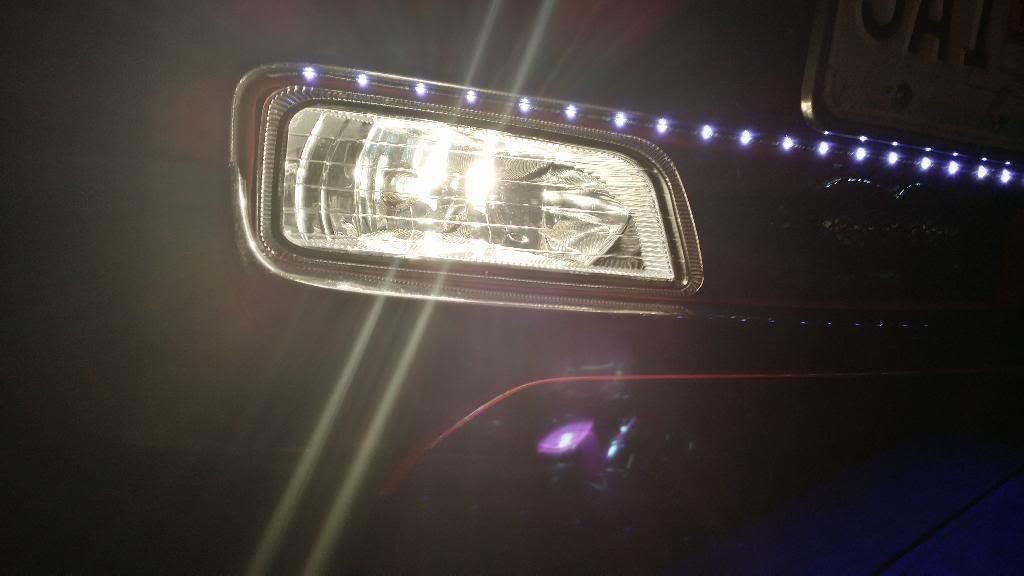
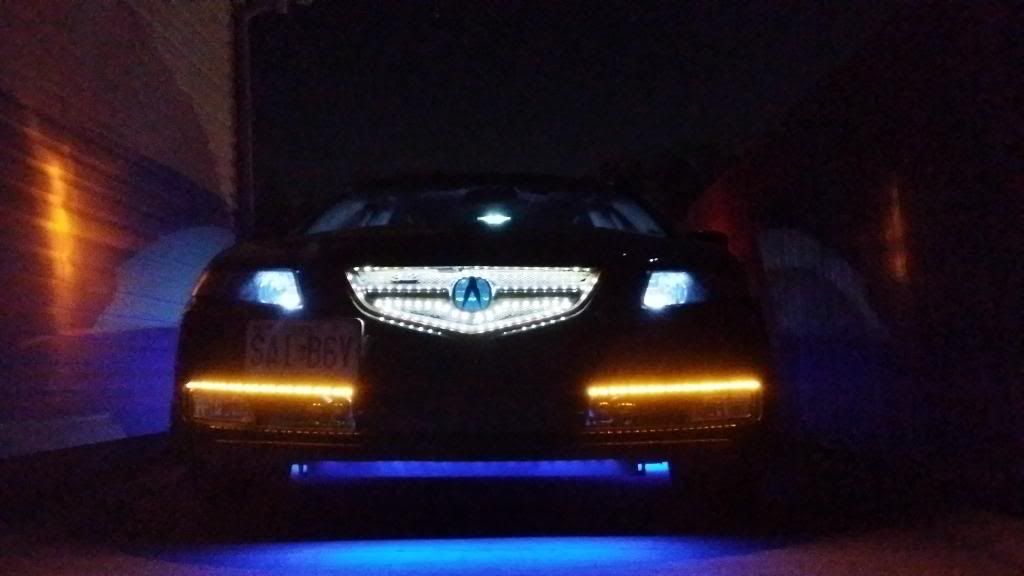
Just fogs
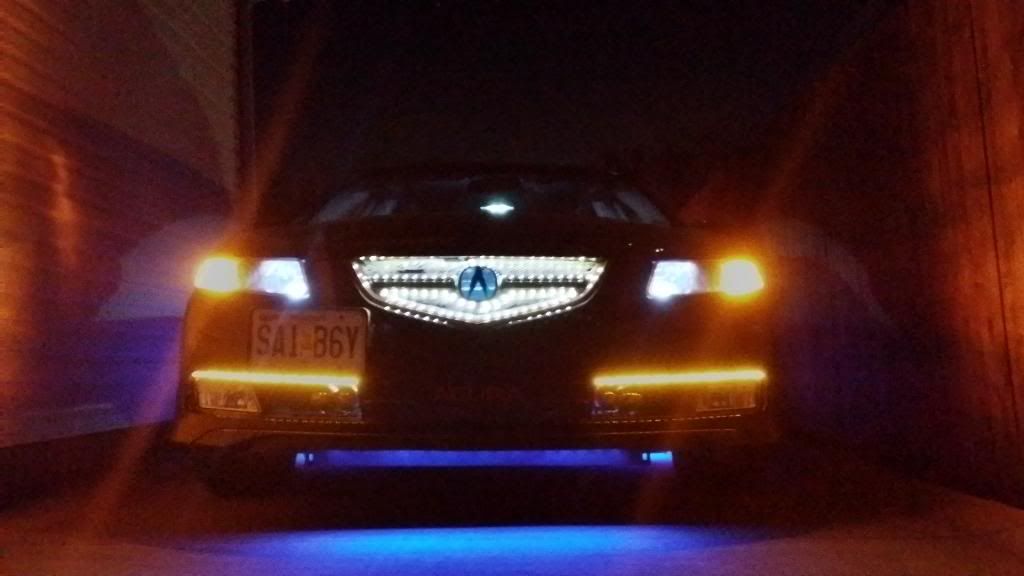
All lights on
Fog with LEDS
ALL with grill lights
All lights
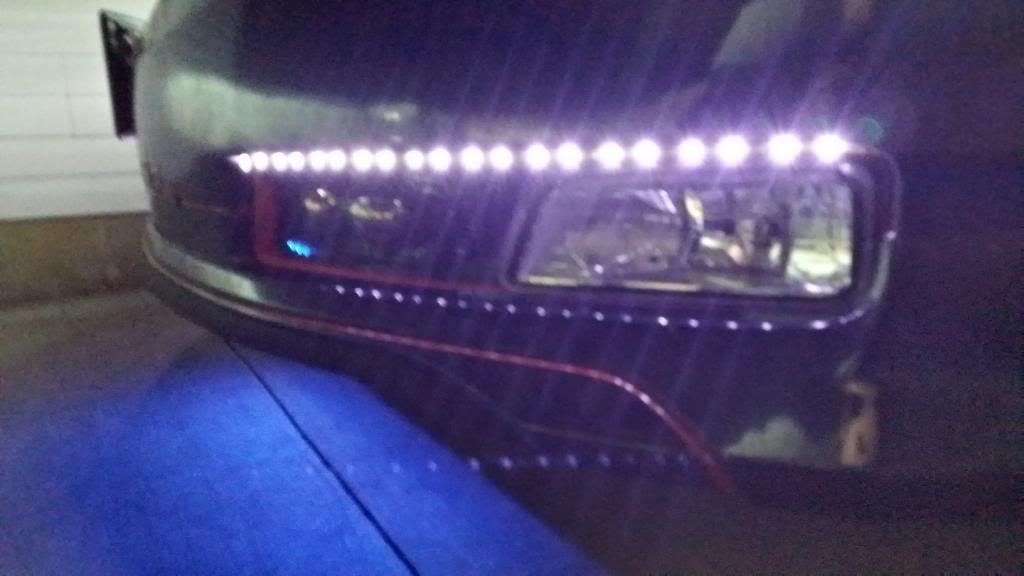
LED strip
Switchback blinkers,LED drl and LED strip
Got very lucky getting the Inspire for $45 because an eBay guy was out of stock! Thinking back it may have been cool to add a small LED in the fogs to illuminate them but oh well. I'm open to any questions, comments, and picture request but could care less about what people think about my red trim or excessive lights! :tongue:[/QUOTE]
 INSTALL TIME.
STEP 1.- Take the bumper off
INSTALL TIME.
STEP 1.- Take the bumper off
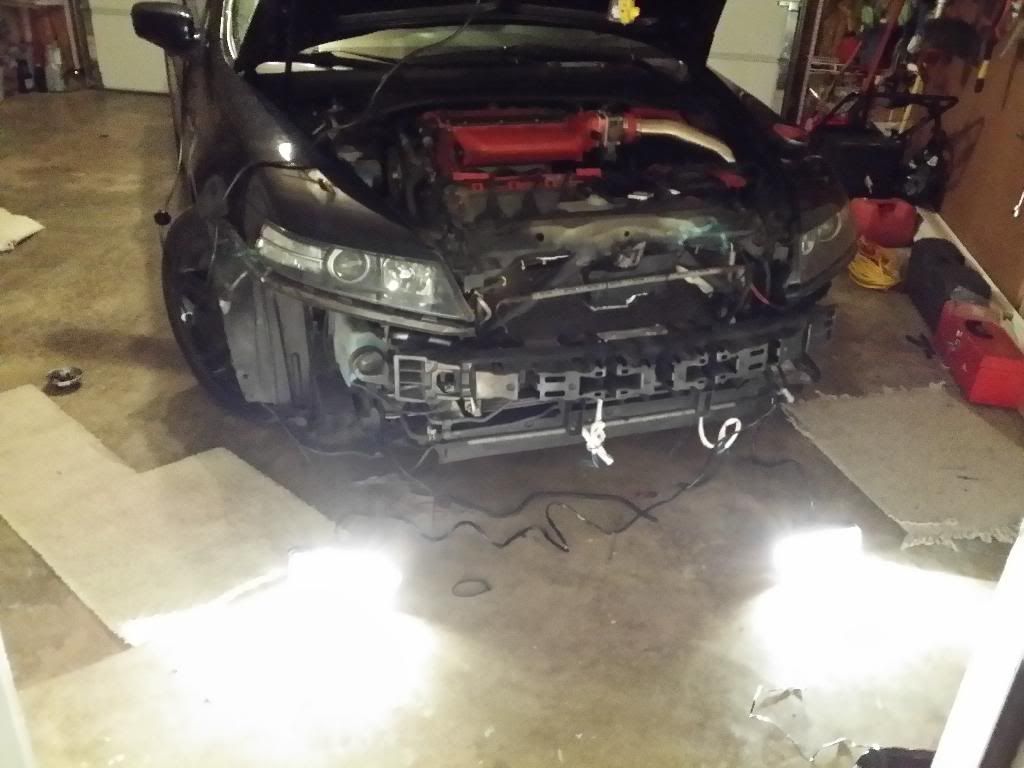 Wanted to make sure they still light up
 STEP 2. - Test fitment
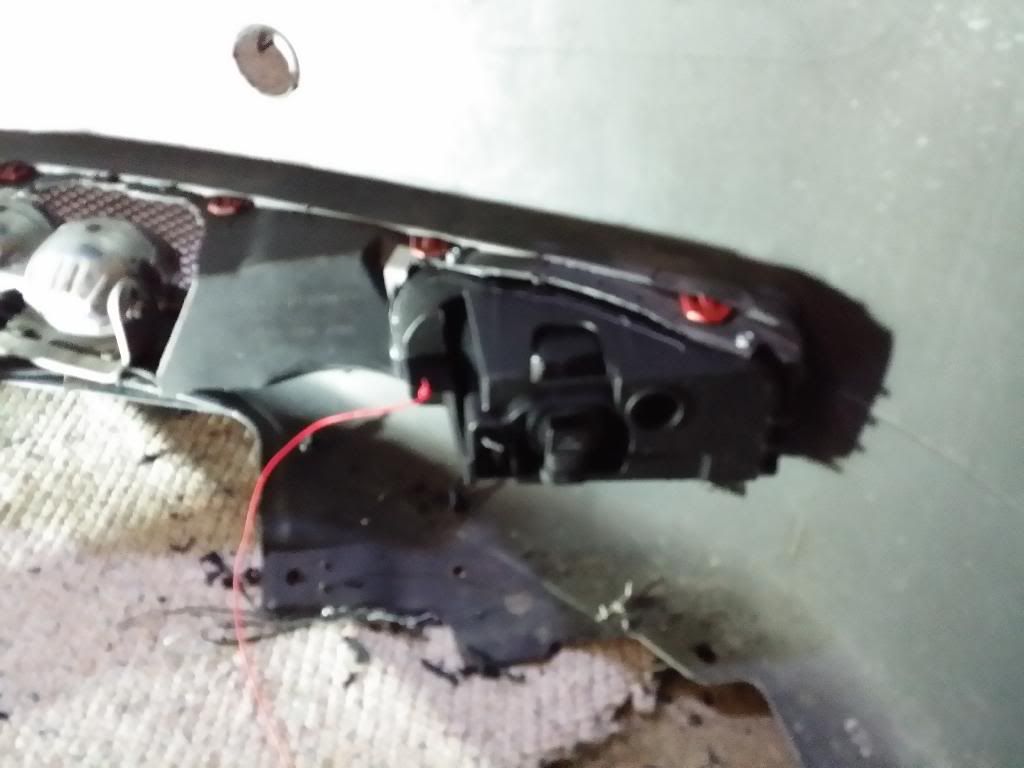 STEP 3. Cutting- cut less than you think you need to go back over the area if they still don't fit. I cut too much of my grill so it had a gap and had to remake my grill and cut properly,could have been avoided if it cut less first. Remember to cut a slit for air intake flow on the driver side.
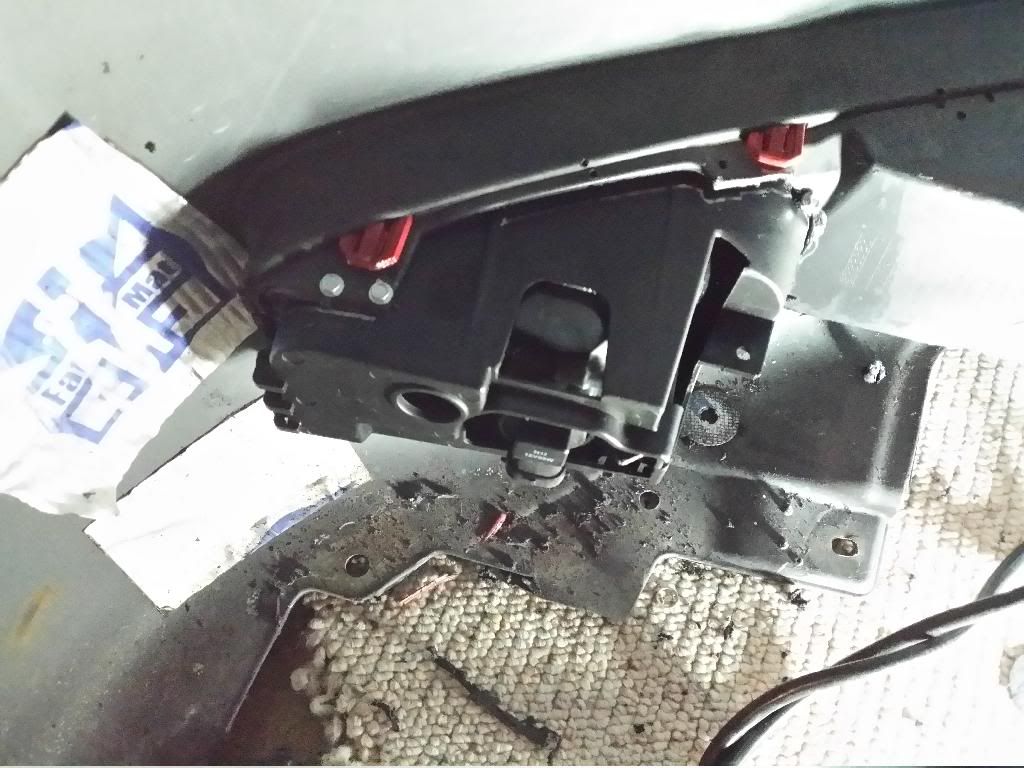 On the right side I had to cut some of the grill trim to get the little vent parts to fit on the left of the fog.
STEP 4. Secure them- We used short self tapping screws making sure they didn't puncture the headlight,just the mounting. They were pretty secure with just that but decided to epoxy them in and let it sit over night. After that I went over them with black silicone. Used silver sharpie to mark the position where it looked best and flush in the bumper so we can hold in place while securing.
SCREWS
On the right side I had to cut some of the grill trim to get the little vent parts to fit on the left of the fog.
STEP 4. Secure them- We used short self tapping screws making sure they didn't puncture the headlight,just the mounting. They were pretty secure with just that but decided to epoxy them in and let it sit over night. After that I went over them with black silicone. Used silver sharpie to mark the position where it looked best and flush in the bumper so we can hold in place while securing.
SCREWS