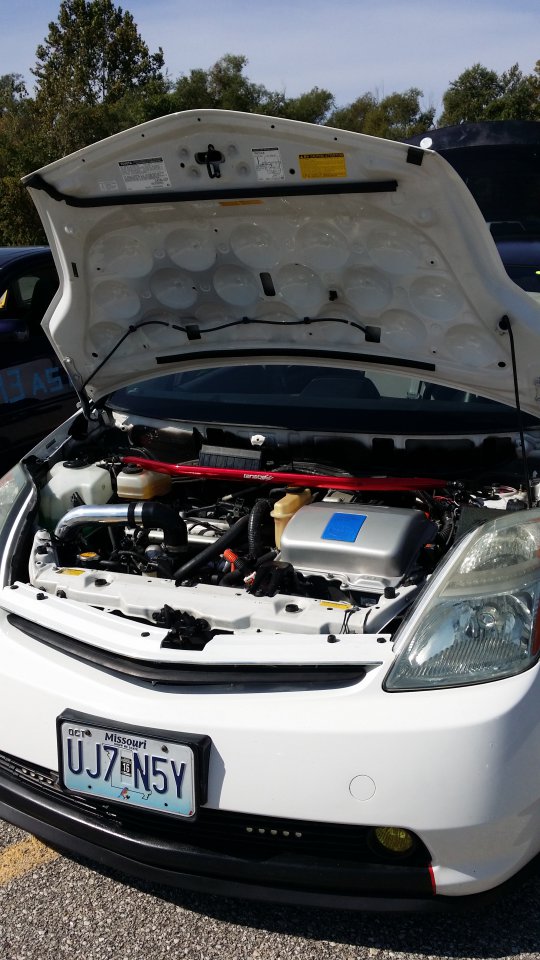
Sezy Cold Air Intake
Was able to snag an extra air box from this Prius at a junk yard.


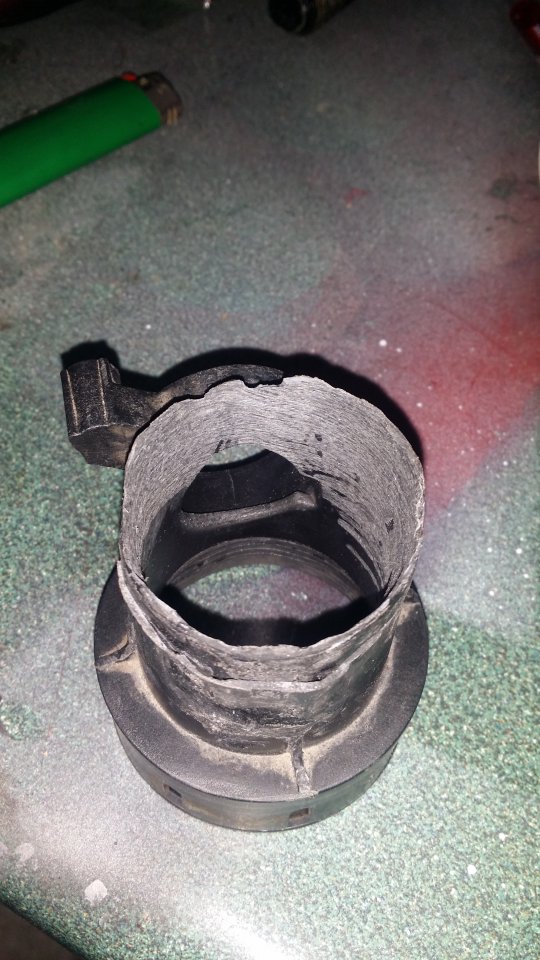
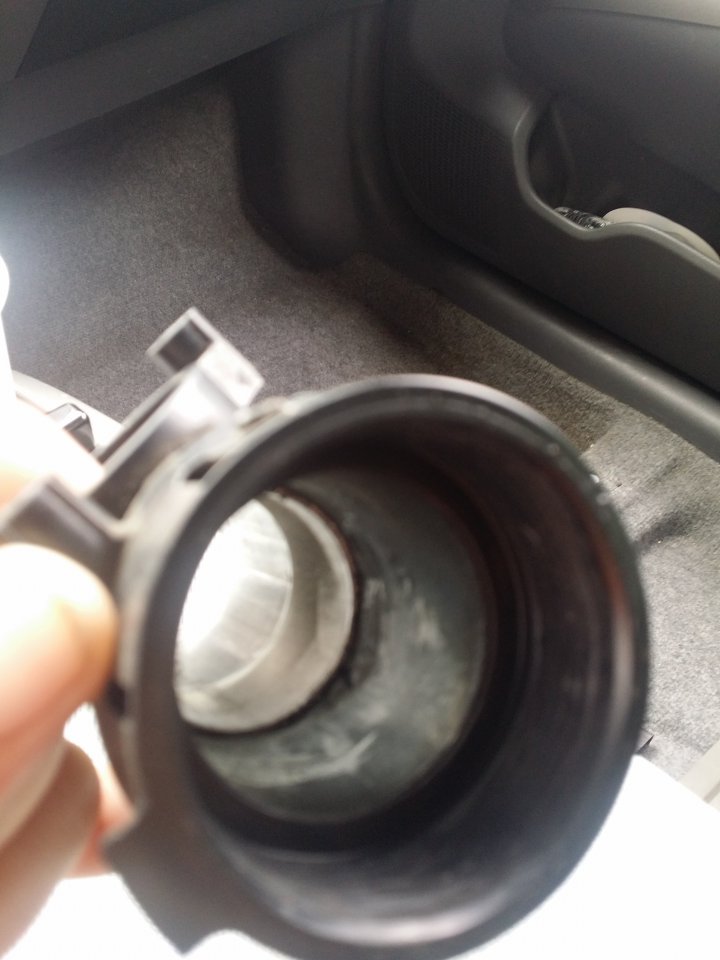
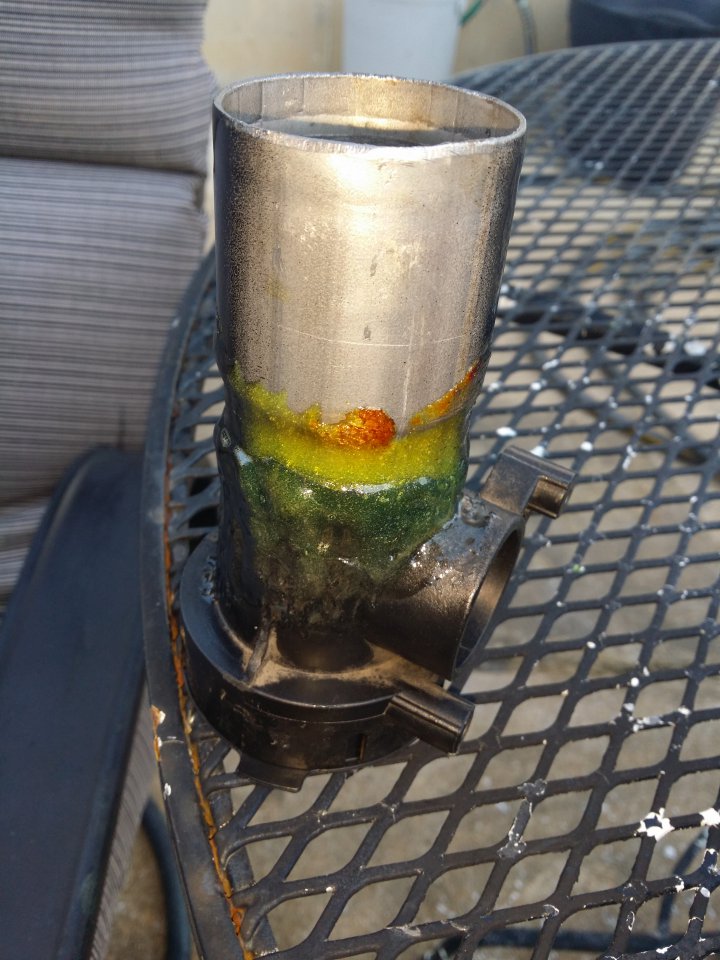
First make large cuts to remove the MAF housing and the extra tube that connects to the OEM air hose. The MAF is oddly shaped and would not allow for anything else to clamp onto it. The air intake side part will be used to fix this issue.

I took a torch the the ends of the MAF and extra part then with a flat head screw driver started molding/pulling the melted plastic. Make sure there are no air holes or leaks. I would heat it ,mold a little then cool it off in water until I got the desired result. Used a dremel inside after wards to smooth out the inside and grinded the outside to get any plastic clumps off.

Some of the parts I ordered. Only thing missing is a small cone air filer.


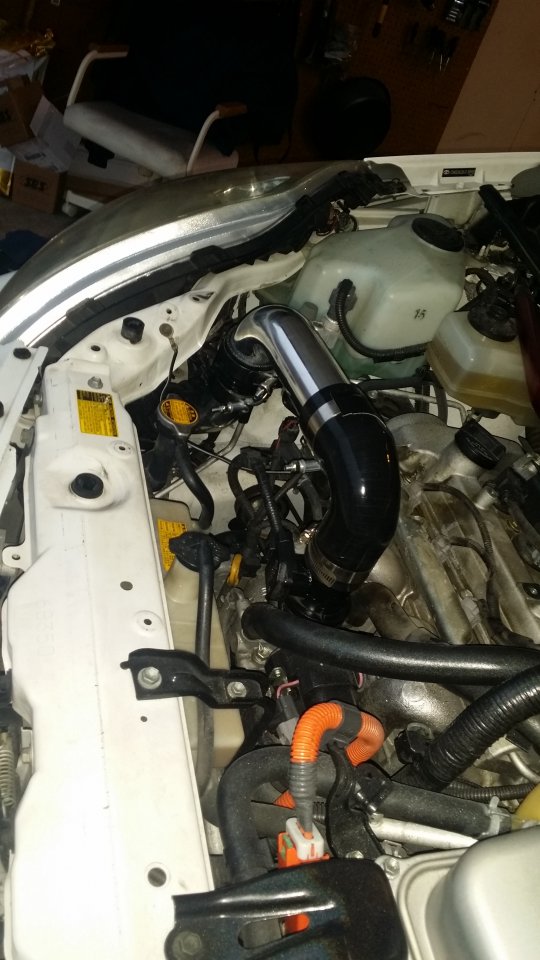
Tubes came in so time to try some test fits.
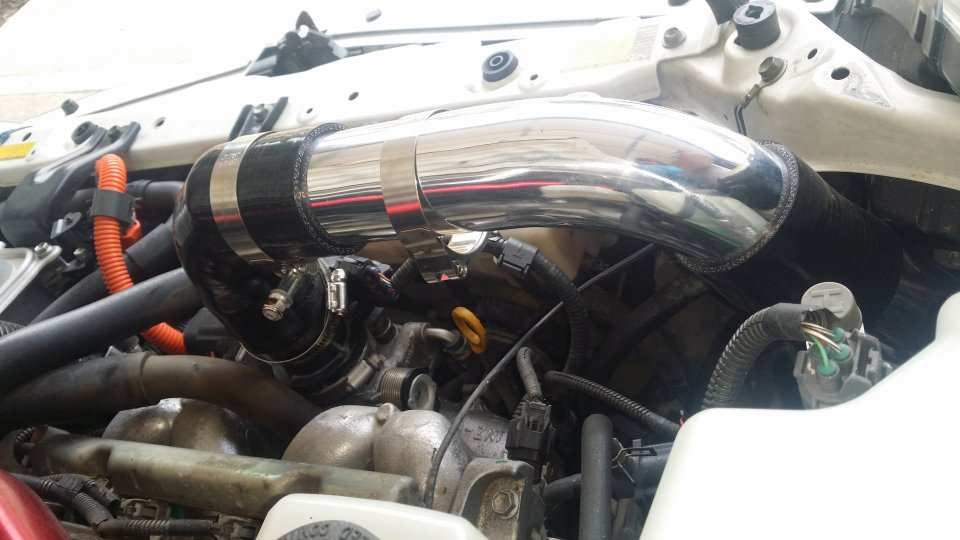
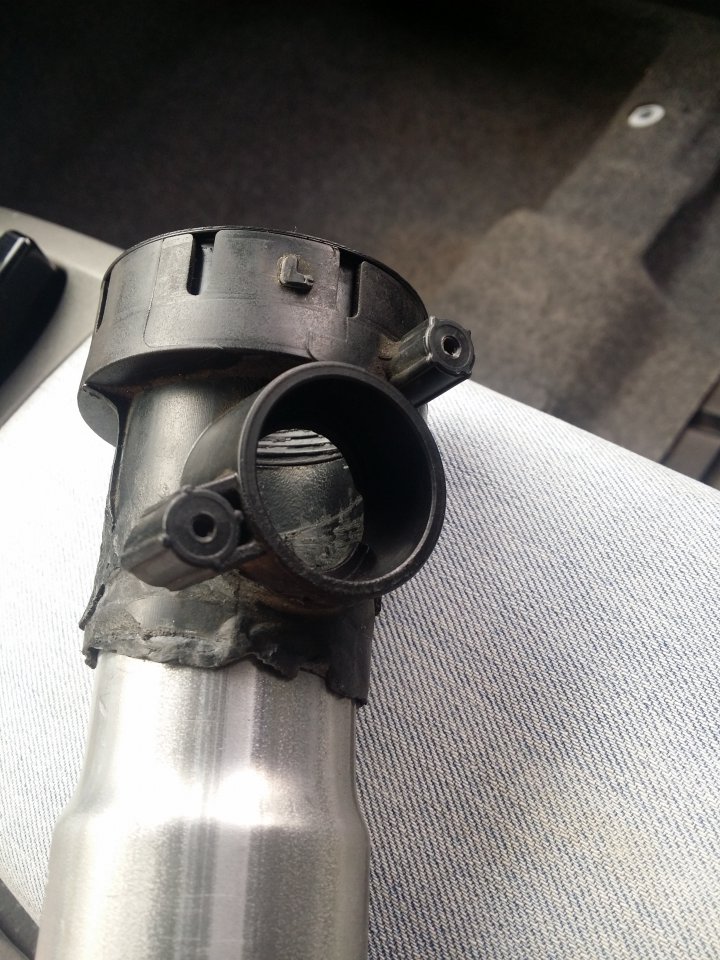
Looked like it was going to be as easy as a 90 silicon coupler and a long tube with a 45 bend. I was concerned it was folding the coupler too much reducing air flow. That was the least of my worries after I heard a CRUNCH CRACK from my MAF housing part I made.
Snapped right where I joined the two parts.
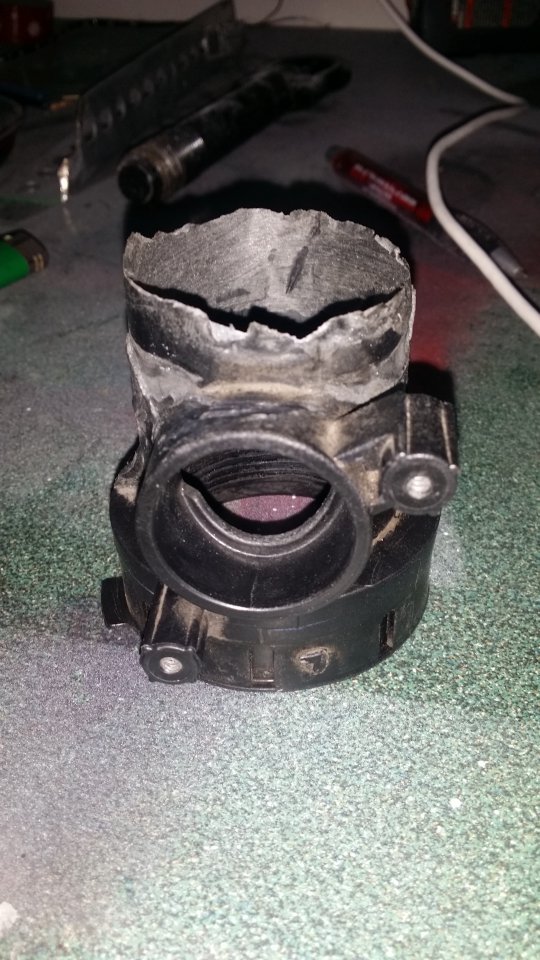
Off to find a fabricator but since I'm cheap I went to exhaust repair shops first.
Looked like it was going to be as easy as a 90 silicon coupler and a long tube with a 45 bend. I was concerned it was folding the coupler too much reducing air flow. That was the least of my worries after I heard a CRUNCH CRACK from my MAF housing part I made.
Snapped right where I joined the two parts.
Off to find a fabricator but since I'm cheap I went to exhaust repair shops first.
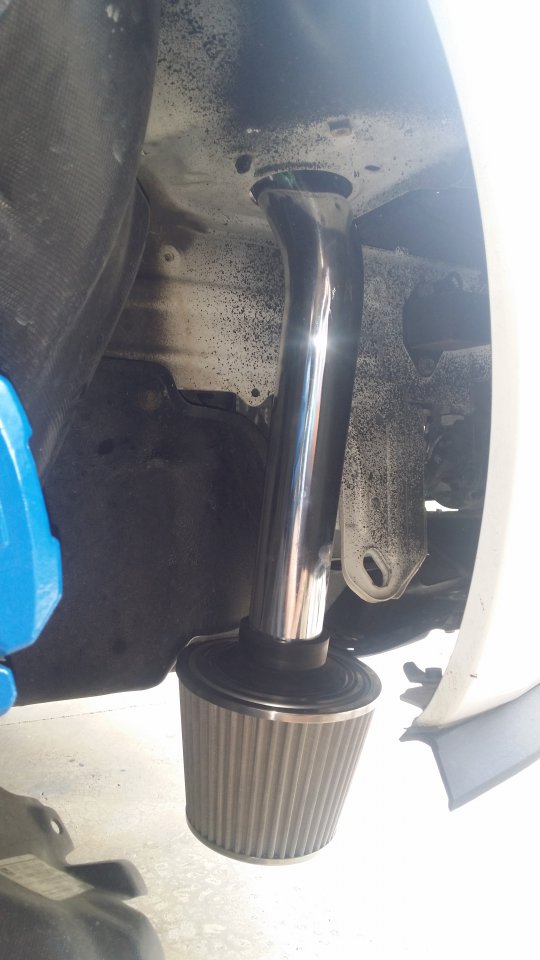
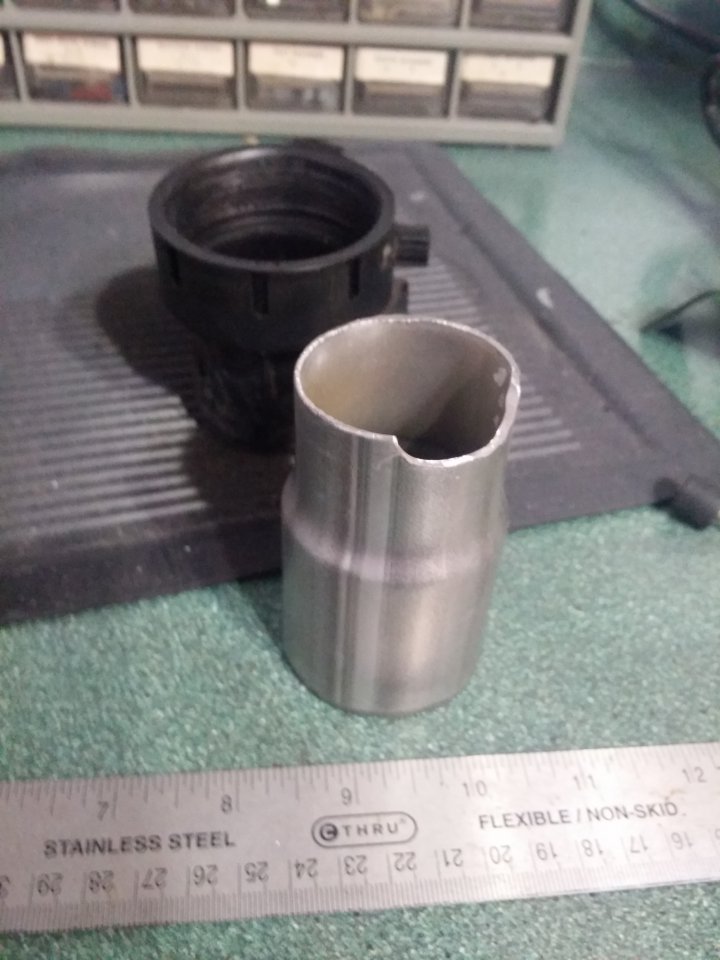
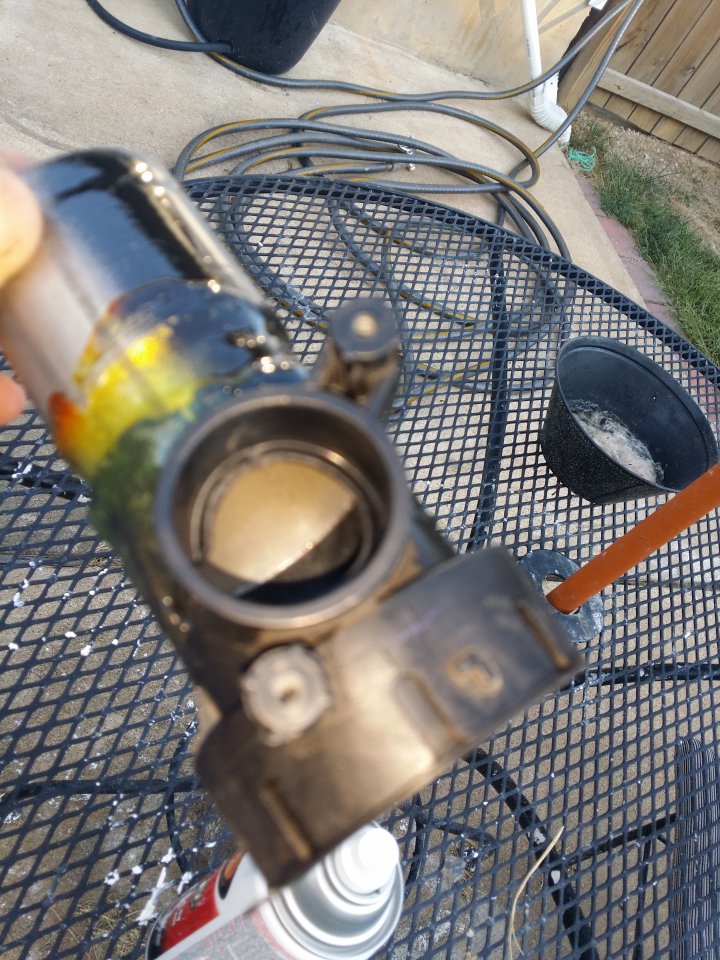
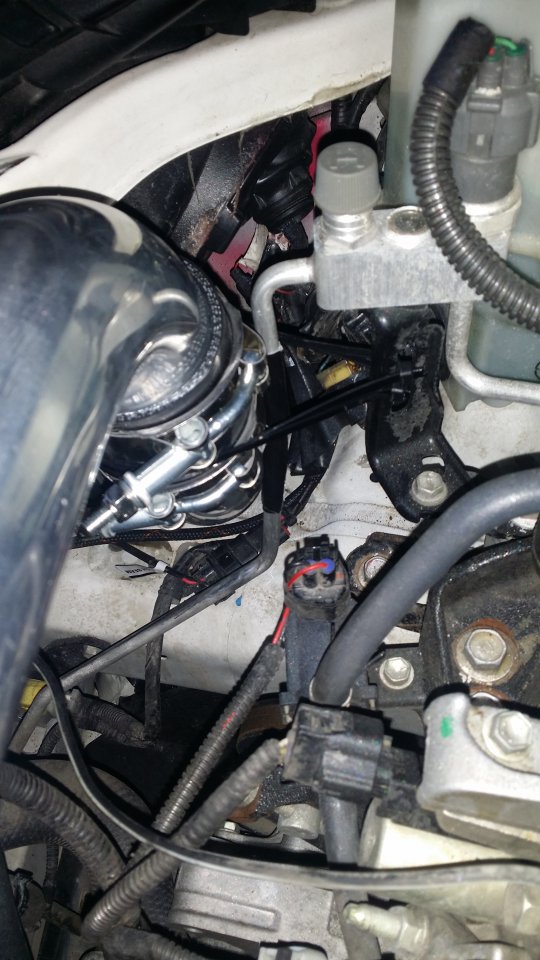
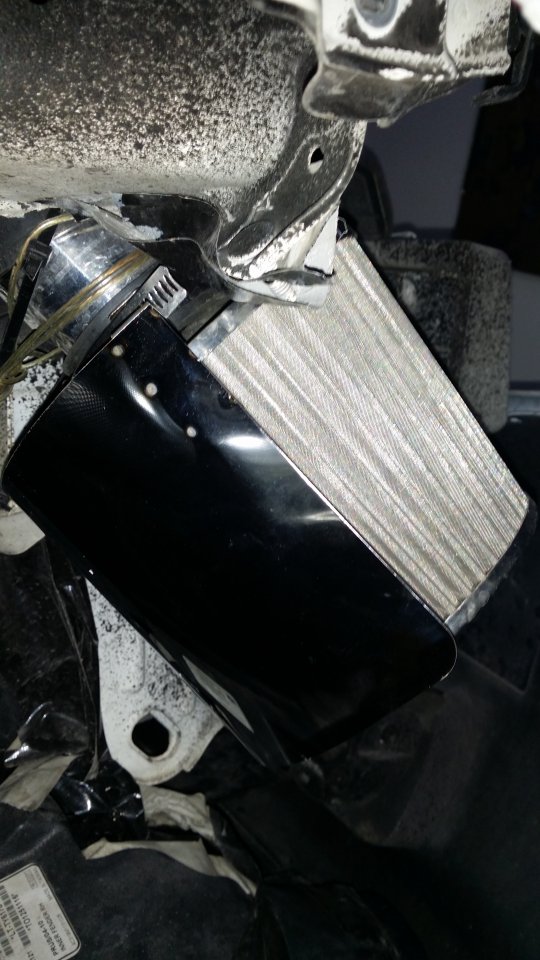
Found a exhaust tube that fit in well enough then had the guy bump out the end.
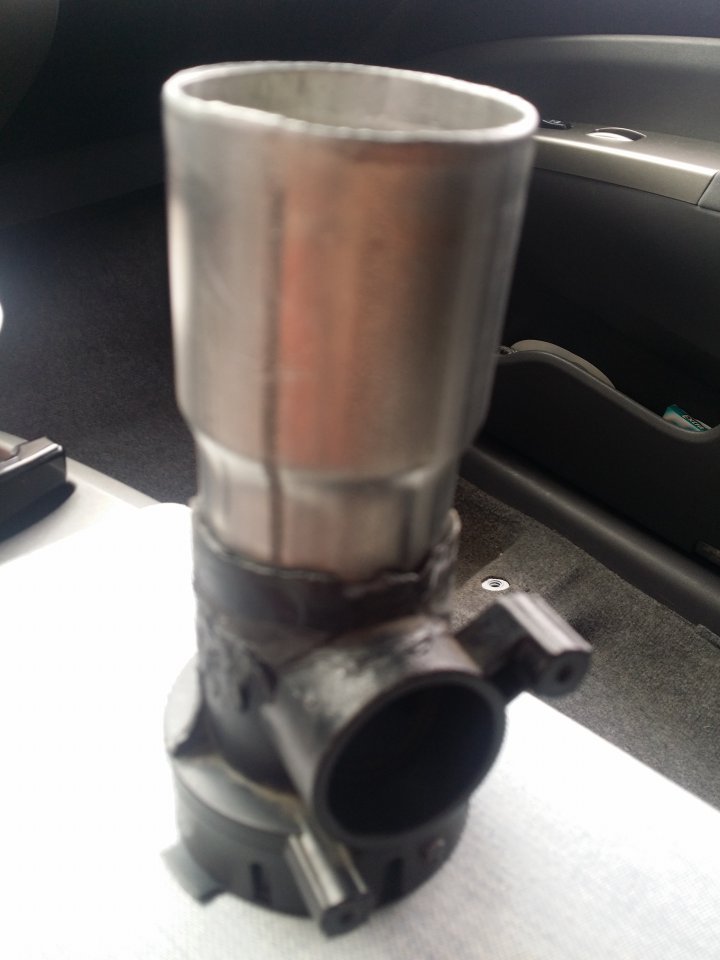
Goes down far enough it has some lip to grab.
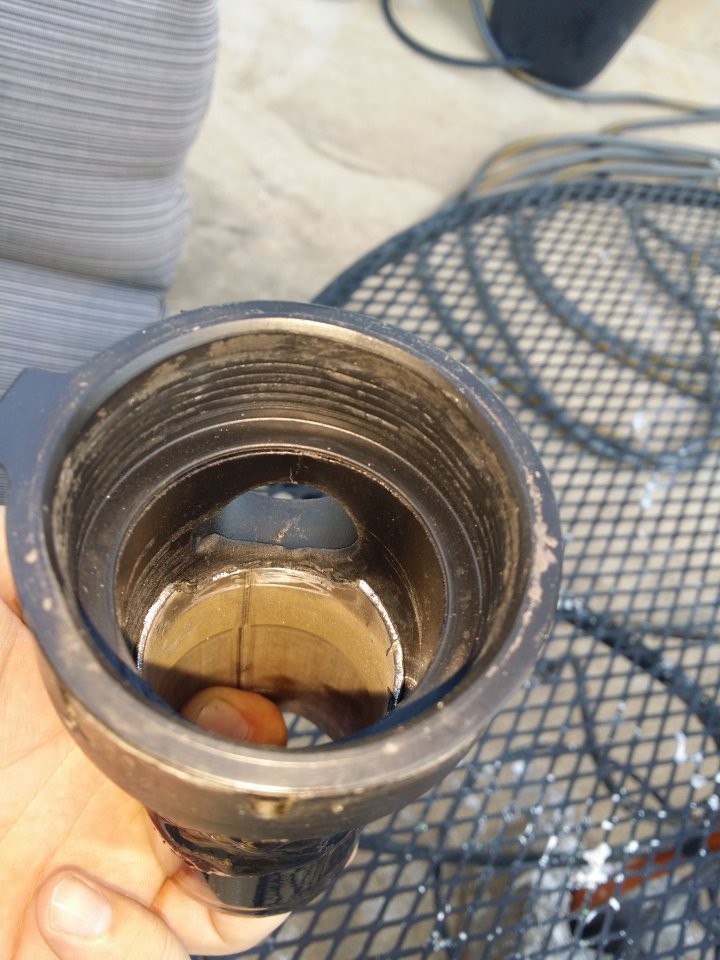
Grinded it down so I can wedge it down futher into the plastic MAF housing.
Covered in epoxy then painted to match.
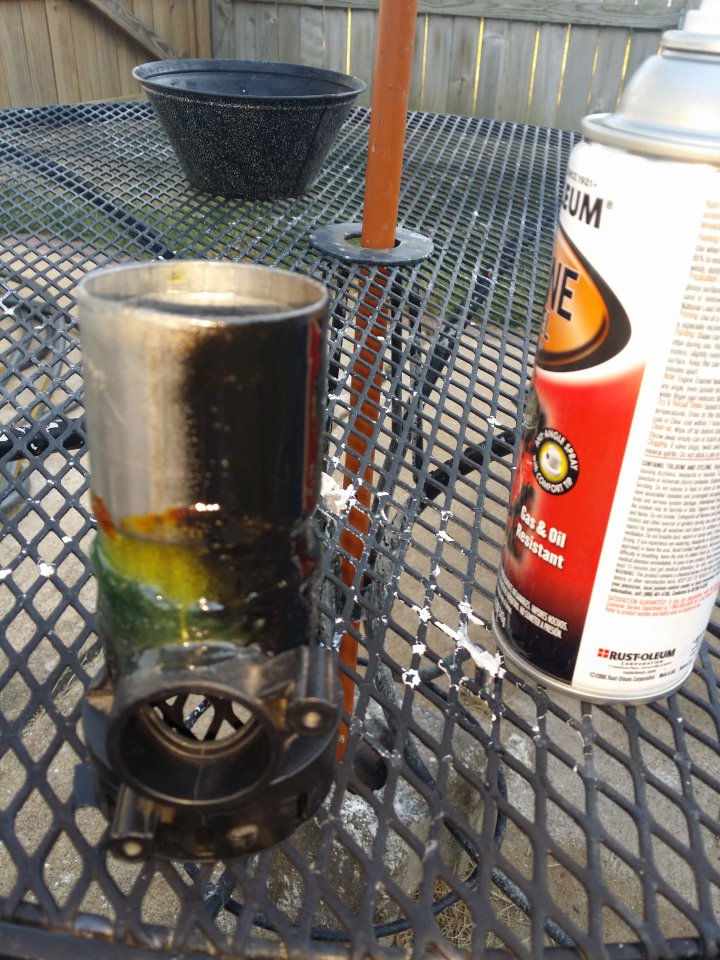
Goes down far enough it has some lip to grab.
Grinded it down so I can wedge it down futher into the plastic MAF housing.
Covered in epoxy then painted to match.
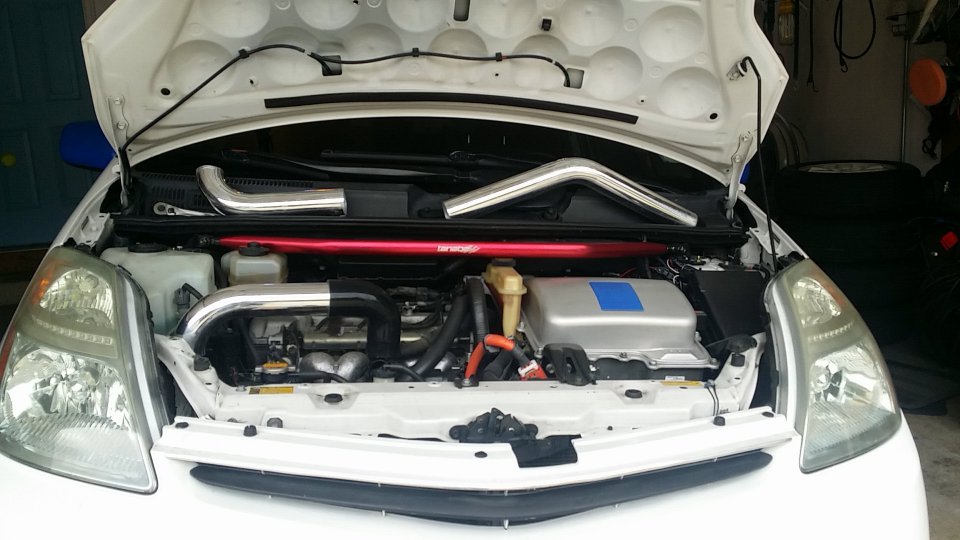
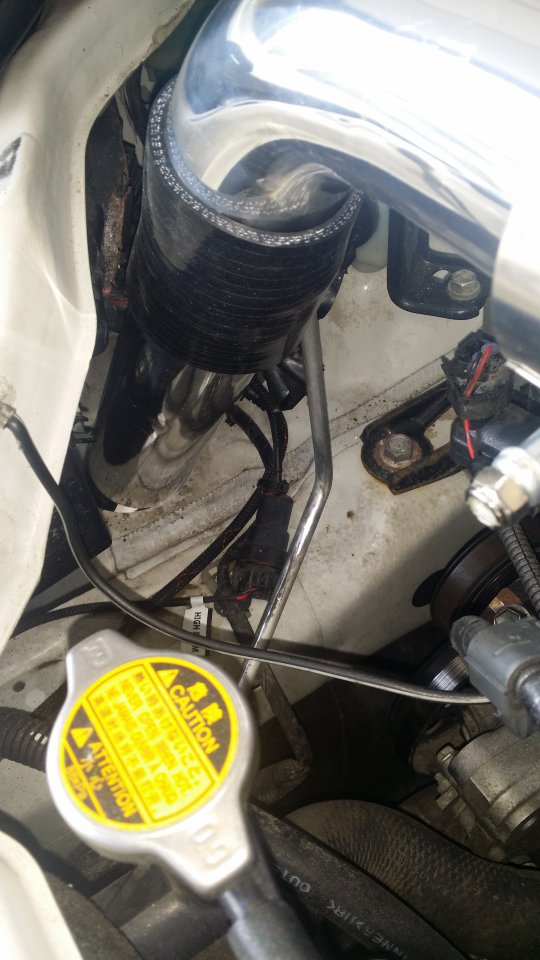
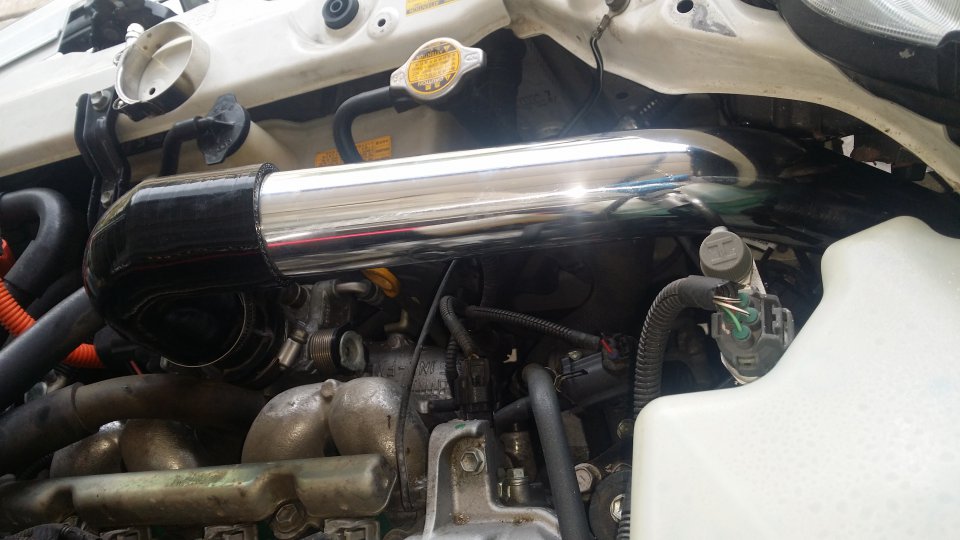
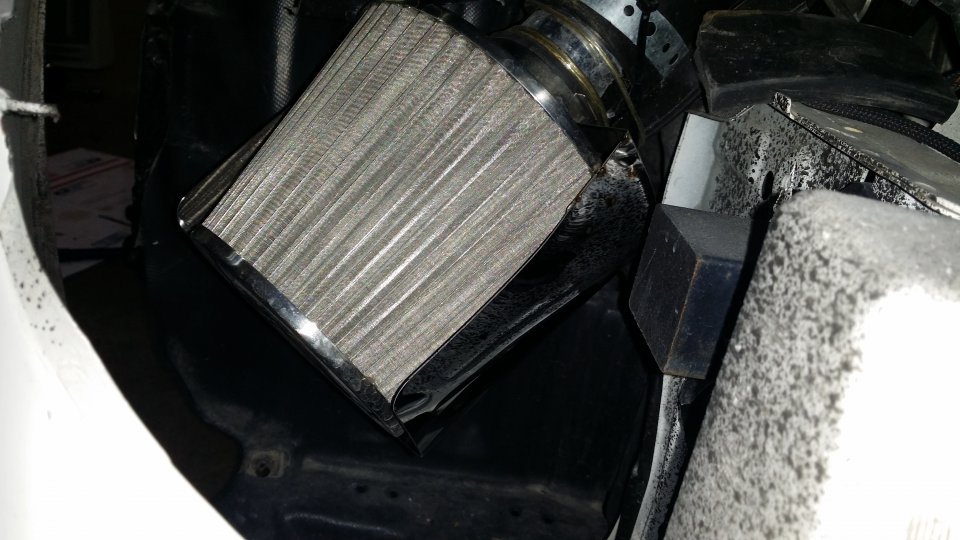
Decided to cut the whole area out to allow for more wiggle room. Wrapped the intake in duct tape then a old rubber coupler around the area I cut. Zip tied, wire and pipe taped it down, would rattle if I didn't. If you can get the intake tube in nice and neat then right on.
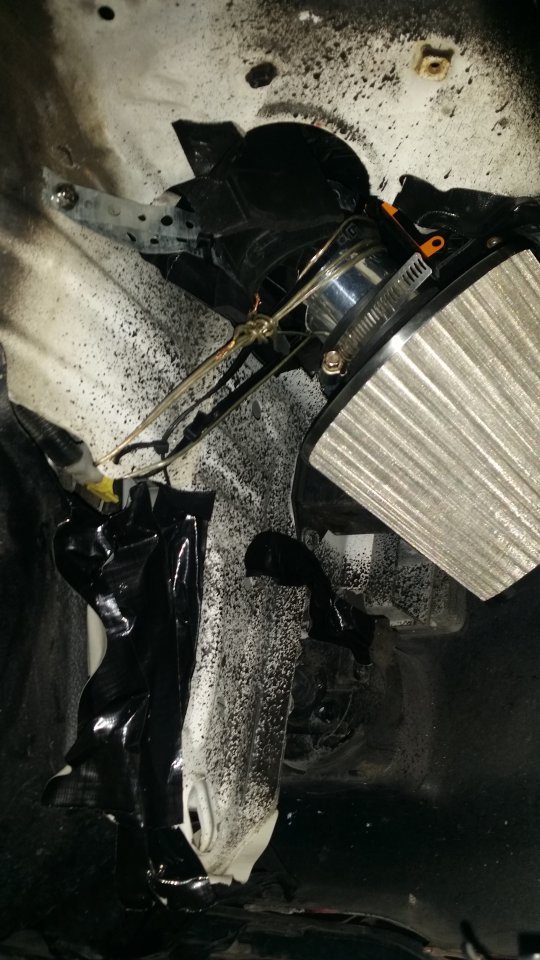
The intake tube was banging against what I guess is a metal coolant line so wrapped that area in Gorilla tape
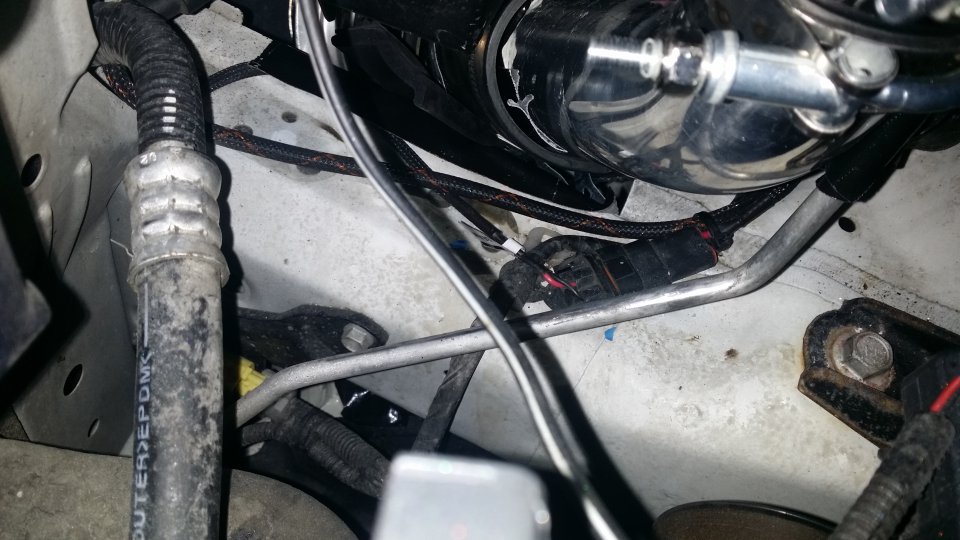
Zip tied the tube to the mount for that metal tube.
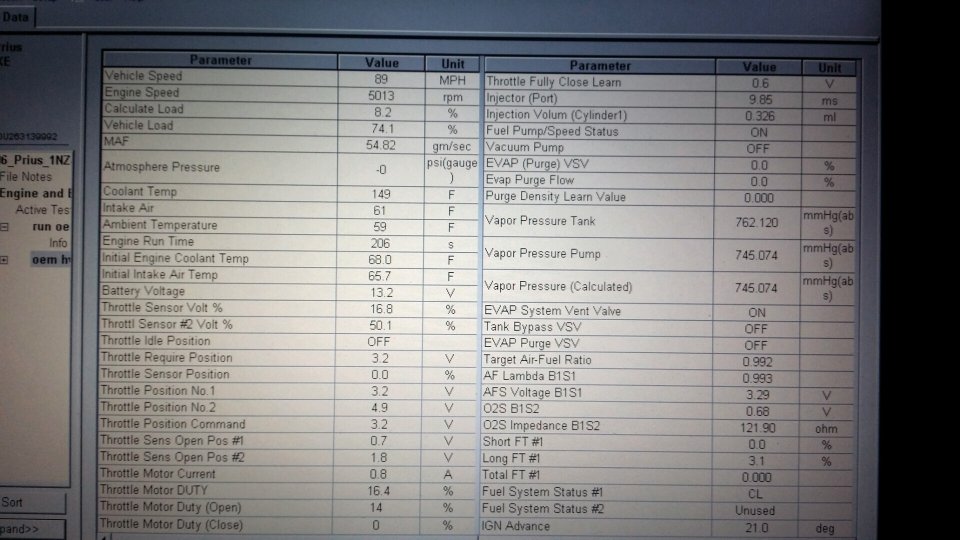
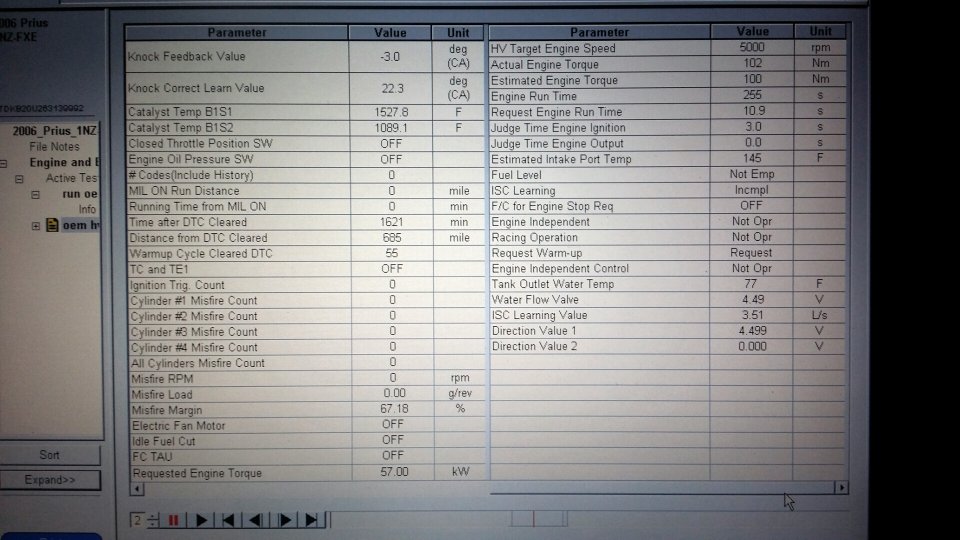
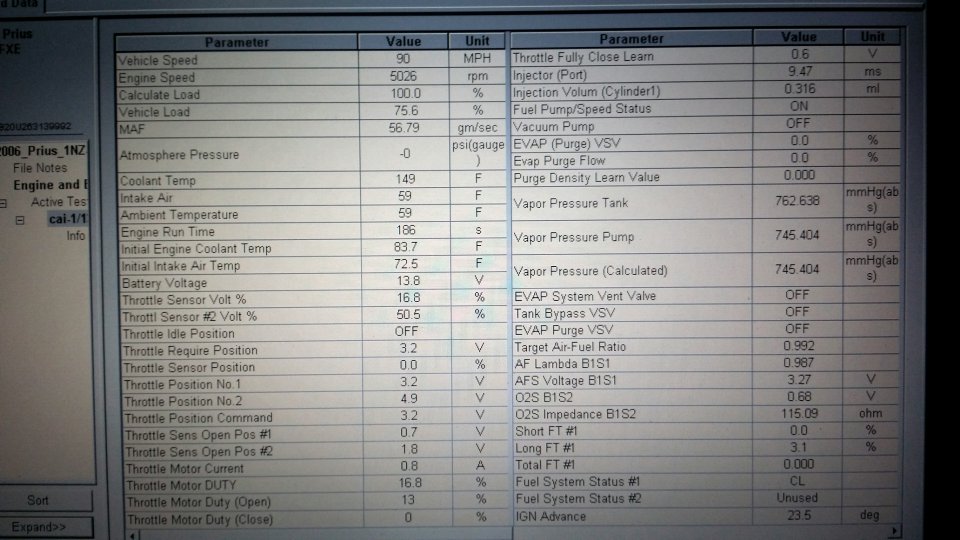
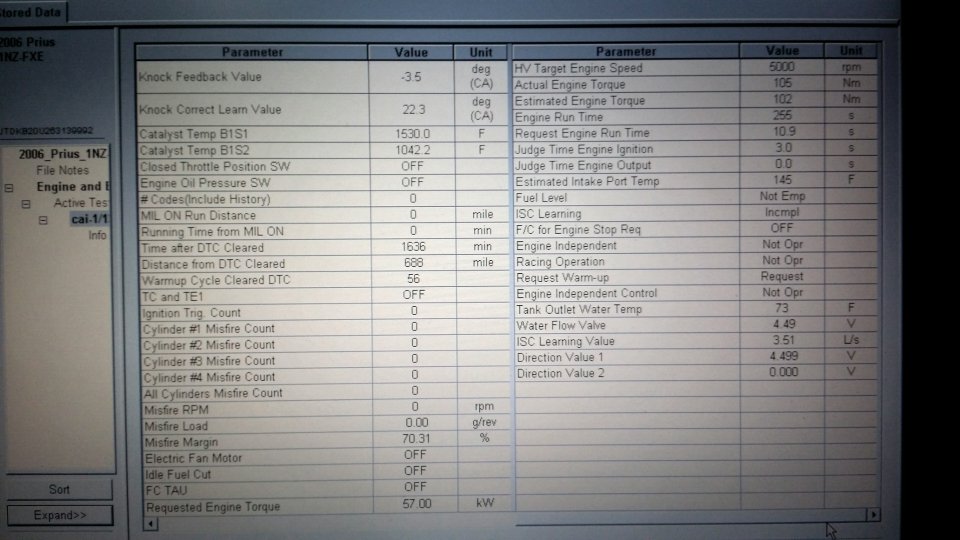
Here is some info Tech Stream gave me when I did a quick high way run with the cold air intake in. At about 90MPH there was a 5 Nm gain in torque over the stock intake so yay but sadly the over all torque decreased. Again according to TechStream so not sure how accurate it is.

Stock intake run

OEM intake run
Cold Air Intake run
Wonder what Dyno results would show. We'll see if this helps at the races. More testing results will be added.
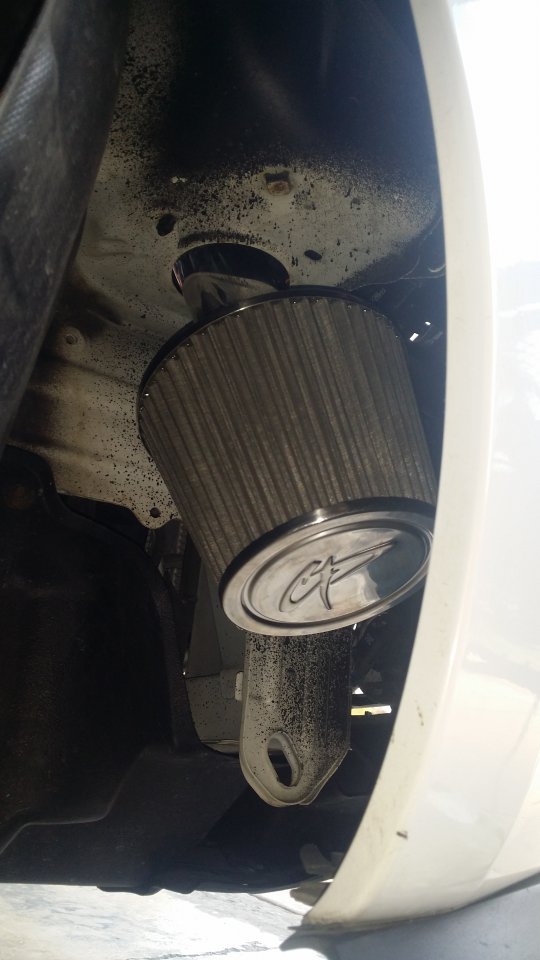
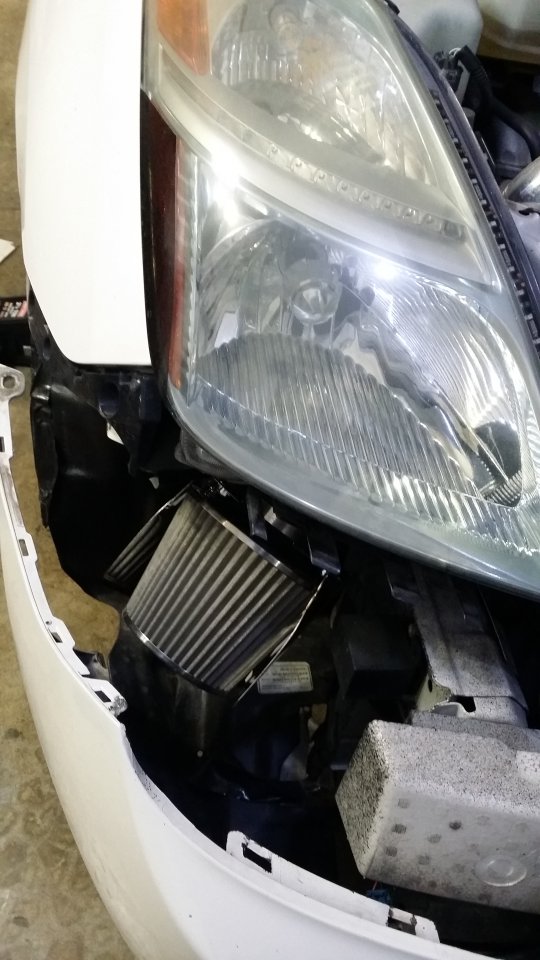
Added a heat shield/splash guard. Since lowering the car I've had to mess with the wheel well cover due to rolling fenders and figure i'll add some more splash protection. Probably not needed but makes me feel better about water coming in via the wheel well, if ever.
No comments:
Post a Comment