Wednesday, December 23, 2015

Brake Drum experience

Did this last week and my e-brake is no longer useless. Bonus less brake sqeeks. Here are some pics I took during to process. I was confused on what the bolts were for at first. Thinking I would hammer them off I broke the thread on the drum so got a bigger bolt and drilled it in pushing it off the car. 


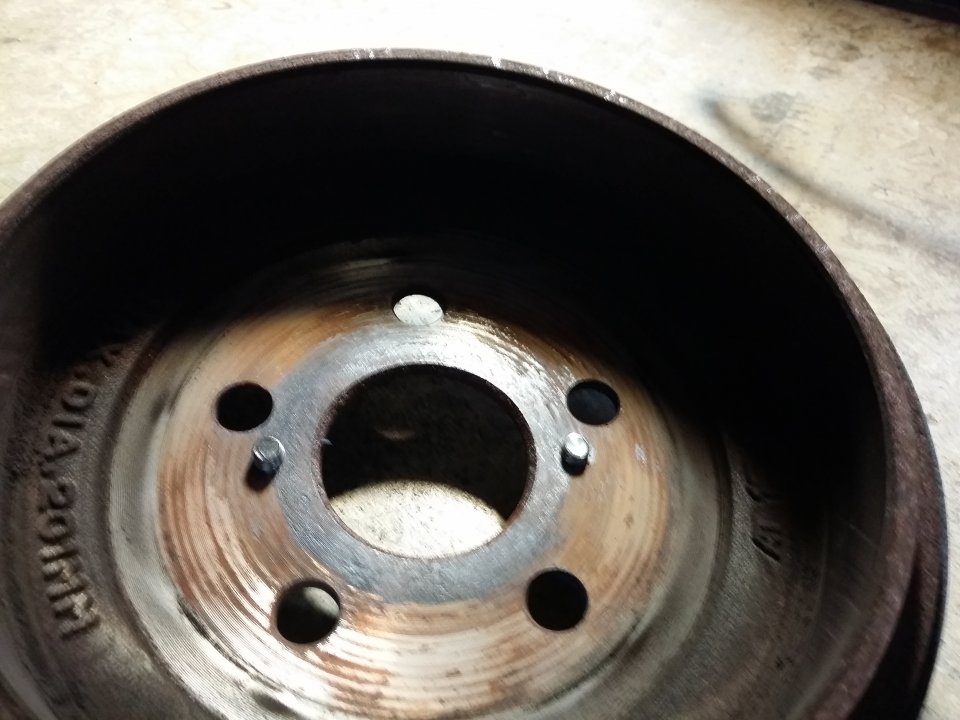
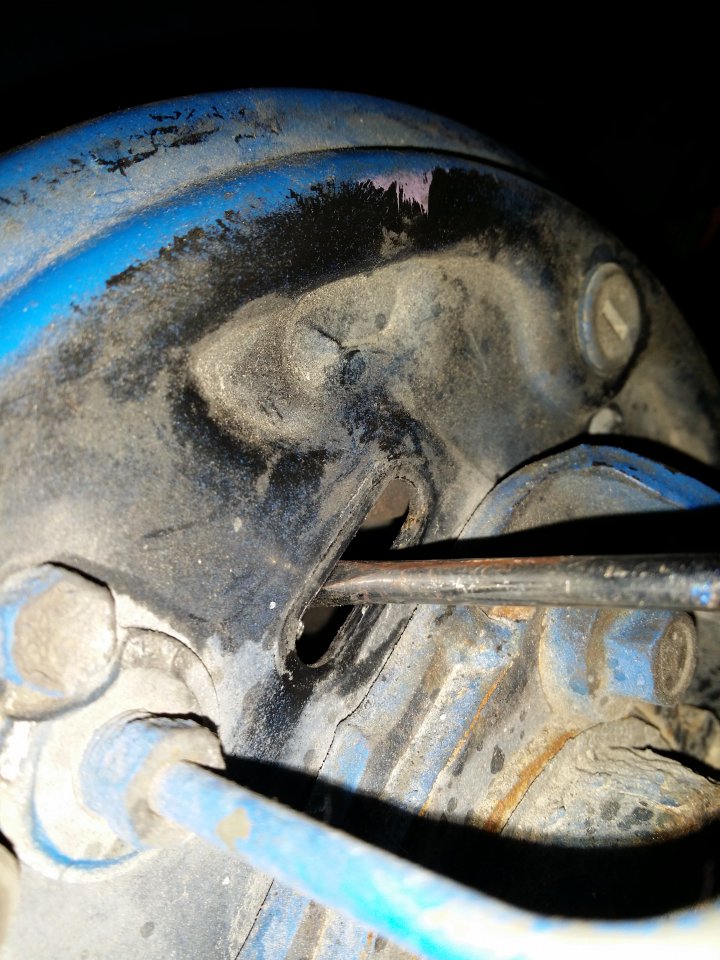
The bolts go all the way through pushing them off. It will make a pop sound and brake dust will fly.
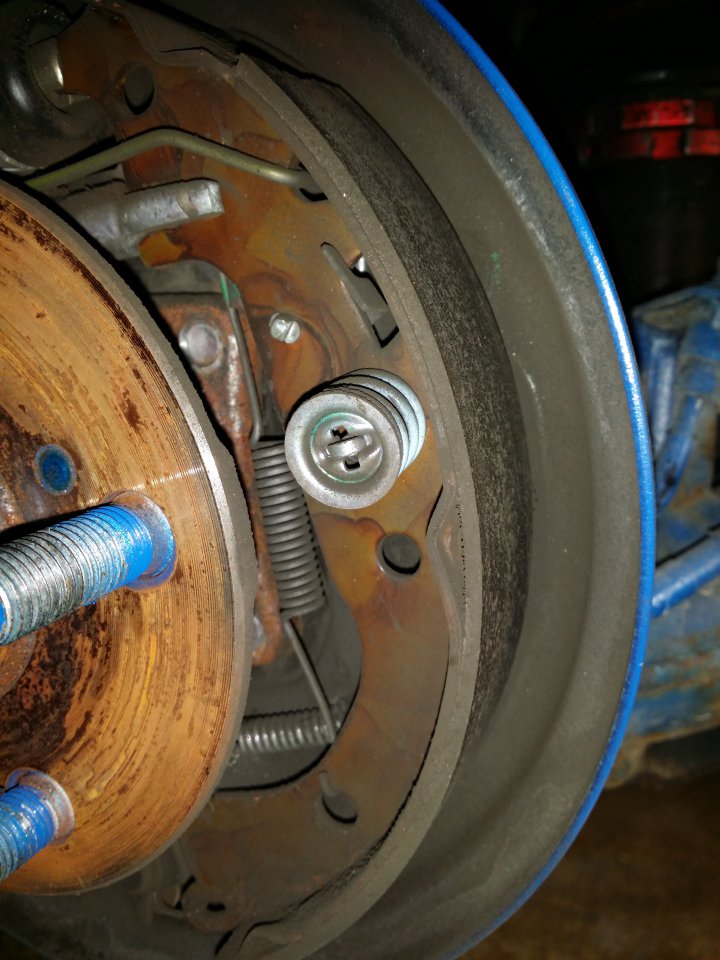
20151219_210313.jpg 20151219_210319.jpg
Rear facing shoe.
20151219_210308.jpg 

Front facing shoe looked slimmer than the rear.

20151219_210342.jpg 


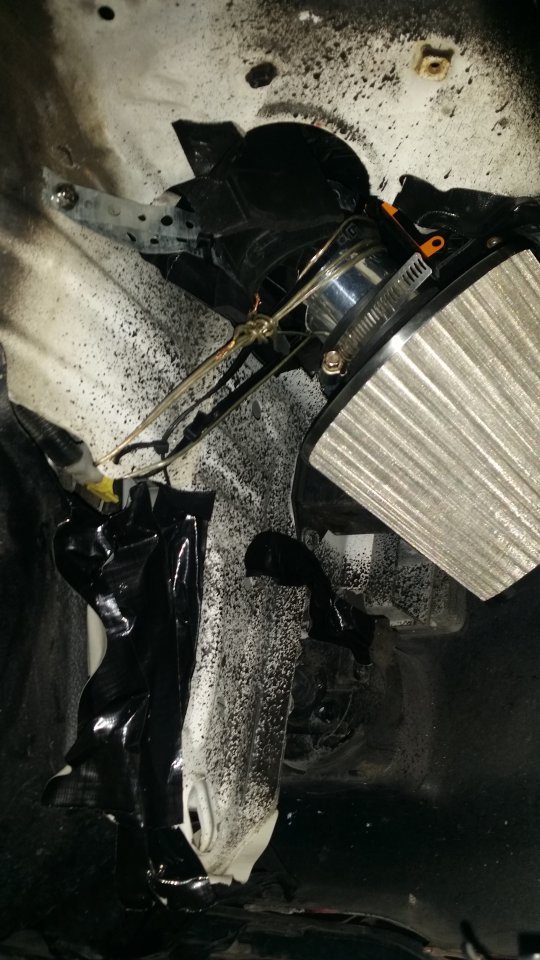
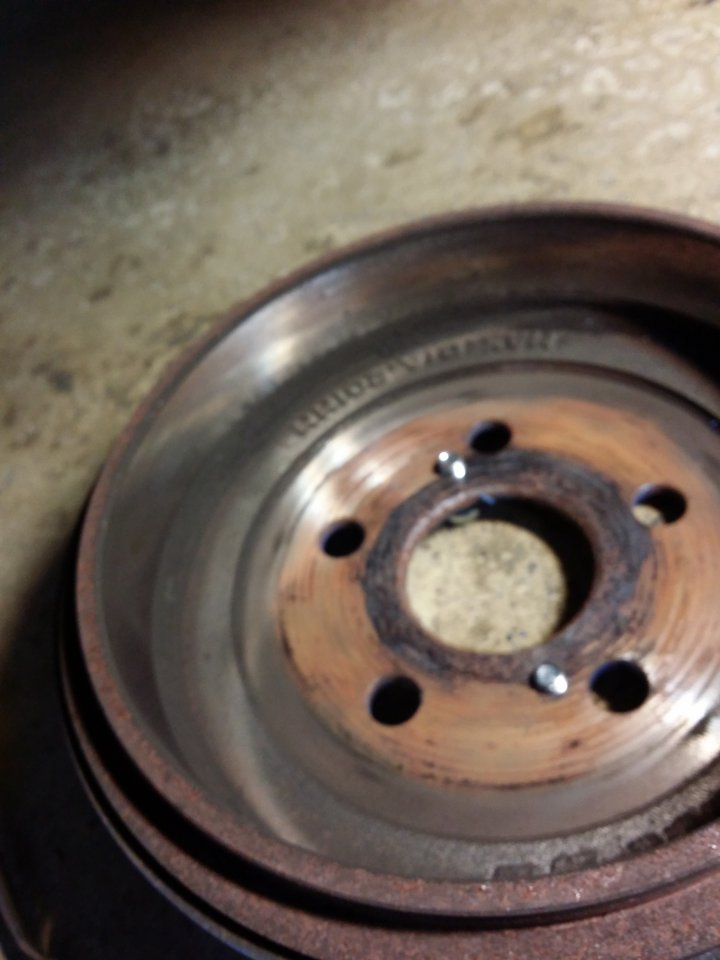
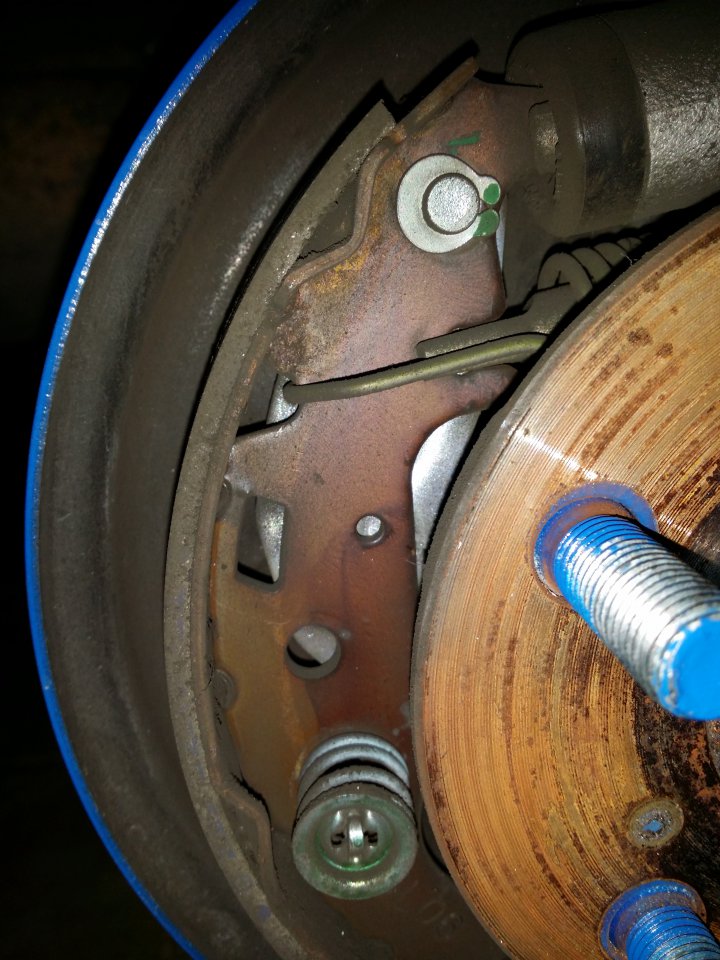
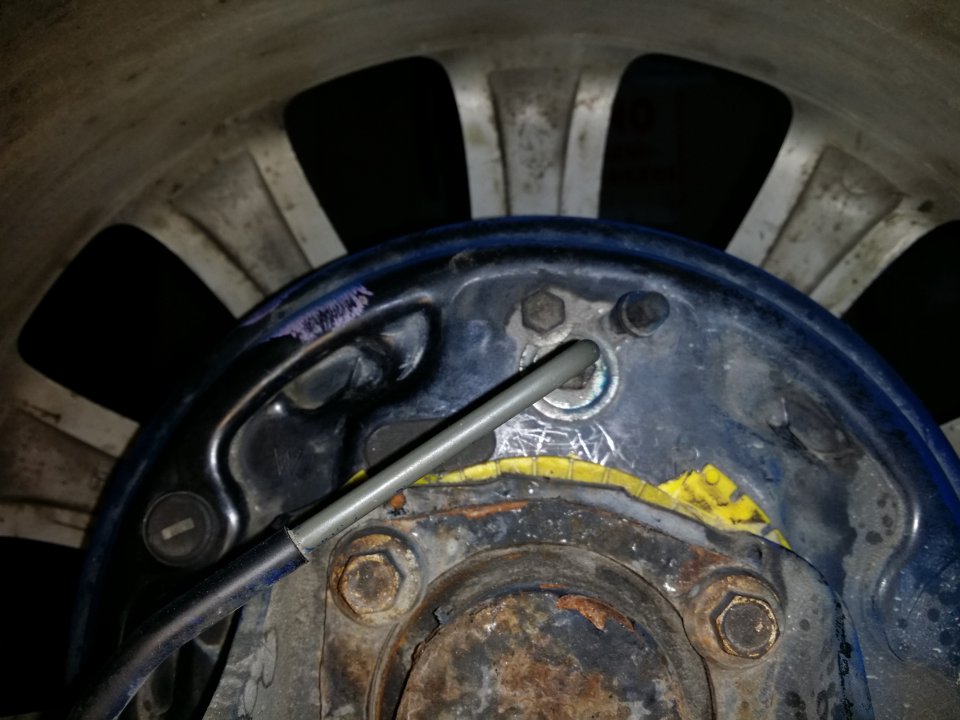
After all is sanded,cleaned,and put back together this part with the teeth needs to be turned from behind the drum with a flat head screw driver until you fell drag on the rotor.


20151219_233110.jpg
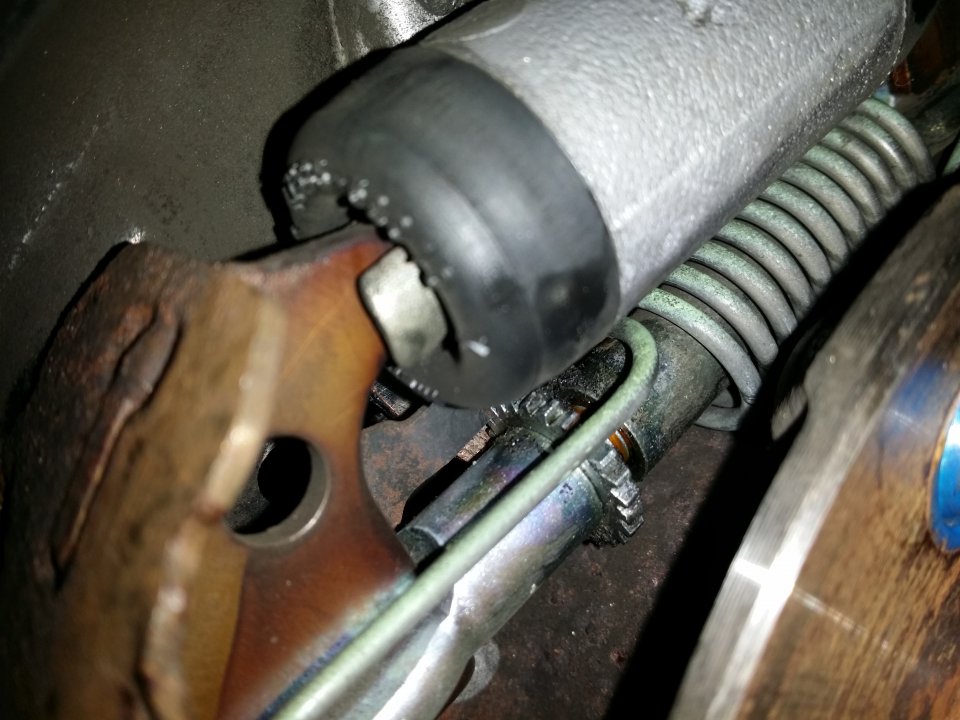
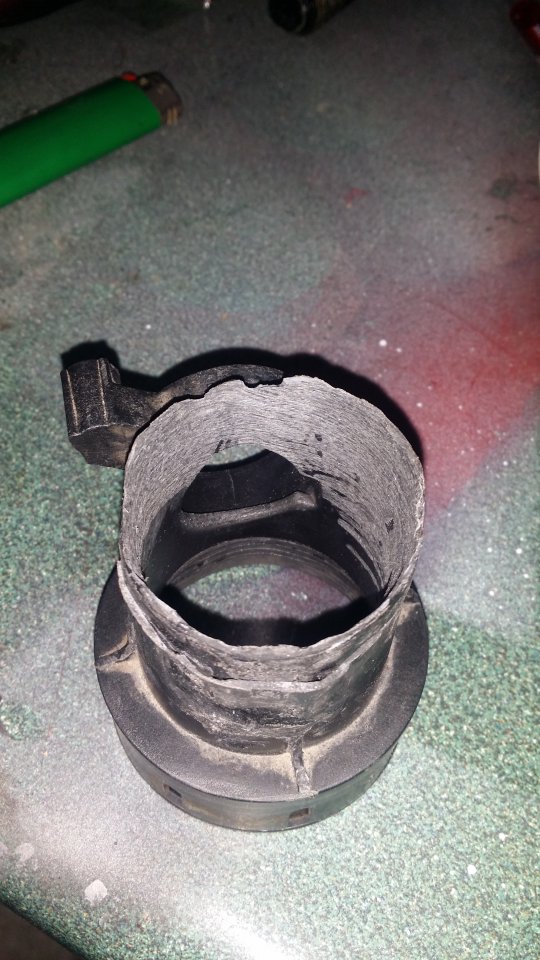
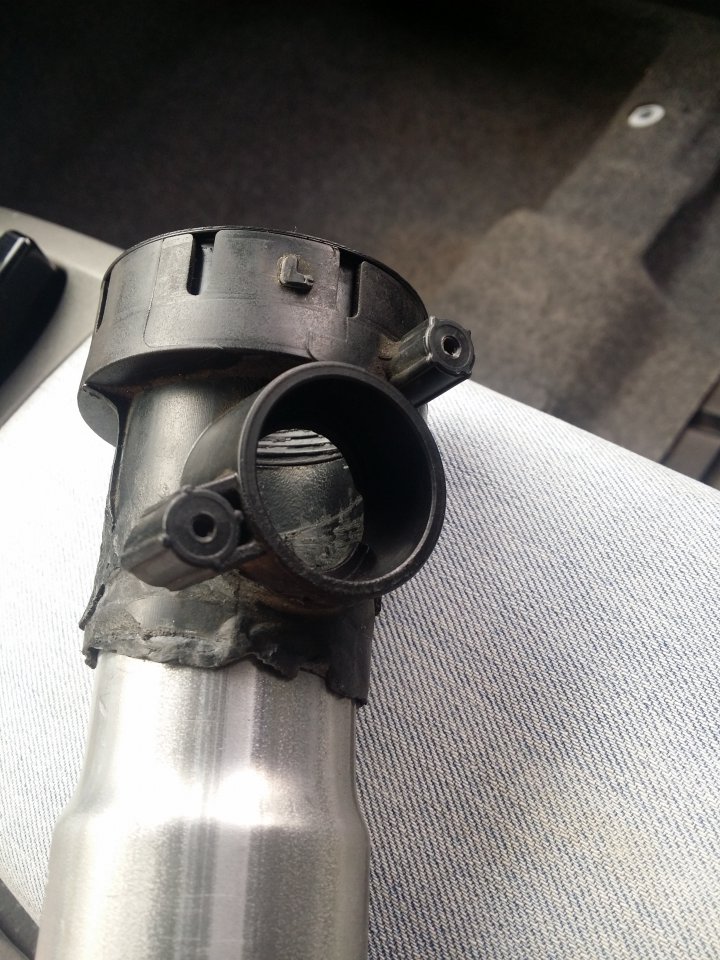
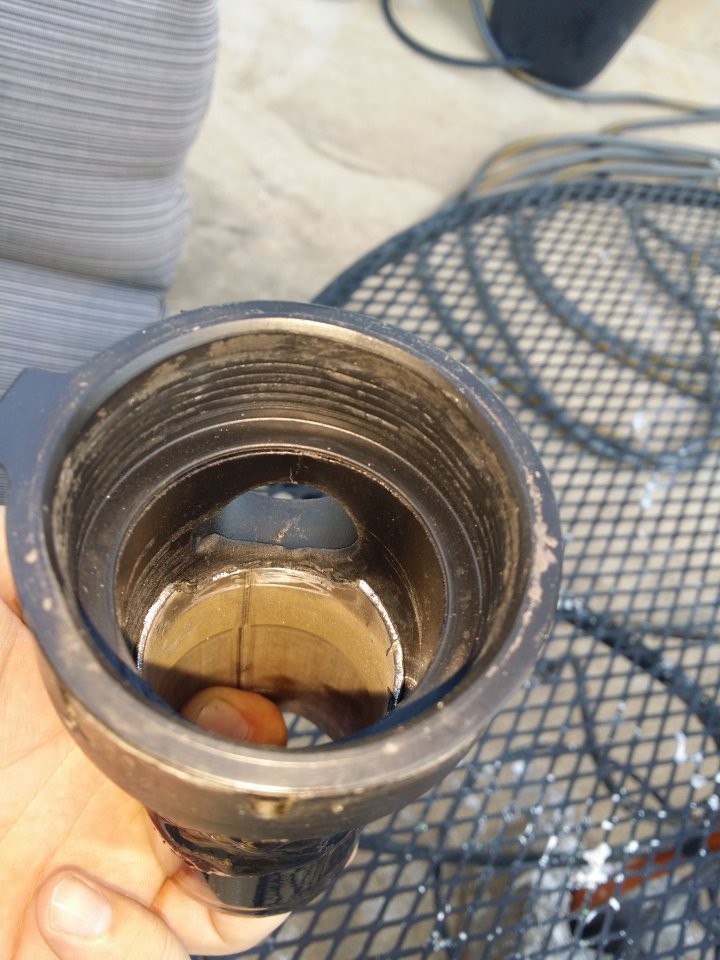
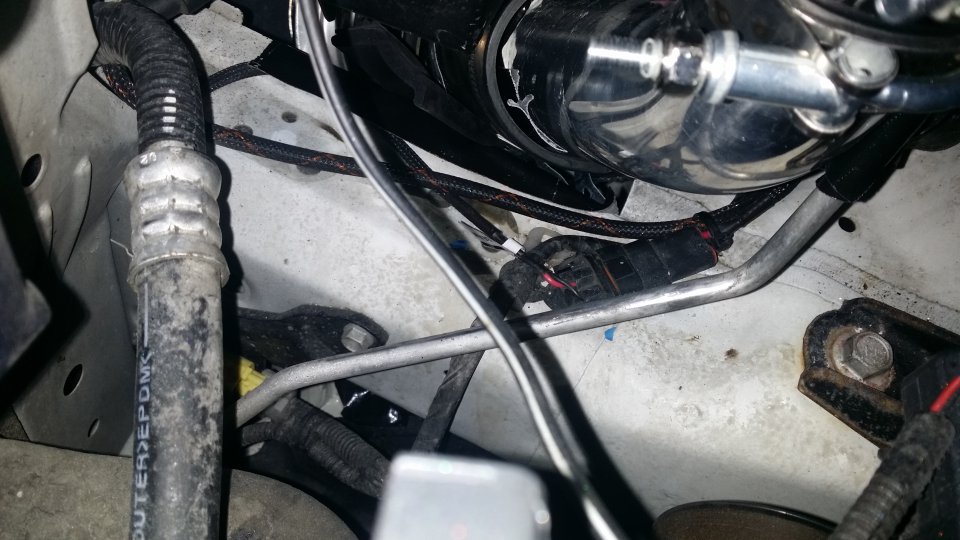
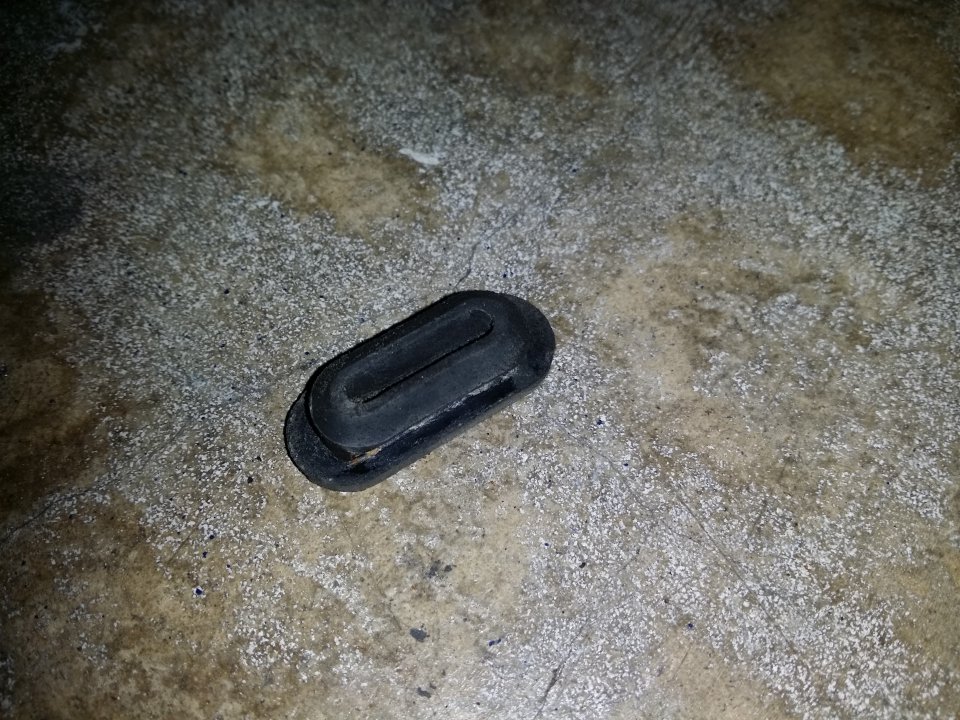
The plug you want is pill shaped. It will take a few trys to get it lined up. When tightening you'll hear clicks but not when loosening.

20151219_233116.jpg 20151219_233128.jpg
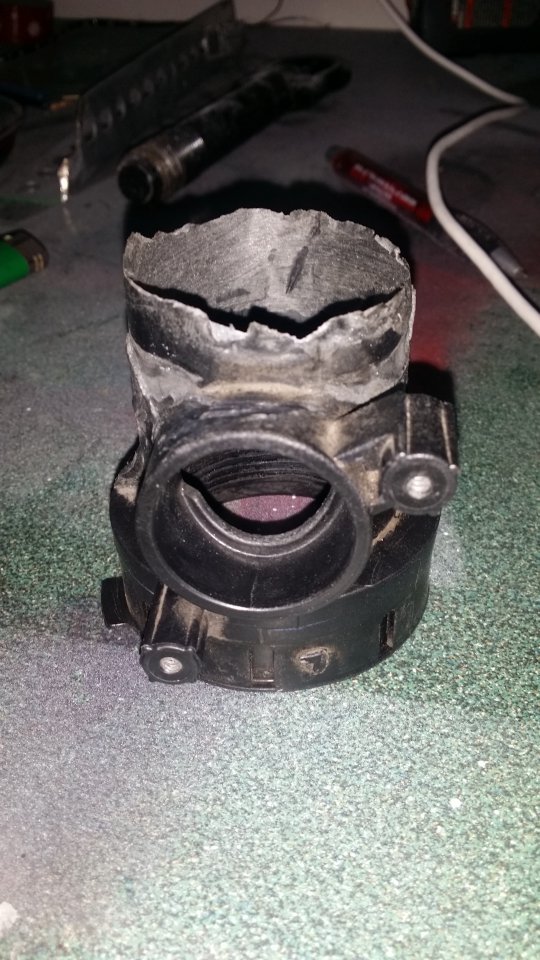
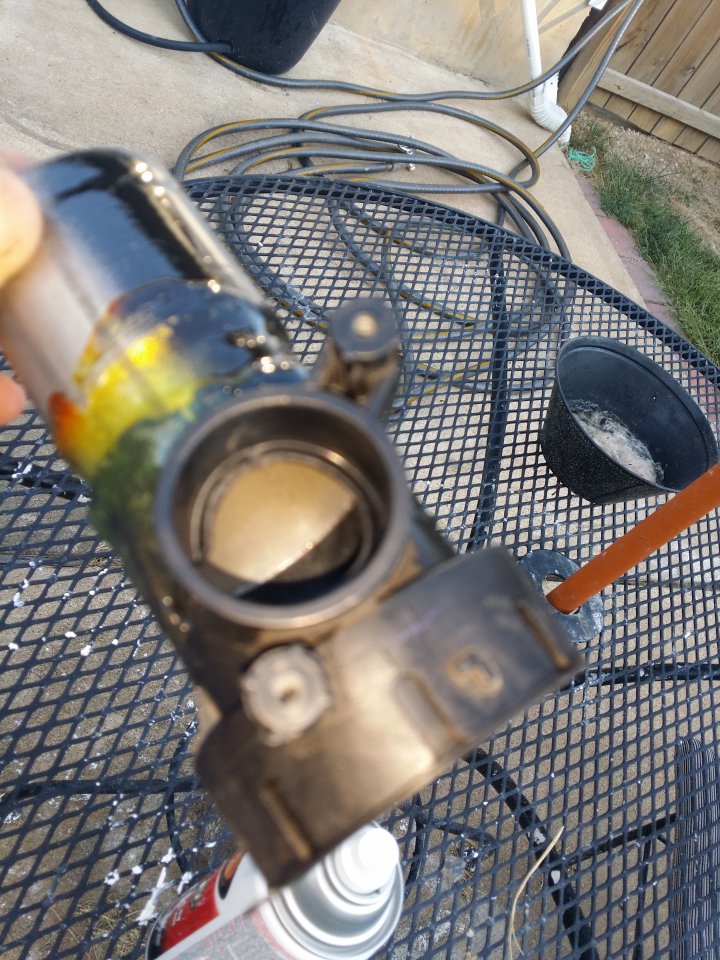
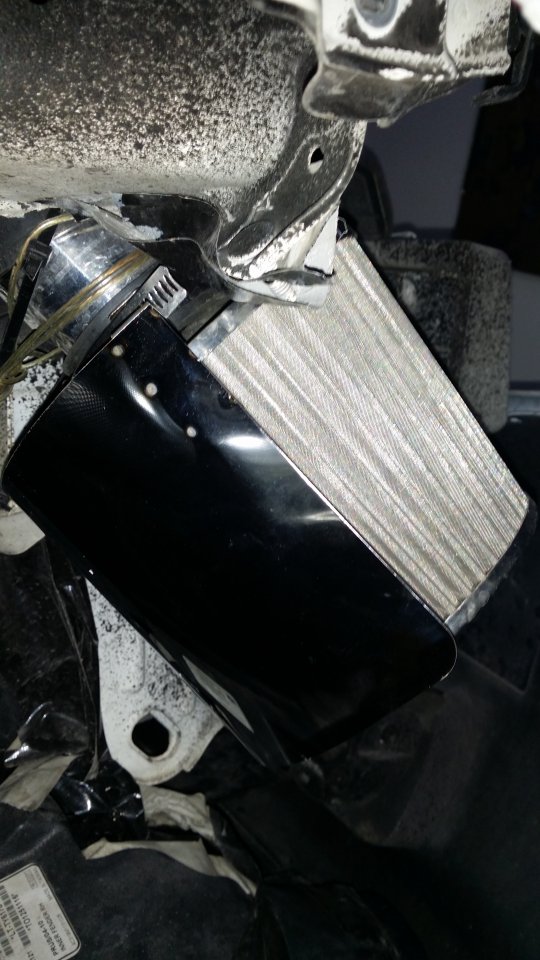
This side was tricky because a shim was needed for an alignment so I broke off the excess to get to the plug.

20151220_001407.jpg

Hope someone can now do their brake cleaning faster by learning from my mistakes/spots I was stuck on.

Tuesday, October 27, 2015

Glow Time

So this came in the mail!!! 5 meter waterproof led strip.

Snapchat--8801660390456520204.jpg 

Had some old Blue LEDs I've been wanting to use also.
Snapchat--1647602413434036543.jpg Snapchat-5571372720105033013.jpg 

Testing where they should go
20151025_173349.jpg 

To help with wiring I unclipped the top half of the front bumper 20151025_173354.jpg 

Sadly going up the rear door would be odd due to the turn the strip would have to take. Ran the wires through the door firewall area then ran it behind the wheel well up into the engine bay. To connect the sides I can the passenger side under the wiper blades crowl.
Snapchat--5890935939162469461.jpg

Test run Snapchat--3017638423032042049.jpgSnapchat--919505885559829096.jpg20151025_181001.jpg20151026_065052.jpg20151026_065106.jpg
Added a blue cold cathode in the lower grill and white in the upper.

20151026_065203.jpg20151026_065219.jpg20151026_065252.jpg

Friday, October 16, 2015

Prius Dyno

Got a dyno for fun at a car show. No rear seats and a drop in K&N filter at about it for power mods. Had the car in base with traction control off. Yes lots of people were laughing,making solar panel jokes,back to the future jokes, and so on... Until they saw the read out and were kinda impressed or curious,well for a prius.lol:LOL: 
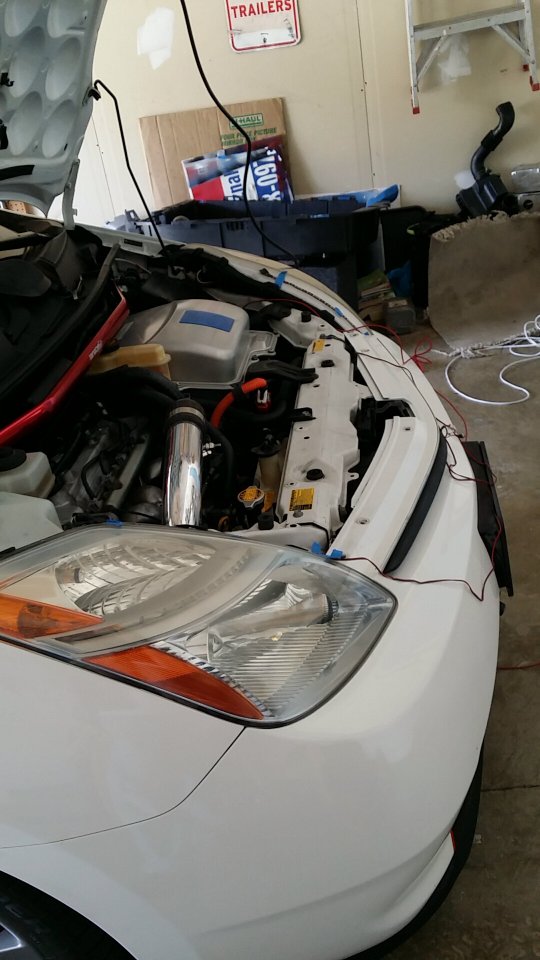
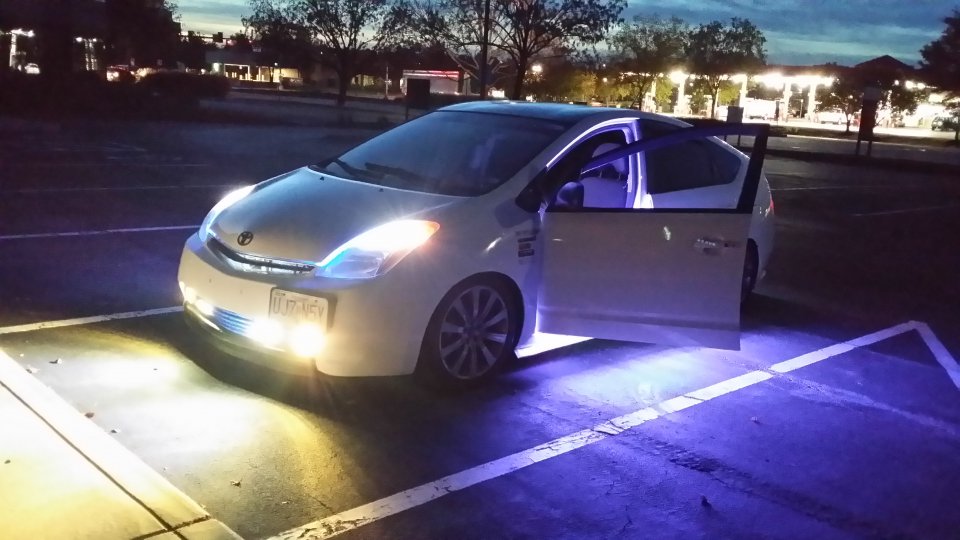
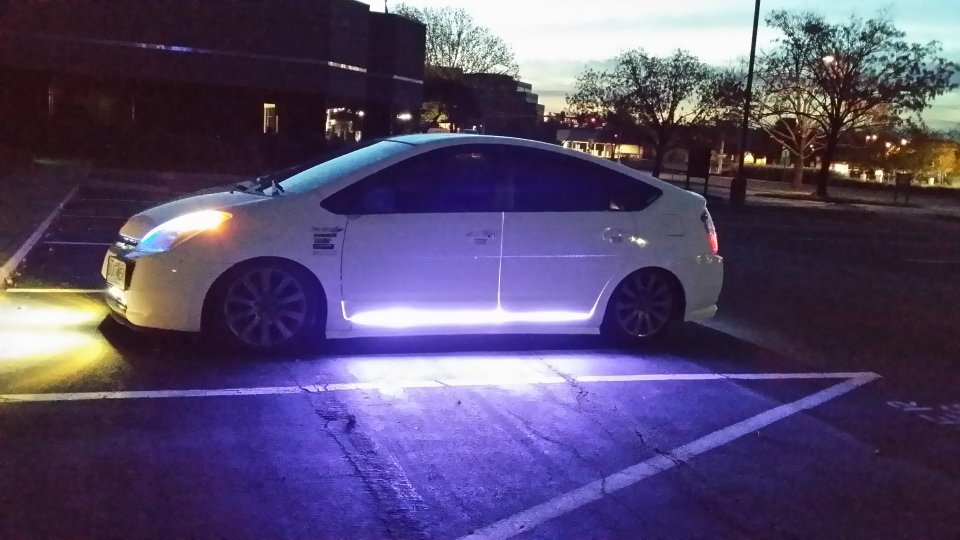
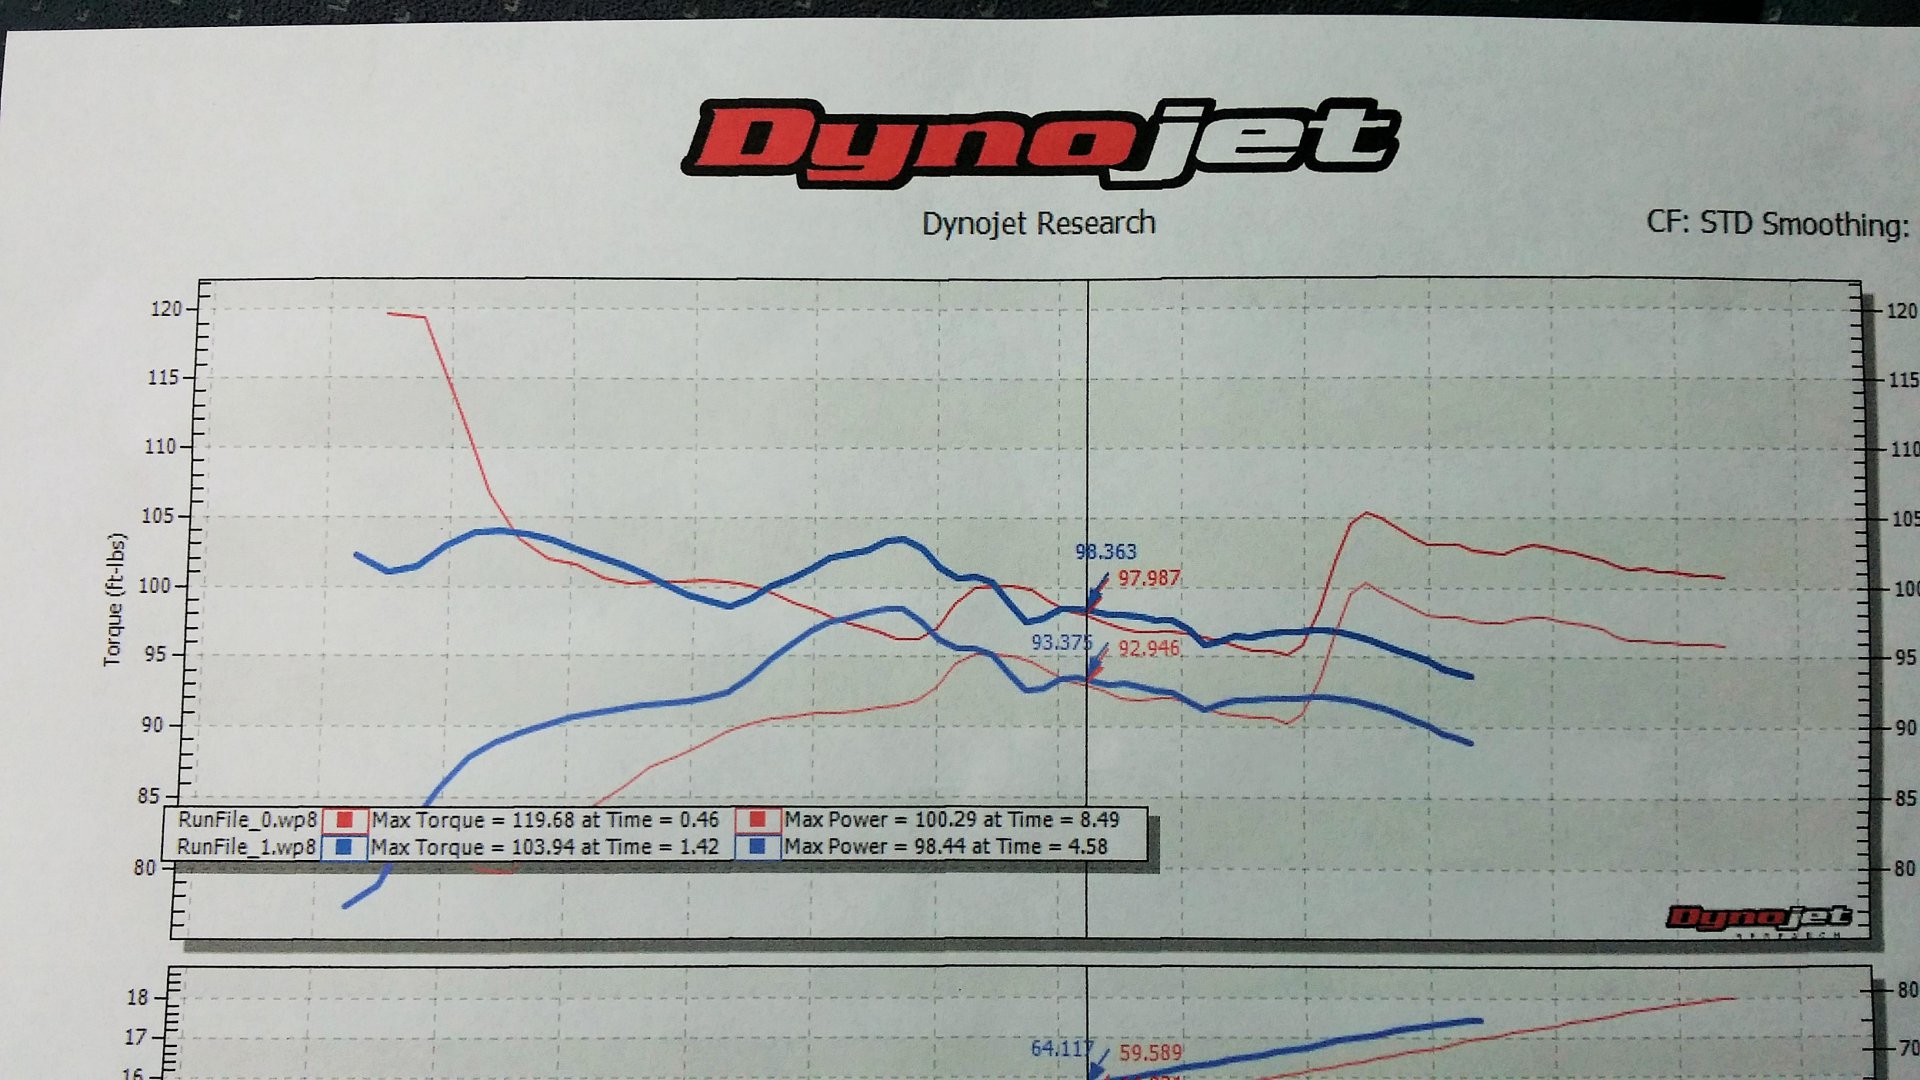
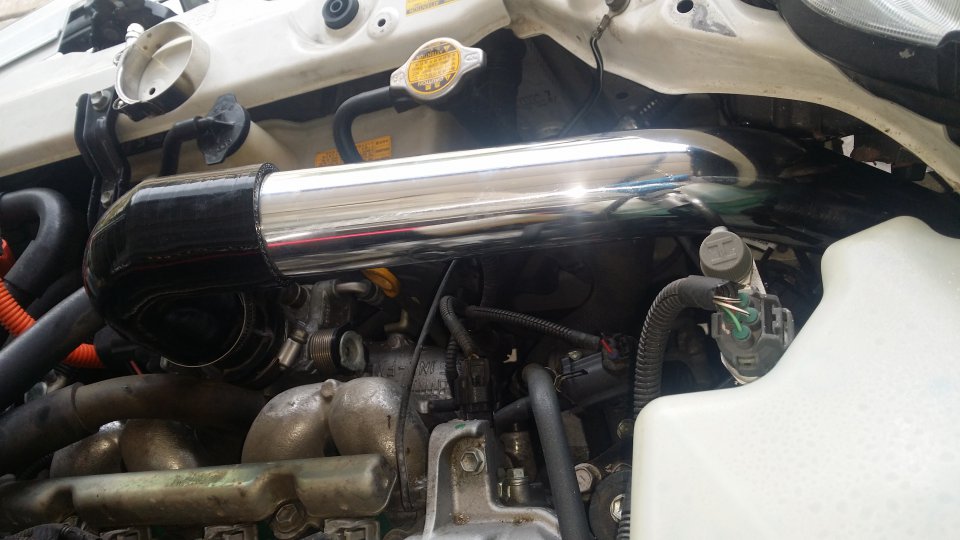
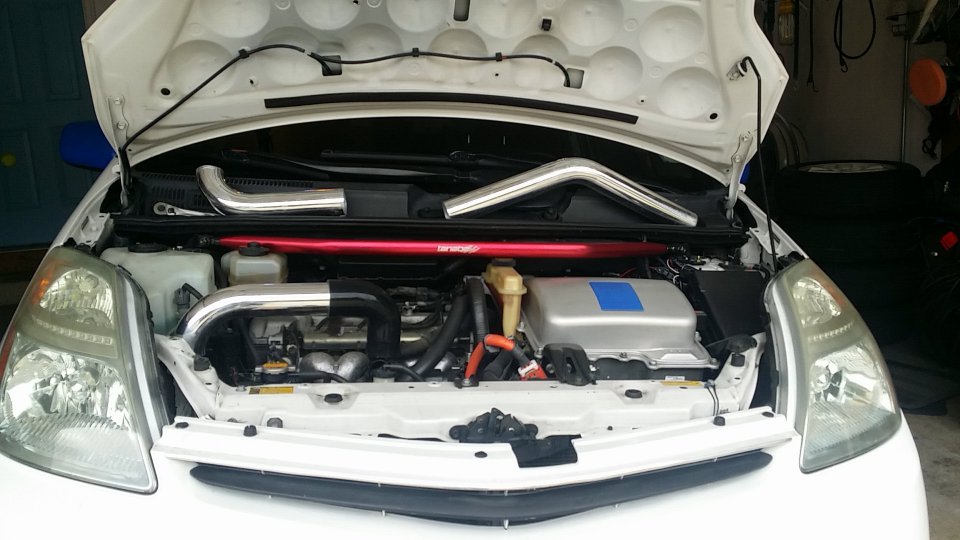
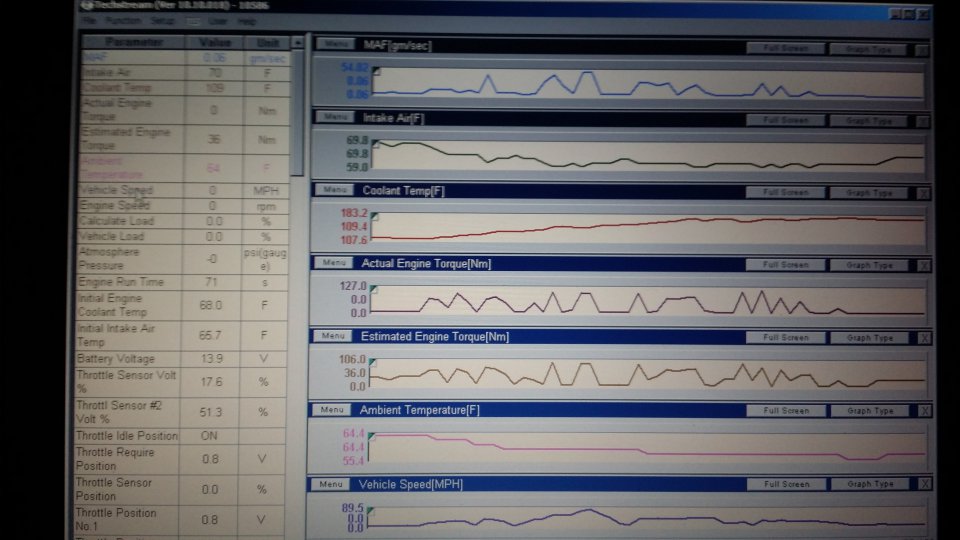
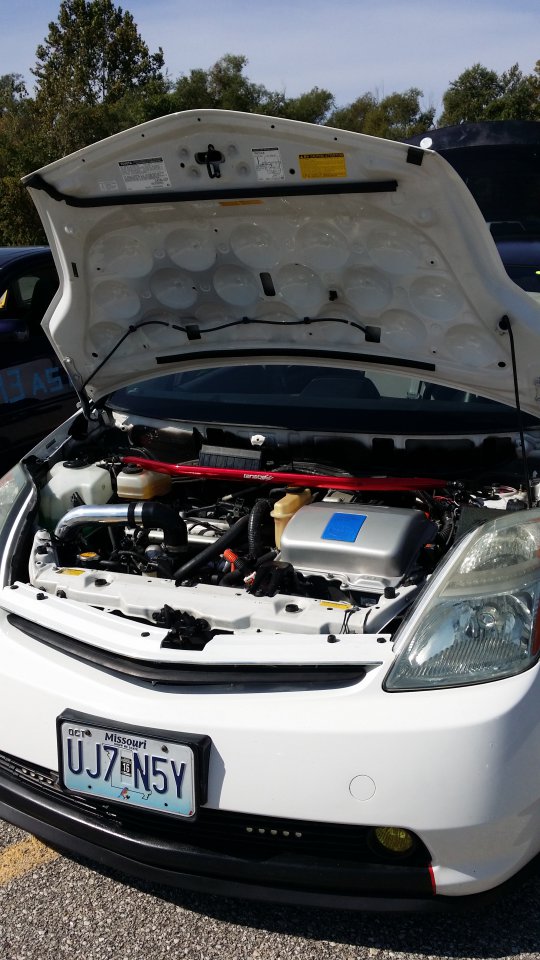
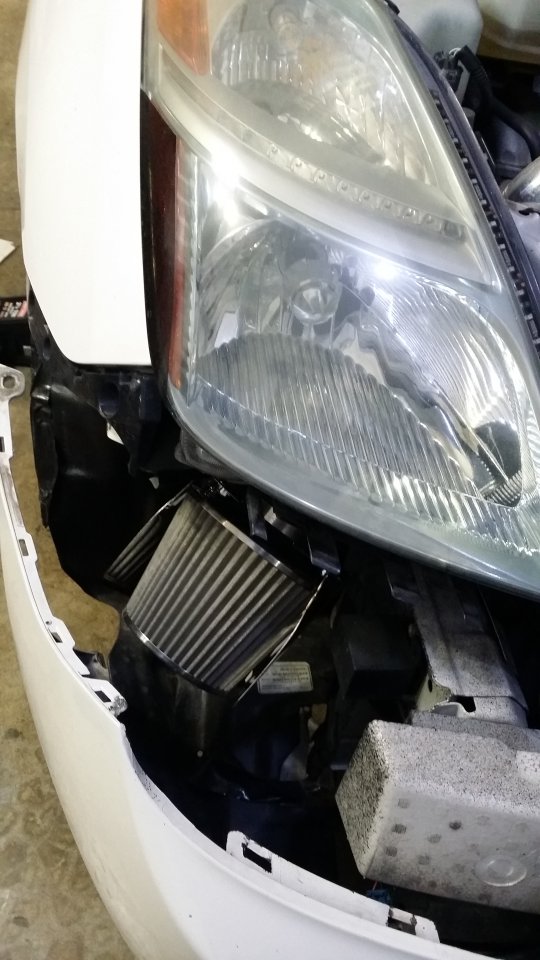
Pared next to the other cars that got dyno and popped my hood. Actually had a few people check the car out. :)The guy driving for the dyno knew very little about the prius/how to operate one. The dyno was having trouble they say because I have a CVT transmission and the machine reads better knowing what gear the car is in. Any ways here are the results.

RUN#1


RUN #2


Prius Dyno20150509_134027.jpg
 

Friday, September 18, 2015

Sezy Cold Air Intake

Sezy Cold Air Intake


Was able to snag an extra air box from this Prius at a junk yard.


First make large cuts to remove the MAF housing and the extra tube that connects to the OEM air hose. The MAF is oddly shaped and would not allow for anything else to clamp onto it. The air intake side part will be used to fix this issue.


I took a torch the the ends of the MAF and extra part then with a flat head screw driver started molding/pulling the melted plastic. Make sure there are no air holes or leaks. I would heat it ,mold a little then cool it off in water until I got the desired result. Used a dremel inside after wards to smooth out the inside and grinded the outside to get any plastic clumps off.


Some of the parts I ordered. Only thing missing is a small cone air filer.


 First parts to arrive. 2" to 2.25" elbow fits fine.

Filter came in next. Had to remove the hood insulator for this to fit. Waiting on the tubing to come in. Sounds meaner already.


Tubes came in so time to try some test fits.

20150927_142801.jpg 20150927_142811.jpg20150927_142819.jpg 20150927_143939.jpg 


Looked like it was going to be as easy as a 90 silicon coupler and a long tube with a 45 bend. I was concerned it was folding the coupler too much reducing air flow. That was the least of my worries after I heard a CRUNCH CRACK from my MAF housing part I made.

20150927_143950.jpg

Snapped right where I joined the two parts.

20150927_170404.jpg 20150927_170413.jpg 

Off to find a fabricator but since I'm cheap I went to exhaust repair shops first.

Found a exhaust tube that fit in well enough then had the guy bump out the end.

20150929_120455.jpg 


Goes down far enough it has some lip to grab.
20150929_120508.jpg 20150929_120516.jpg 

Grinded it down so I can wedge it down futher into the plastic MAF housing.
20150929_185334.jpg 

Covered in epoxy then painted to match.
20151001_170400.jpg 20151001_170409.jpg 20151001_170418.jpg 20151001_170434.jpg


Snapchat--3729745832548025685.jpg

Decided to cut the whole area out to allow for more wiggle room. Wrapped the intake in duct tape then a old rubber coupler around the area I cut. Zip tied, wire and pipe taped it down, would rattle if I didn't. If you can get the intake tube in nice and neat then right on.
20151004_183930.jpg 

20151004_184431.jpg 

The intake tube was banging against what I guess is a metal coolant line so wrapped that area in Gorilla tape

20151004_184437.jpg
Zip tied the tube to the mount for that metal tube.
20151004_184443.jpg 


Here is some info Tech Stream gave me when I did a quick high way run with the cold air intake in. At about 90MPH there was a 5 Nm gain in torque over the stock intake so yay but sadly the over all torque decreased. Again according to TechStream so not sure how accurate it is. 

20151004_224224.jpg

Stock intake run 20151004_224459.jpg


OEM intake run
2015-10-04 22.17.55.jpg
2015-10-04 22.20.18.jpg


Cold Air Intake run 
2015-10-04 22.24.18.jpg2015-10-04 22.24.02.jpg


Wonder what Dyno results would show. We'll see if this helps at the races. More testing results will be added.


20151011_125328.jpg


Added a heat shield/splash guard. Since lowering the car I've had to mess with the wheel well cover due to rolling fenders and figure i'll add some more splash protection. Probably not needed but makes me feel better about water coming in via the wheel well, if ever.

20160409_220352.jpg20160409_220313.jpg 20160409_220345.jpg