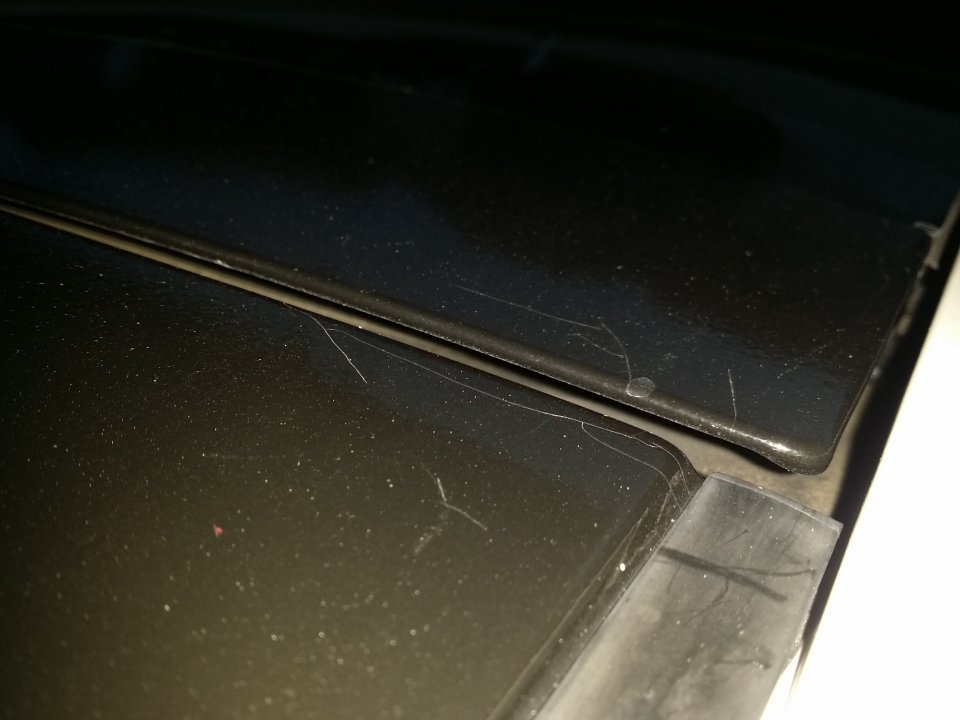
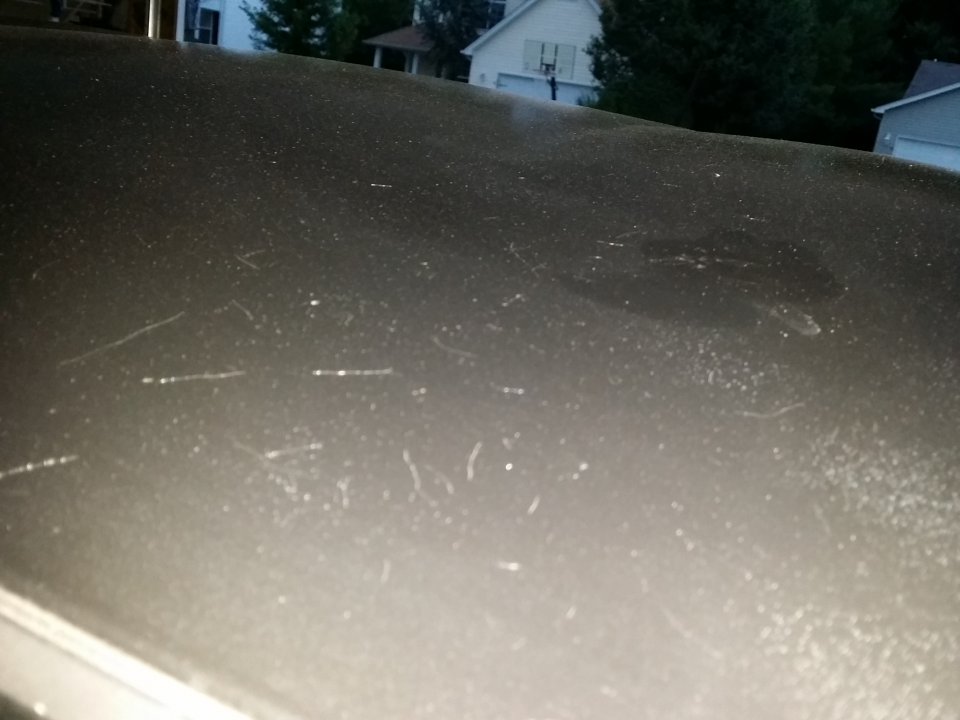
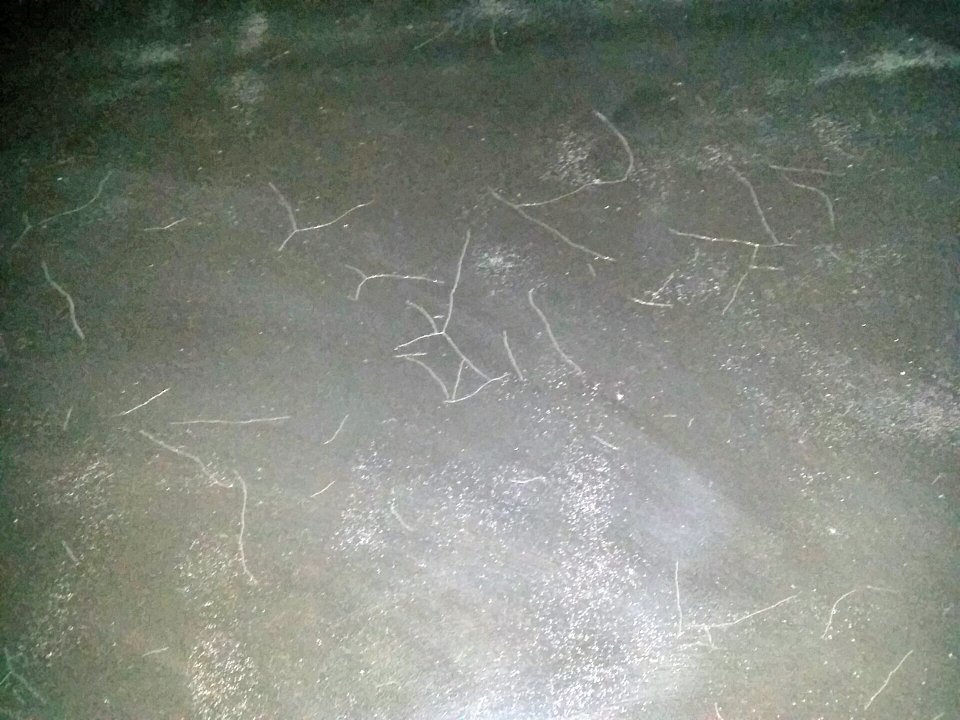
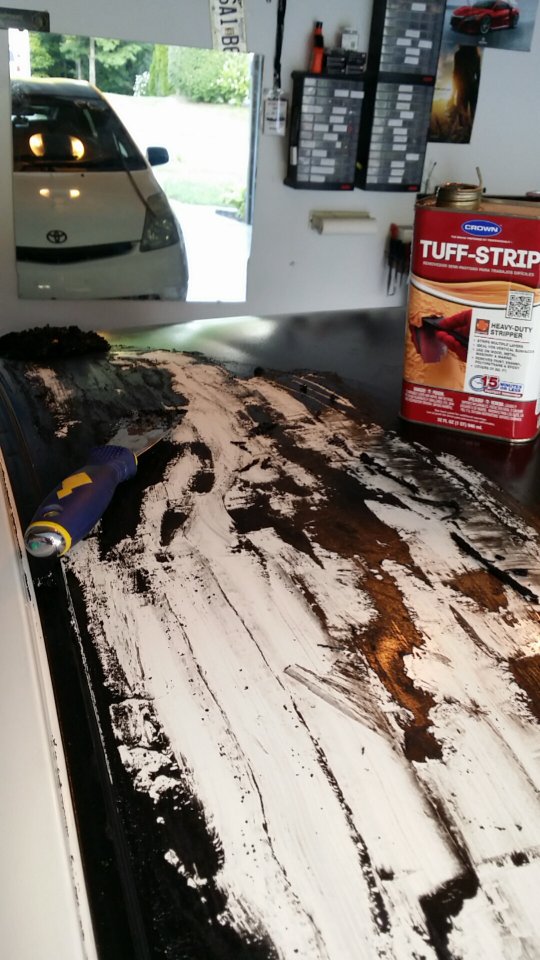
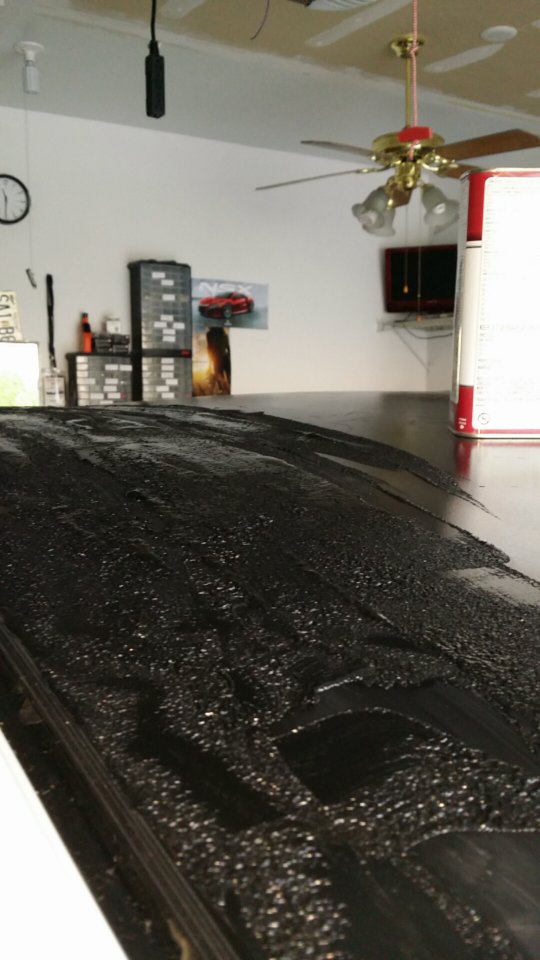
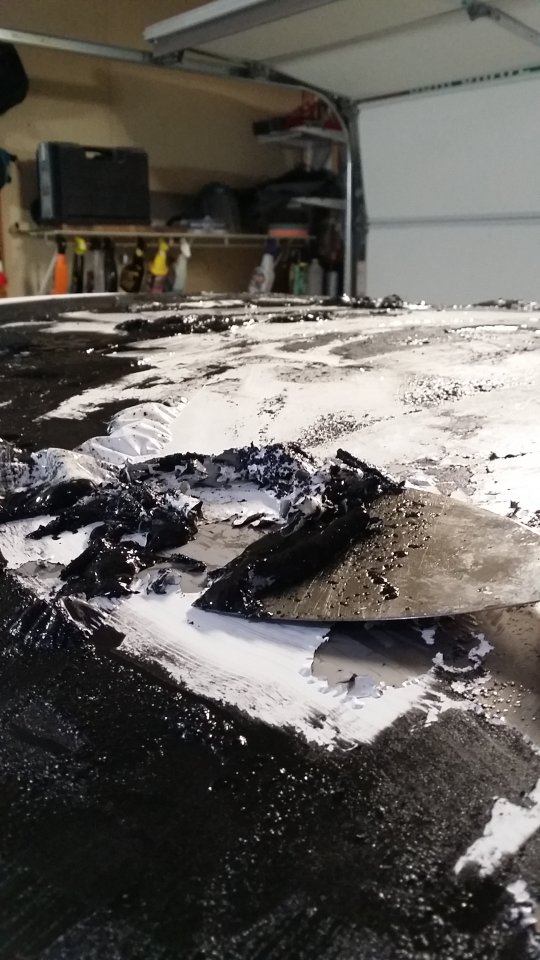
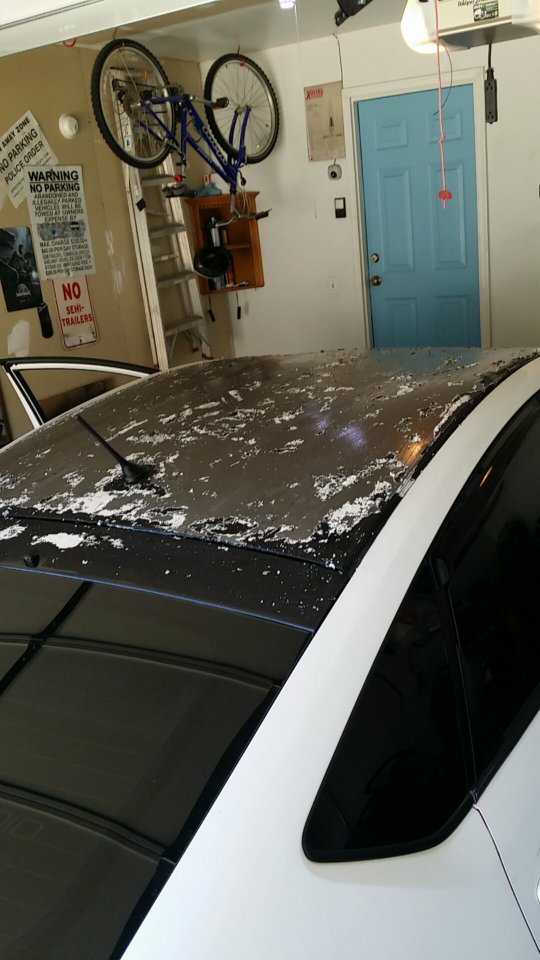
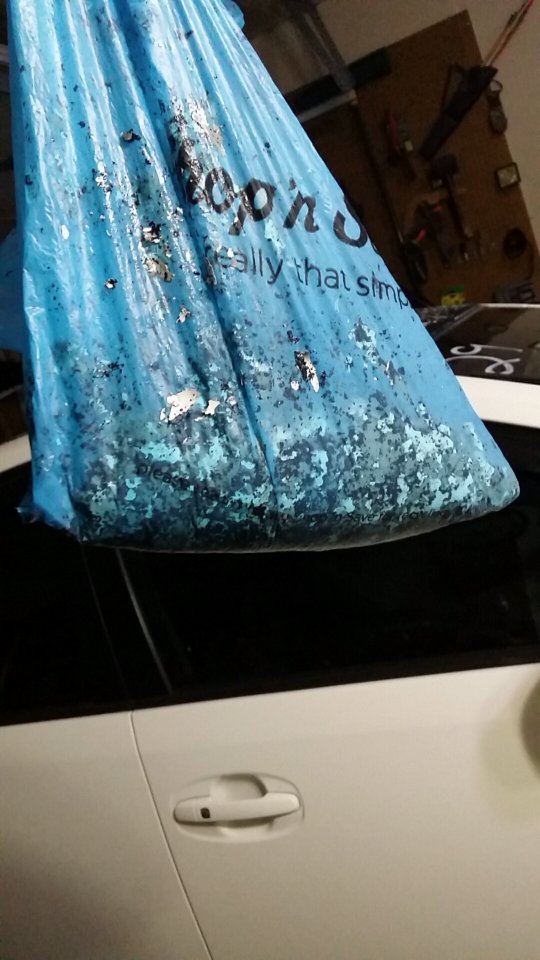
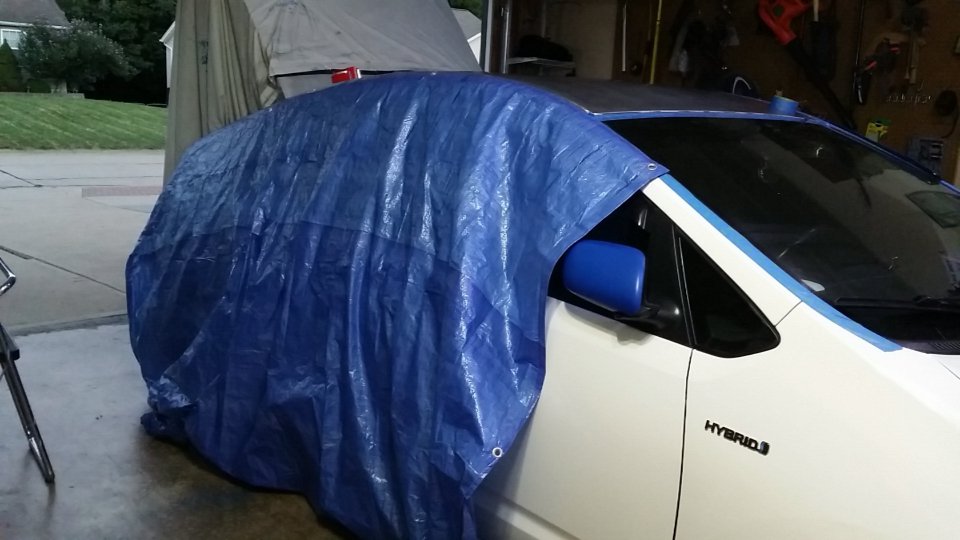
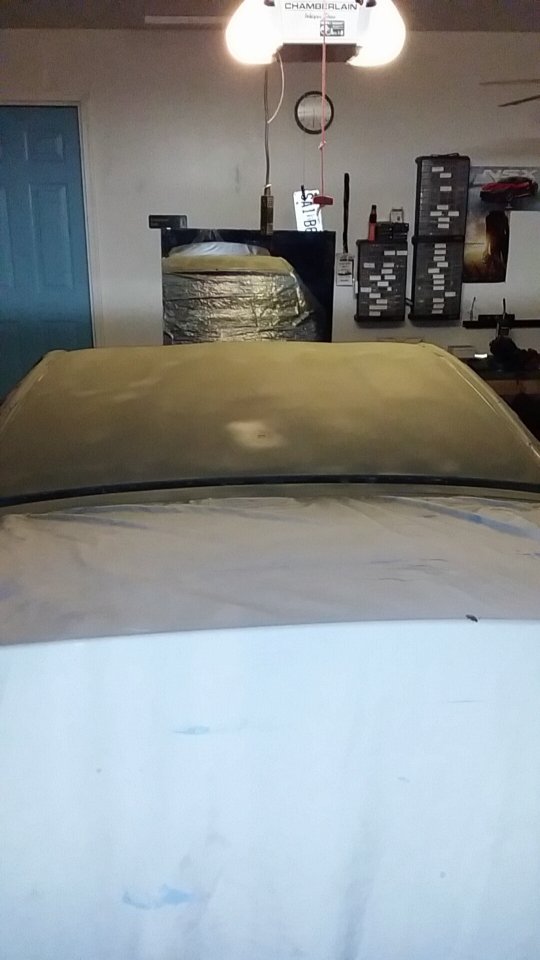
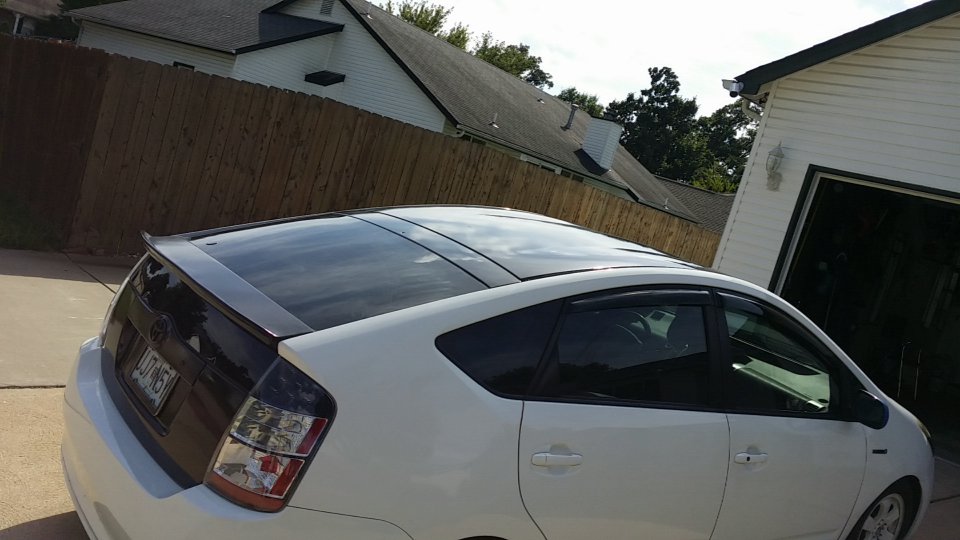
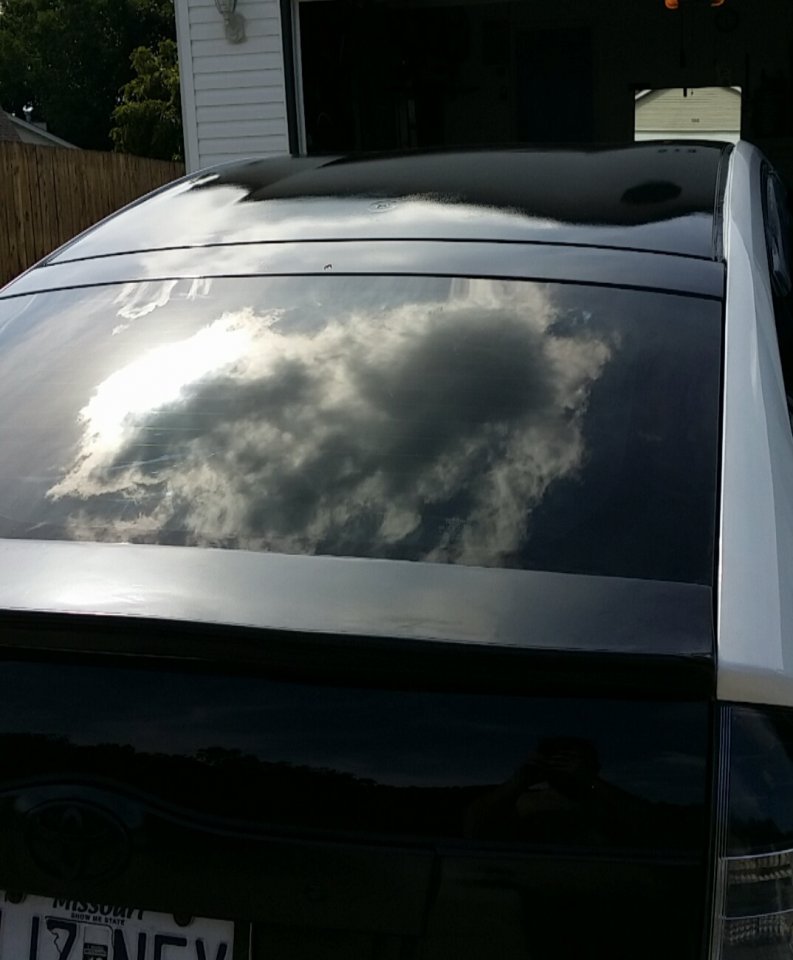
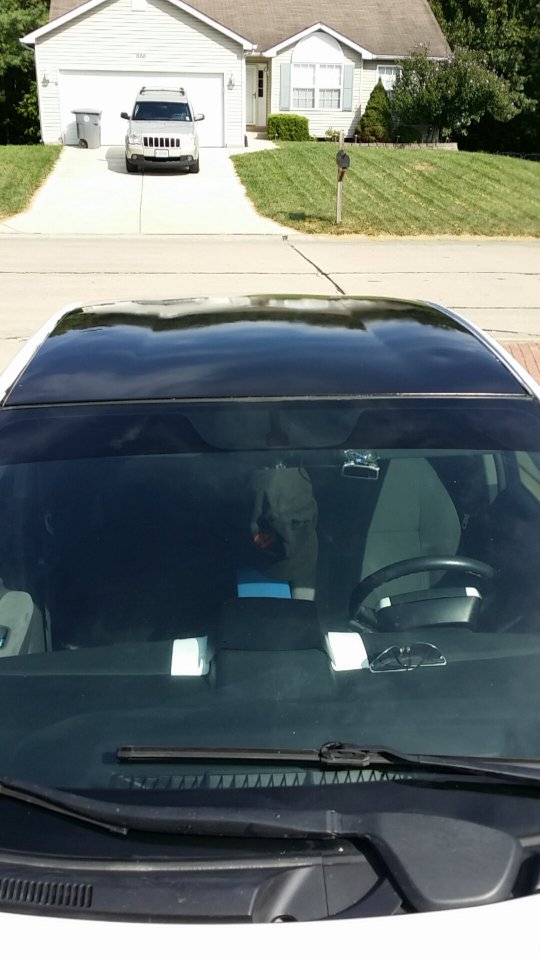
After having plastidipped then duplicolored over the paint for a year it began to look bad. Here is the cracking and paint issues.
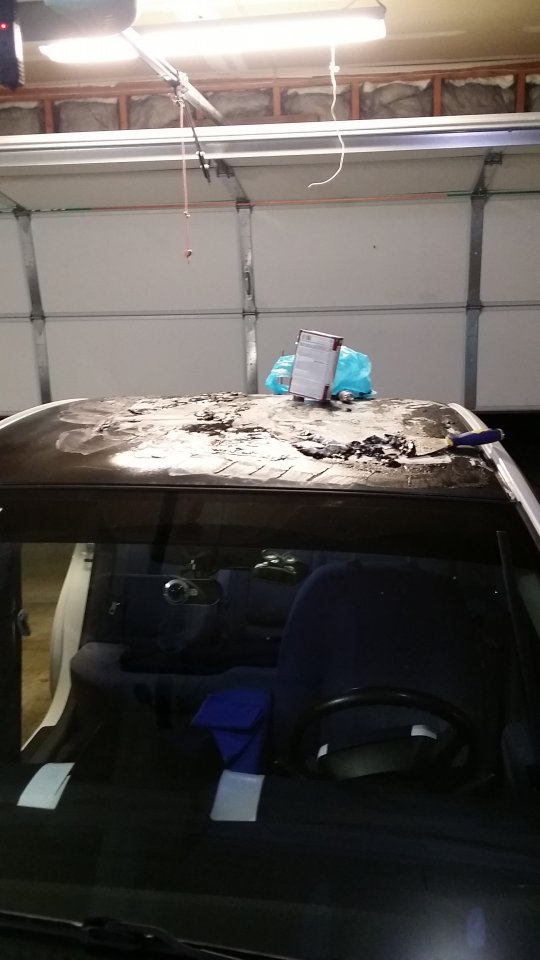
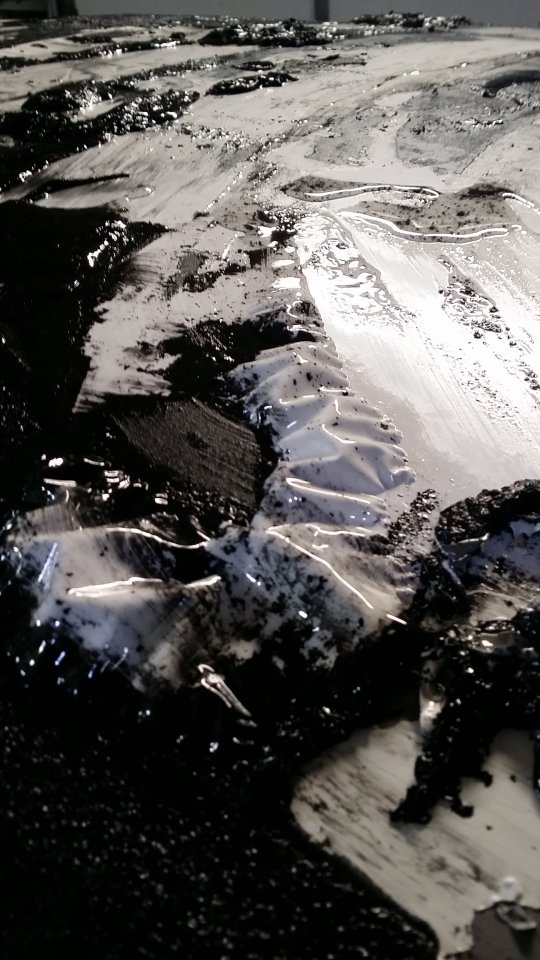
Decided to chemically strip the roof.
DAY 1
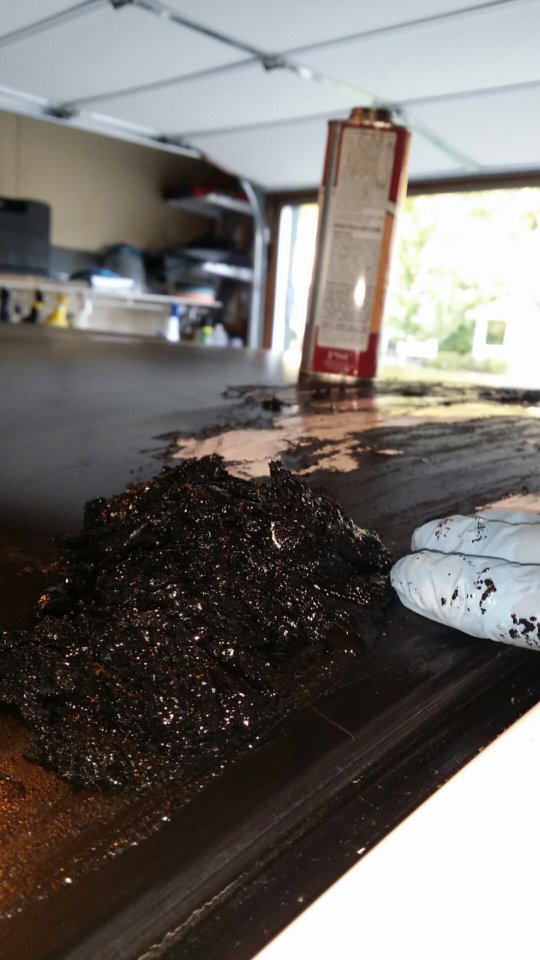
Started to eat through the factory paint, oh well.
DAY 2
Distracted by a skink lizard
Almost cleaned off.
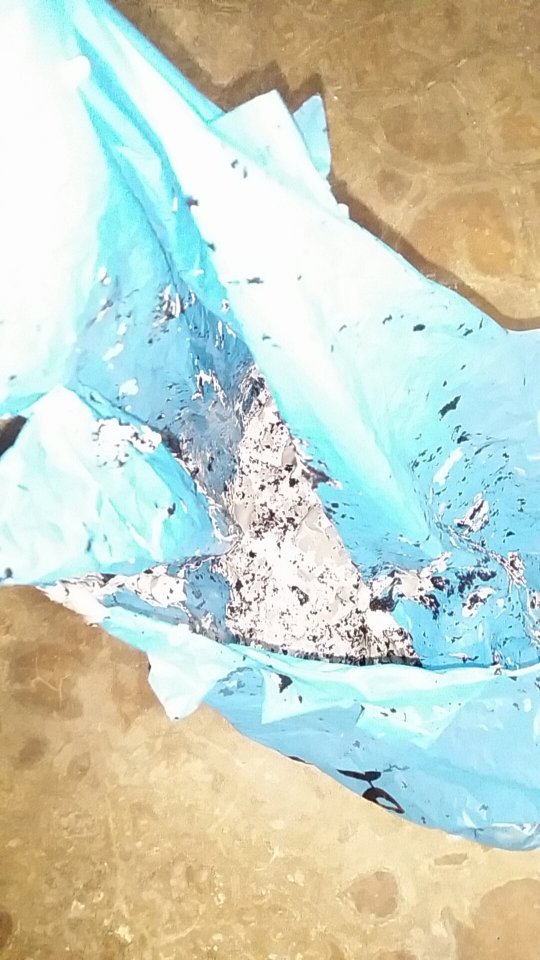
About 3 bags worth of paint came off.
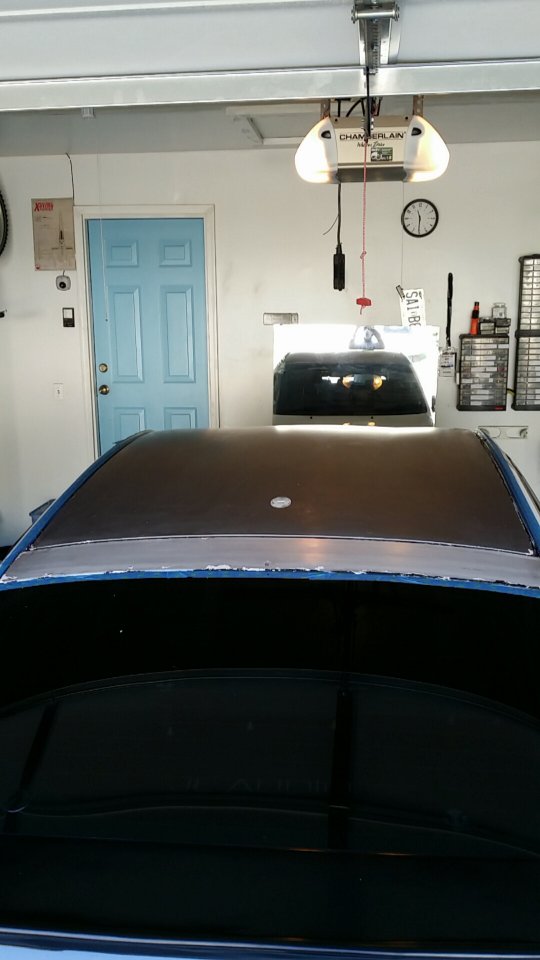
Taping off the areas.
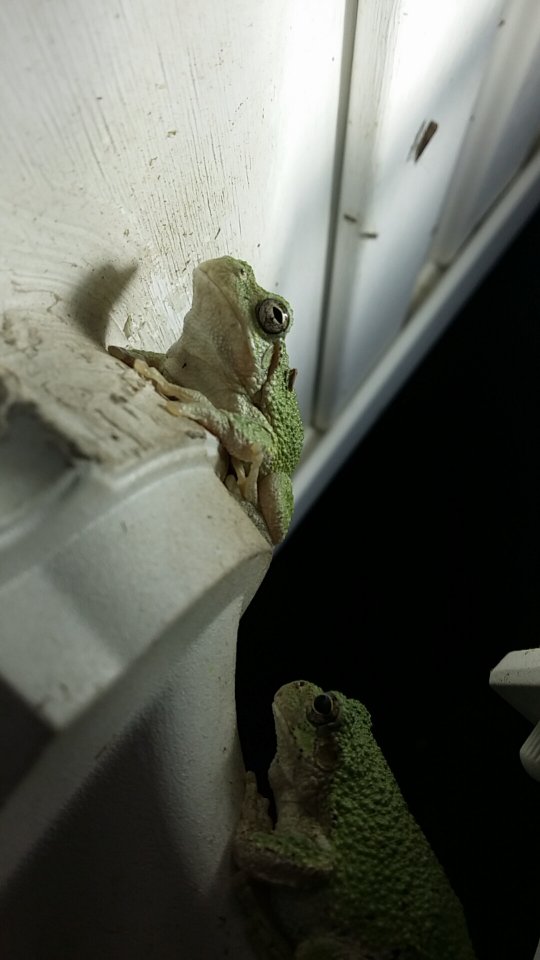
Distracted by frogs
Primed
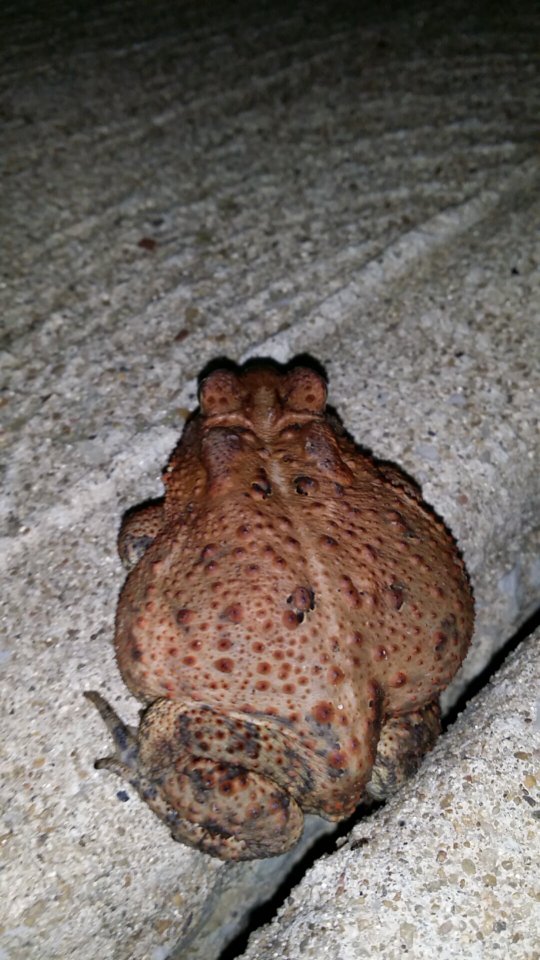
Distracted by a toad.
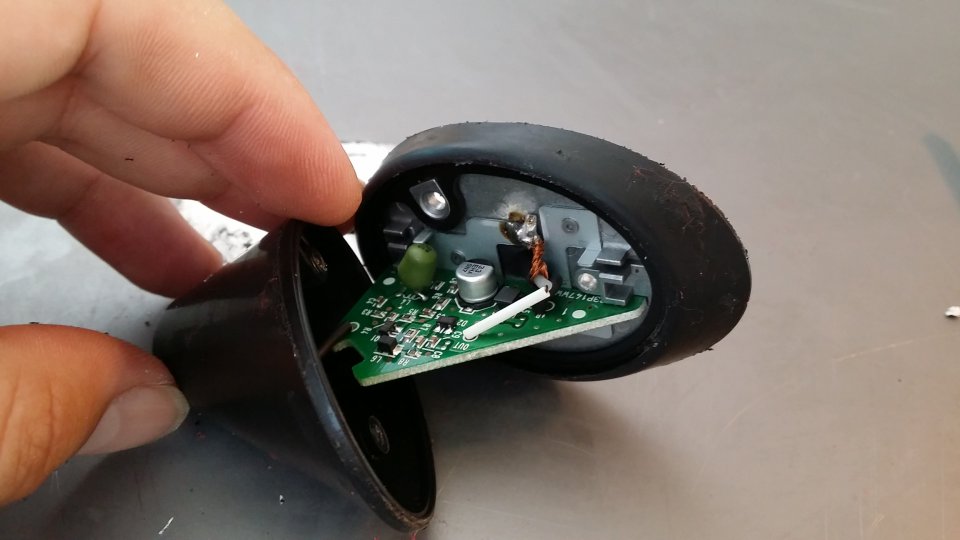
Roof antenna if you were wondering whats inside. Had to disconnect by taking down the headliner.
DAY 3
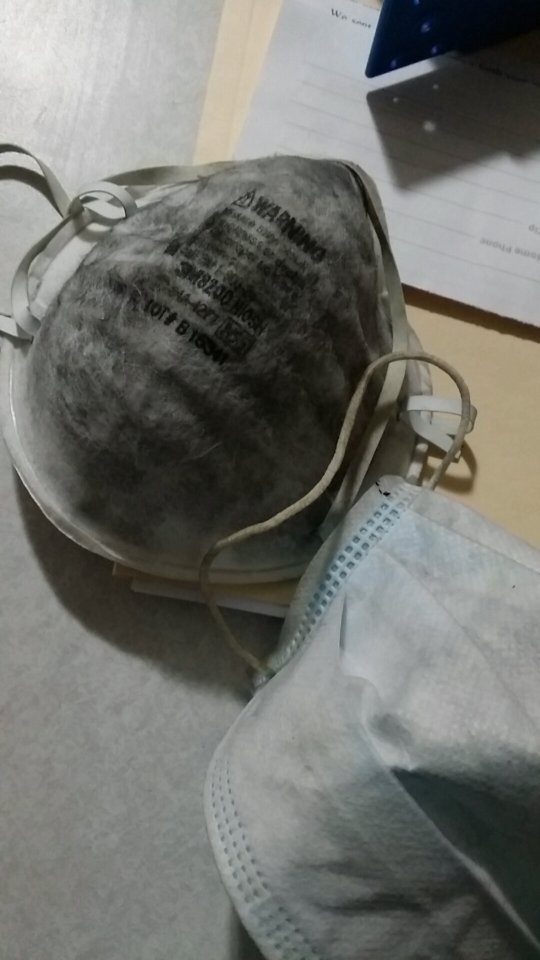
My first mask of the day.
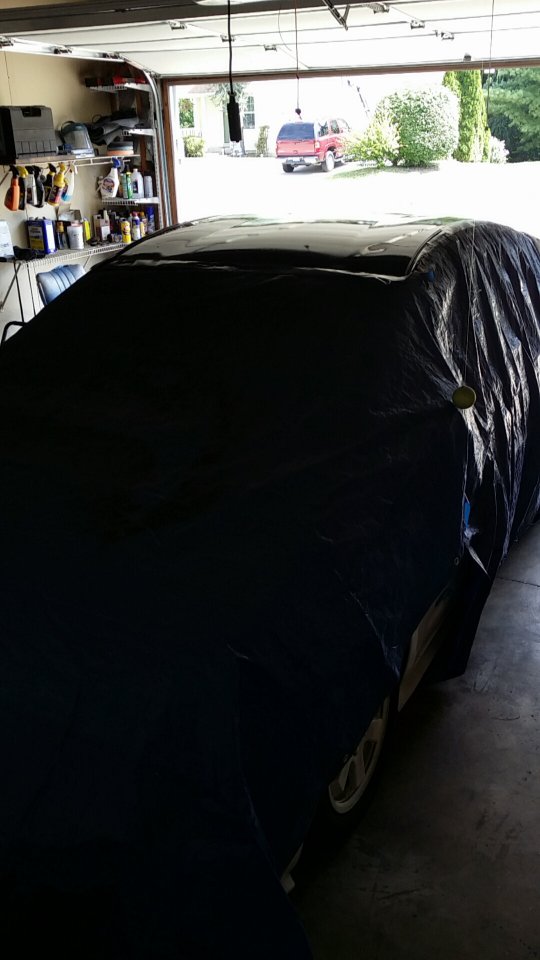
It's not the best paint job but it's way better than what it was. Fixed a few more dents while I was at it. In your face AAA who said it would cost $1230 to fix the roof dents and only gave me $230. Took that money and fixed it myself with hammers and spray paint! Haha to Macco who quoted me $1100 to fix dents and reapaint after I strip the roof. You're crazy body shop who told me $3000 to fix the dents and repaint the roof after I did the labor of stripping it.
Keeping the antenna and wiper sprayer off for a week until the paint cures more so no imprints are made.
Friday, September 9, 2016
Tuesday, June 28, 2016
Mailbox camera
My goal with this project is to have a camera that covers the entire front of my house, especially the front windows and one that gets cars that come by. Called DigRite and will be waiting on them before any digging happens. Here is me doing some test runs and scoping out what possible ways I can mount two cameras.
This camera covers removes so you can adjust the angle and hid the mounting screws. The outside screws require a security bit. Figure if anyone is willing to go through all that and be caught on camera in the process they must be very dumb.
Not sure if I like this setup yet. It kinda makes it's self a baseball bat target.
Inside the mailbox there is plenty of room for a camera. That would require drilling though.
So far the plan is to trench,run the cables and experiment with different cameras to see what may work.
Here comes the rain!
DigRite finally came out. Verbally told me how deep stuff was and that my cable path was in no danger.
Gas, power, and water lines were marked in my path but are at least 2-6 feet down.
Pulled back the siding and drilled into the wood on the front of the house. Too many other utilities to worry about for me to run out of the side of the house with a conduit box. Ran along the basement and tapped the cable along the way. When I was done I filled the hole I made with silicone.
Added more sand after the cable was hidden and because the house needed it.
Simply took a shovel and pushed the dirt back away from the drive and walk way. Make it deep enough to cover your cables.
The gutter drain pipe ran along my path too so had to pull it up slightly to work with. After hours of hand digging in the rain I wasn't getting my pipe through. Tried hammering it through but nothing. Got my power washer out and that took a while too, going back and forth on both side to make a hole. It's an easy concept but difficult to do alone, especially in the rain.
Ran the cables through the pipe that is now under the side walk. Back filled with rock and sand.
Drilled two openings for wire on the mailbox and ran the cable through.
\
Needs some adjusting but am happy that I can see my garage, front door and windows all in one shot.
This camera covers removes so you can adjust the angle and hid the mounting screws. The outside screws require a security bit. Figure if anyone is willing to go through all that and be caught on camera in the process they must be very dumb.
Not sure if I like this setup yet. It kinda makes it's self a baseball bat target.
Inside the mailbox there is plenty of room for a camera. That would require drilling though.
So far the plan is to trench,run the cables and experiment with different cameras to see what may work.
Here comes the rain!
DigRite finally came out. Verbally told me how deep stuff was and that my cable path was in no danger.
Gas, power, and water lines were marked in my path but are at least 2-6 feet down.
Pulled back the siding and drilled into the wood on the front of the house. Too many other utilities to worry about for me to run out of the side of the house with a conduit box. Ran along the basement and tapped the cable along the way. When I was done I filled the hole I made with silicone.
Added more sand after the cable was hidden and because the house needed it.
Simply took a shovel and pushed the dirt back away from the drive and walk way. Make it deep enough to cover your cables.
The gutter drain pipe ran along my path too so had to pull it up slightly to work with. After hours of hand digging in the rain I wasn't getting my pipe through. Tried hammering it through but nothing. Got my power washer out and that took a while too, going back and forth on both side to make a hole. It's an easy concept but difficult to do alone, especially in the rain.
Ran the cables through the pipe that is now under the side walk. Back filled with rock and sand.
Drilled two openings for wire on the mailbox and ran the cable through.
\
Needs some adjusting but am happy that I can see my garage, front door and windows all in one shot.
Friday, June 17, 2016
Prius Fog Lights
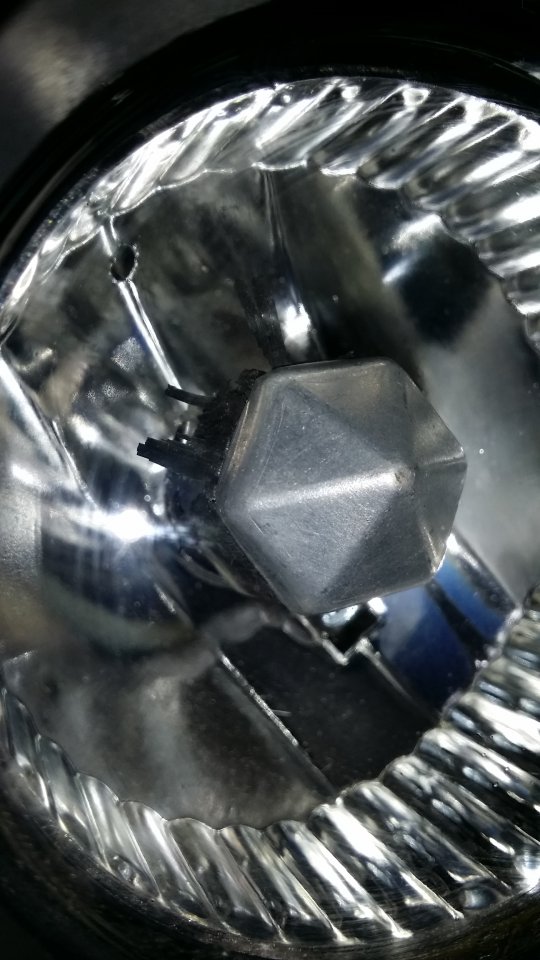
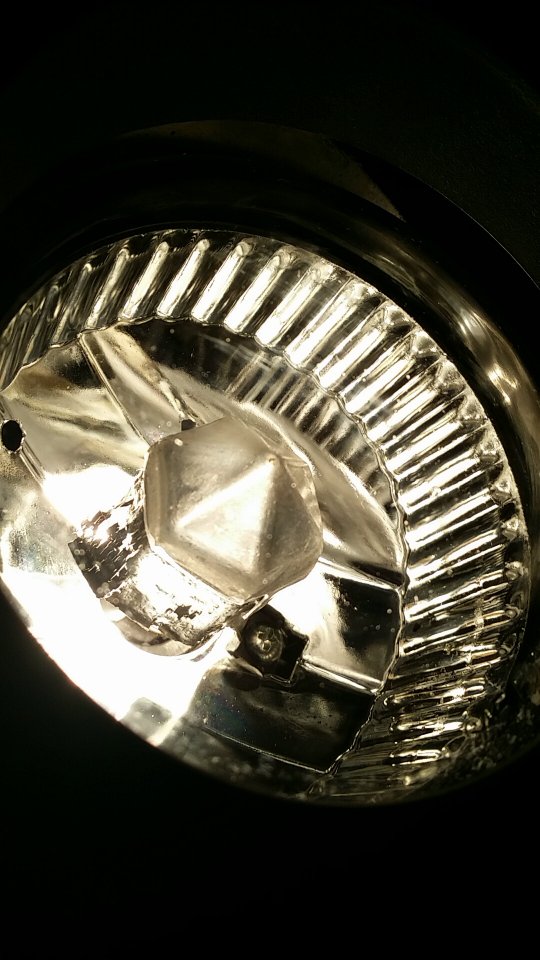
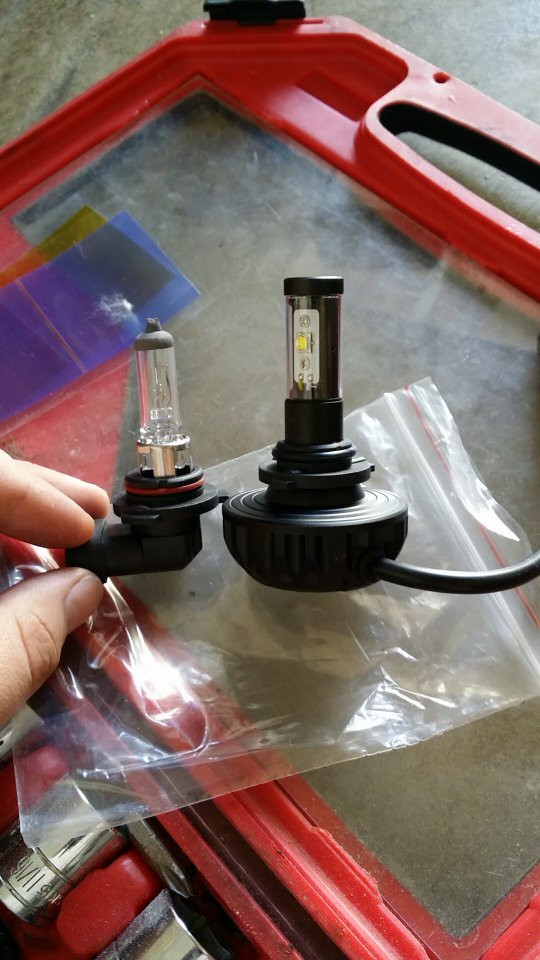
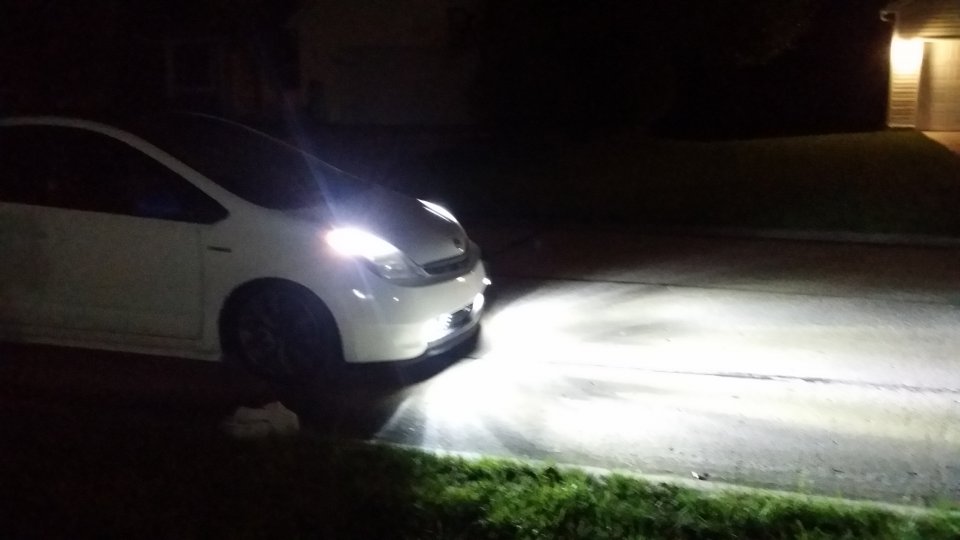
Fog lights took a rock and it broke past the yellow cover I added to cause a crack that let water in. Ordered a set of OEM style fogs with the bulb blinder and a cheap plug and play HID kit. With in a week internal paint started to flake. HIDs were junk and flickered.
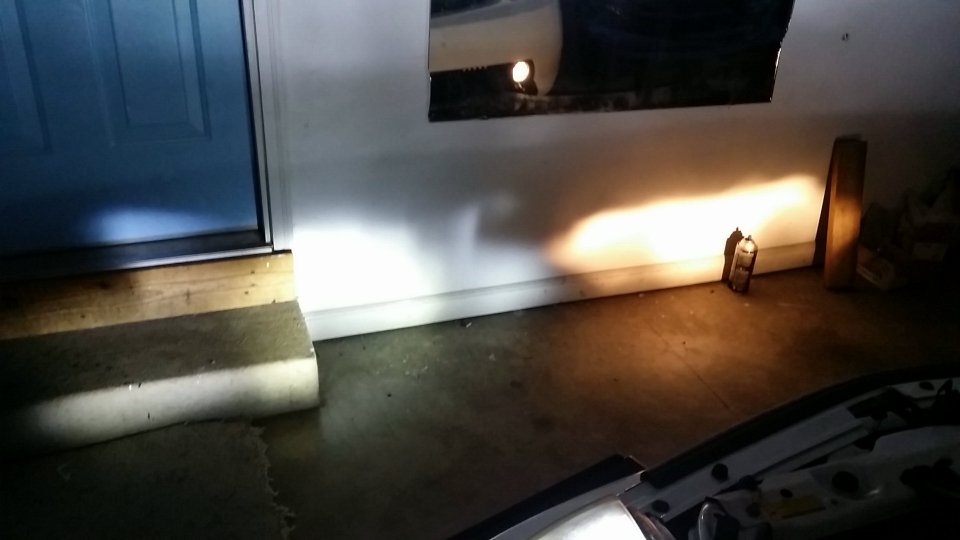
Original bulb VS HID
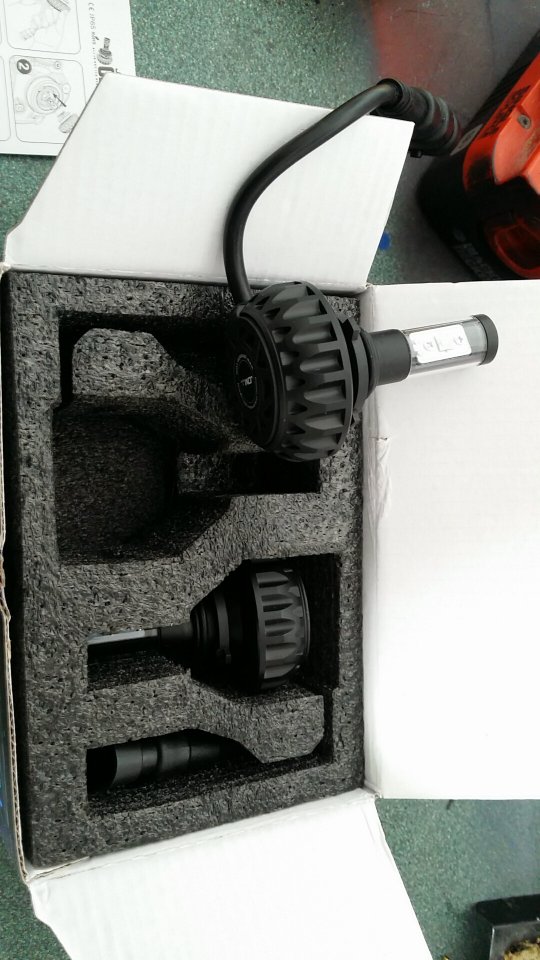
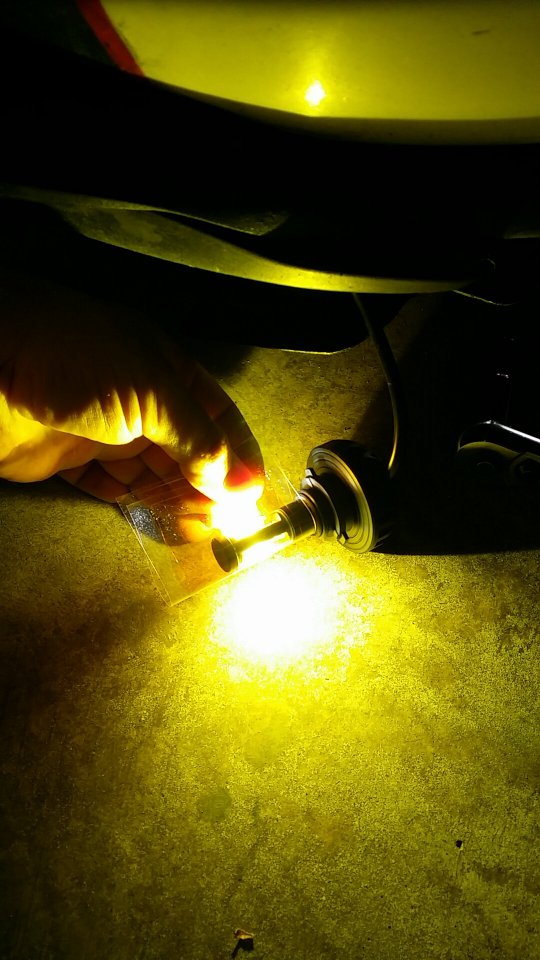
Ordered a fog light set without the blinder and an LED bulb. Plugged right into the wire harness,no cutting needed. Came with filters too.
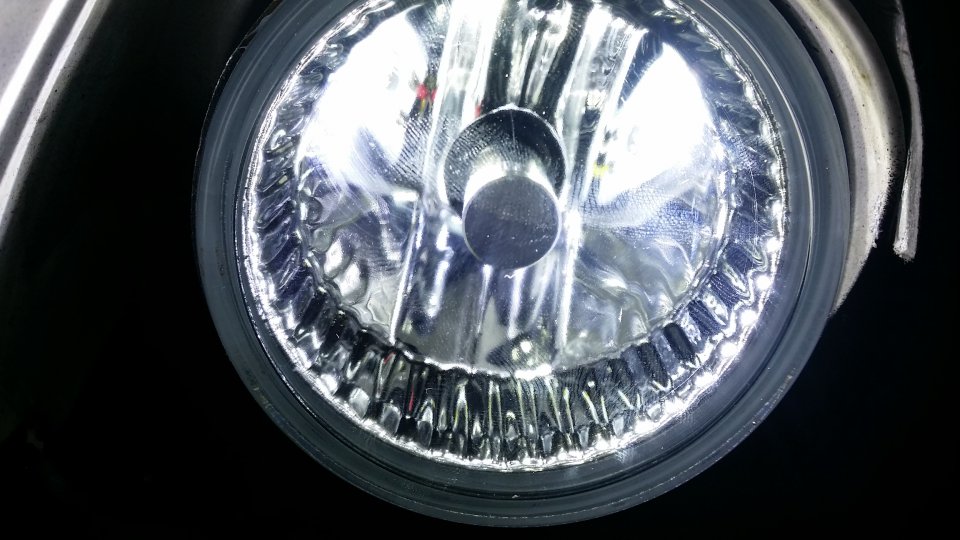
Here is the blinder style fog light VS the non. Left side has no blinder.
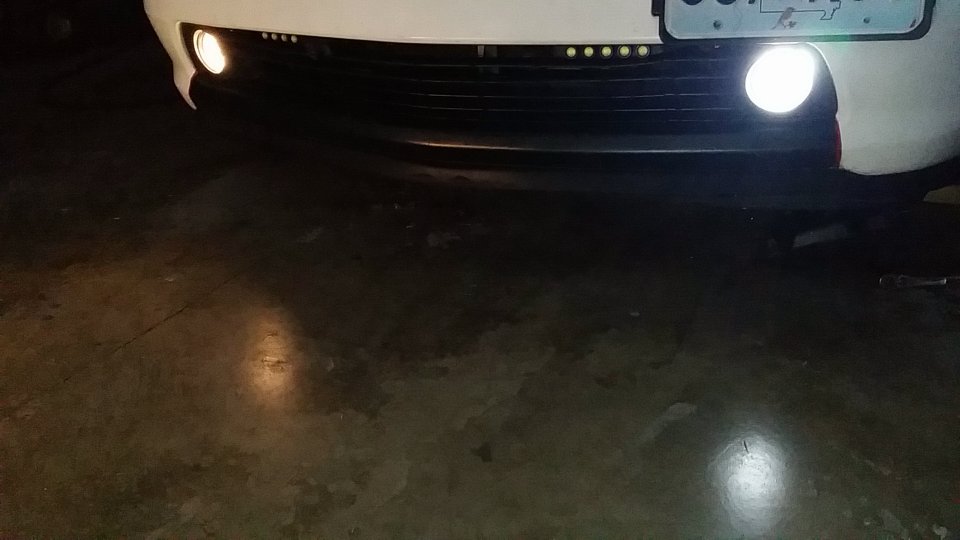
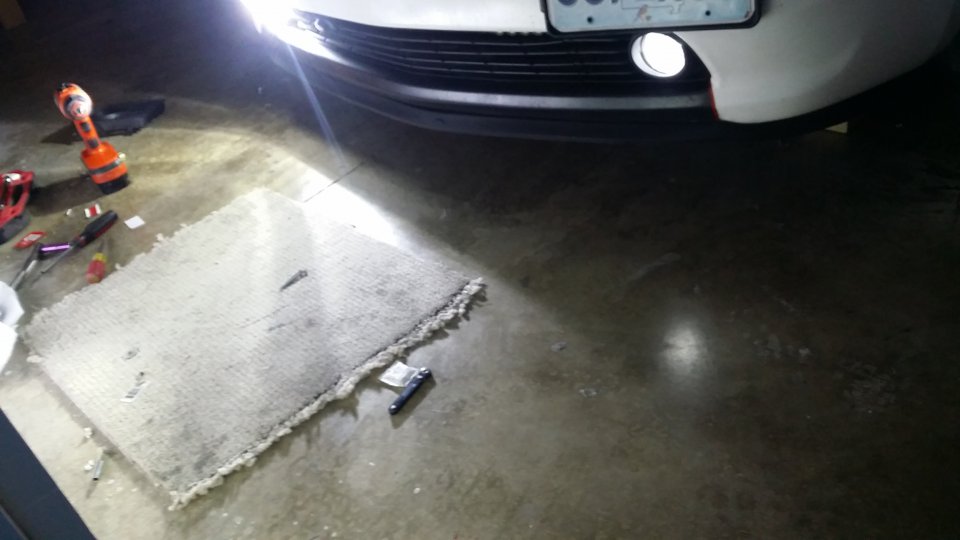
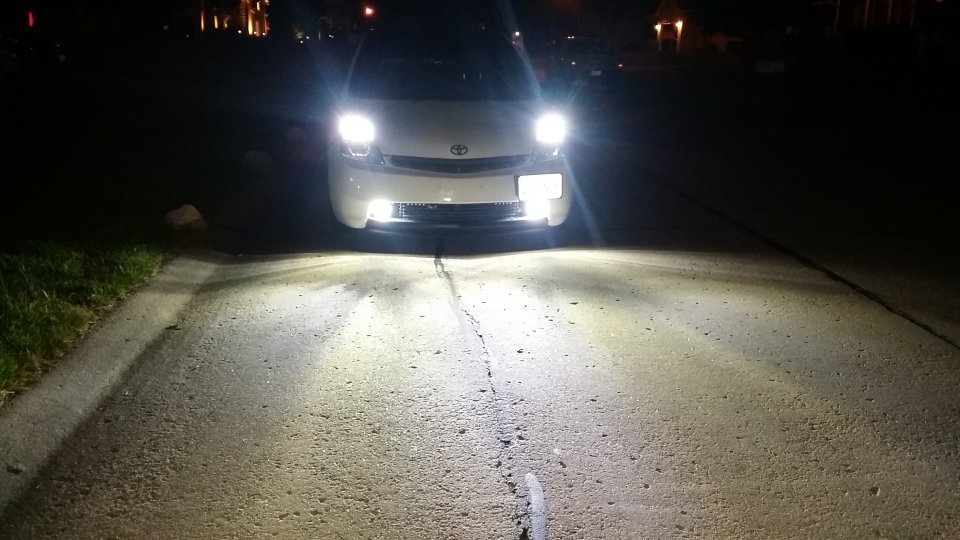
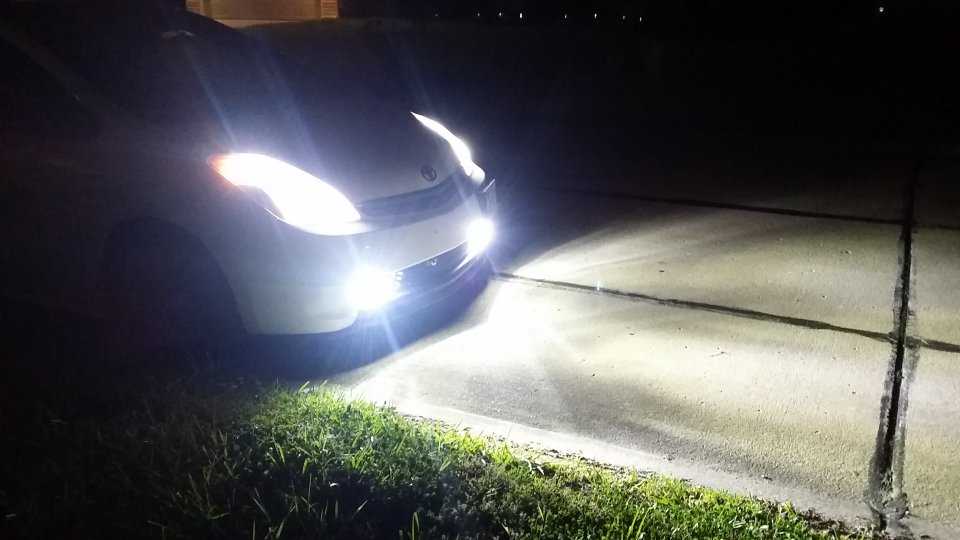
LOVE my LEDS ... Note the top LEDs are my switchbacks. Thanks JDM ASTAR,like $60
HID and LEDs
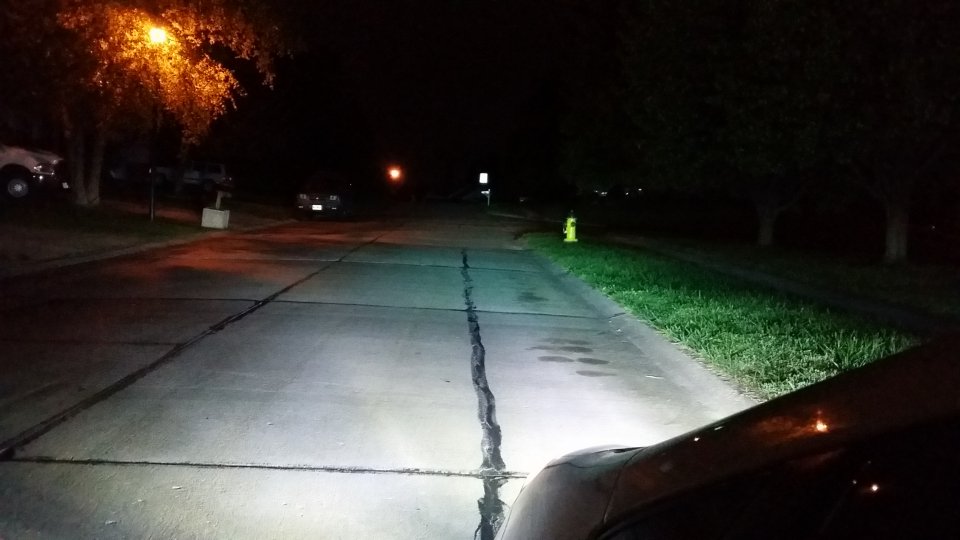
Since this I've readded my yellow tint. Still noticeable brighter.
Subscribe to:
Posts (Atom)